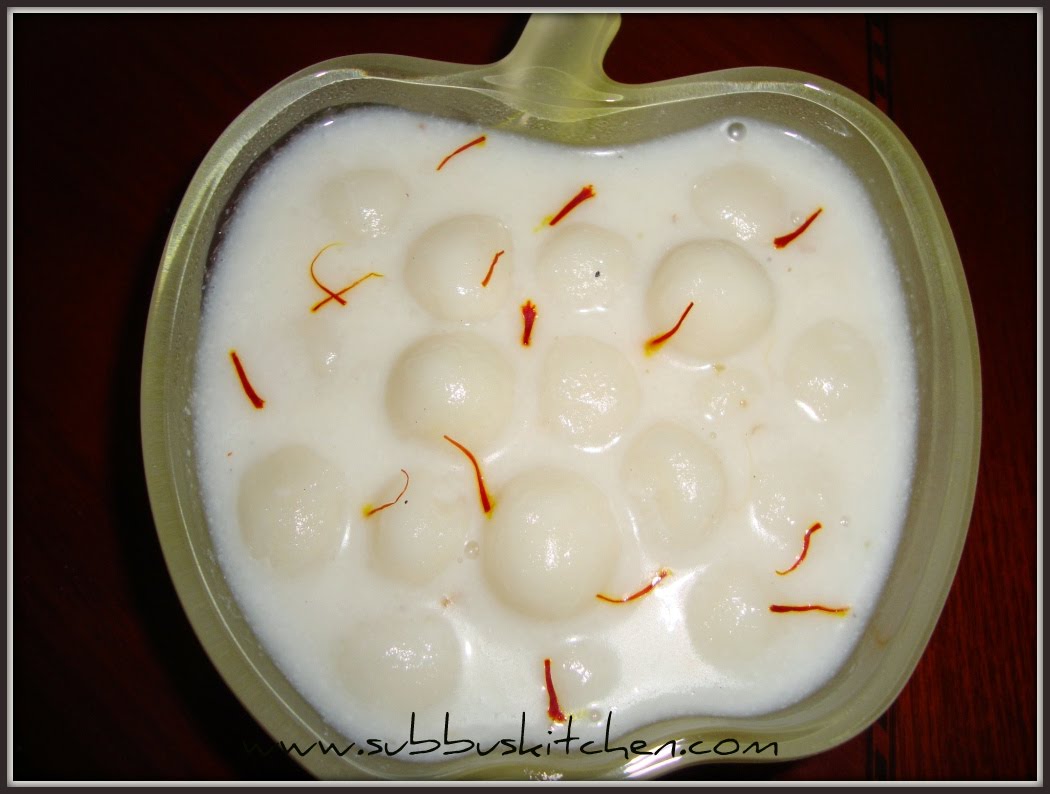
Paal Kozhukattai is the traditional sweet recipe of Tamilnadu. It can be prepared in many ways. Some prepare this using normal milk and some persons will prepare using coconut milk. It is a easy to do simple but very delicious recipe. It is not so sweet and even the diabetics persons can also try to eat it and enjoy the taste.
Ingredients:
| Milk | 2 Cups |
| Sugar | 1 Cup |
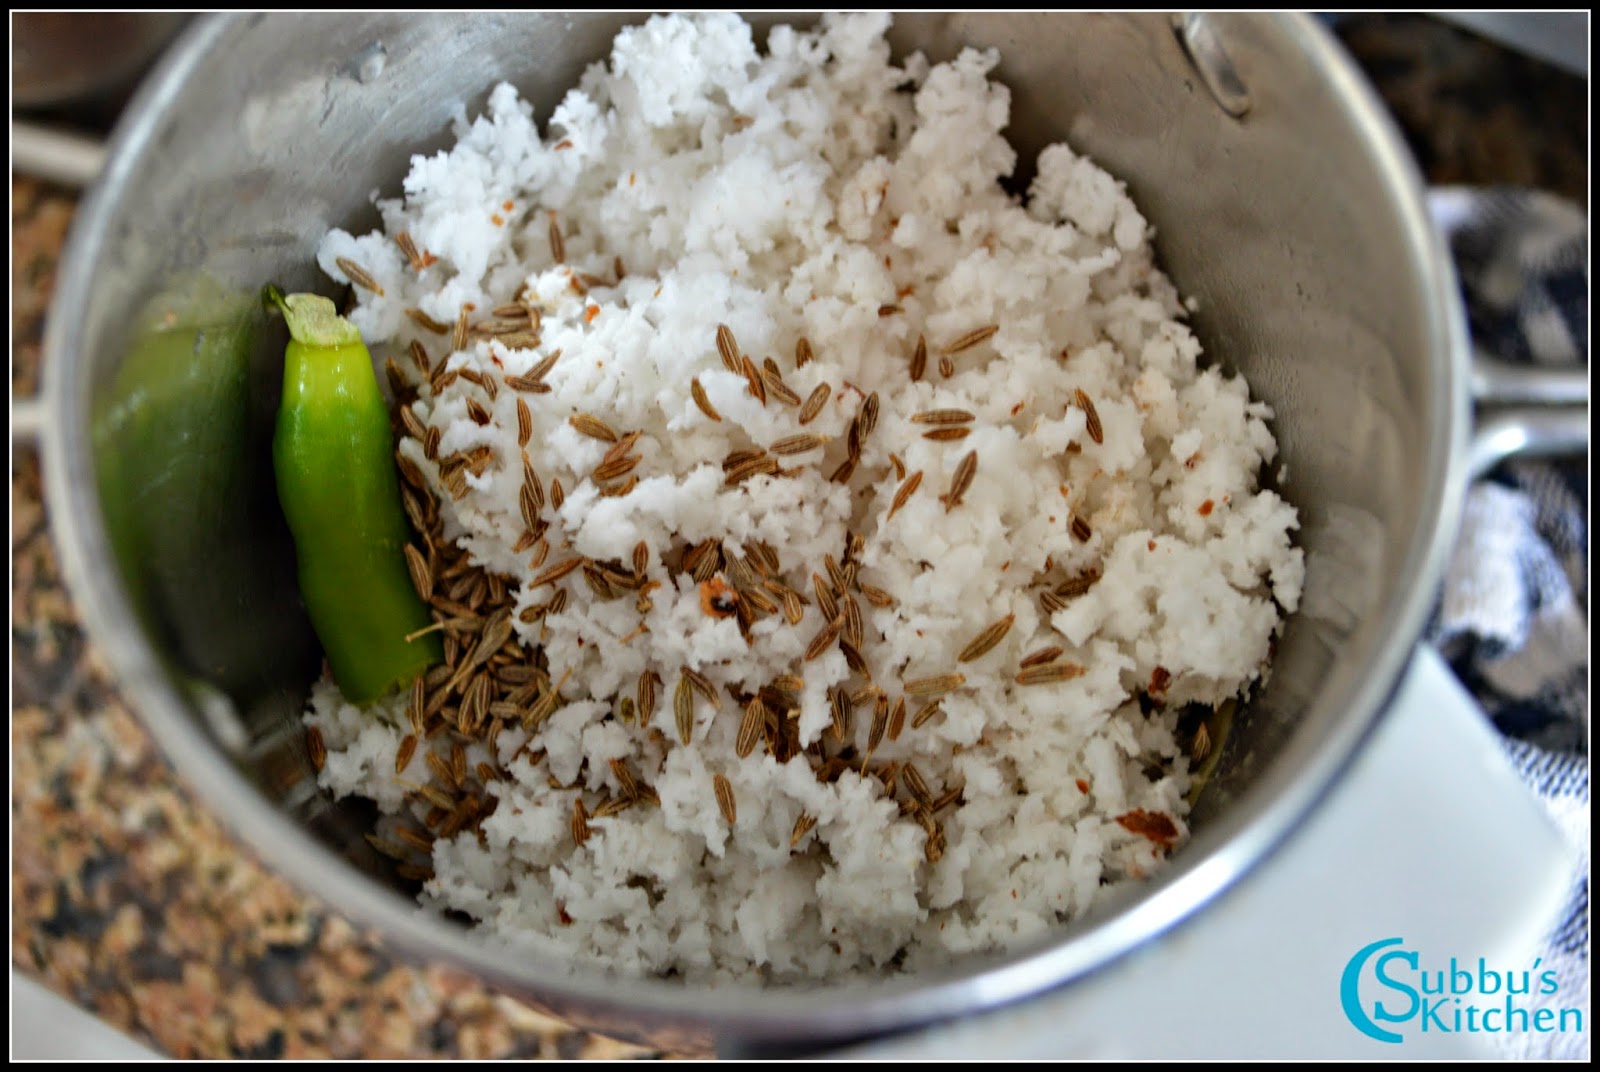
| Raw Rice(Pacharisi) | 1 Cup |
| Coconut Milk | 1/2 Cup |
| Saffron thread | few |
| Cardamom Powder | 1 teaspoon |
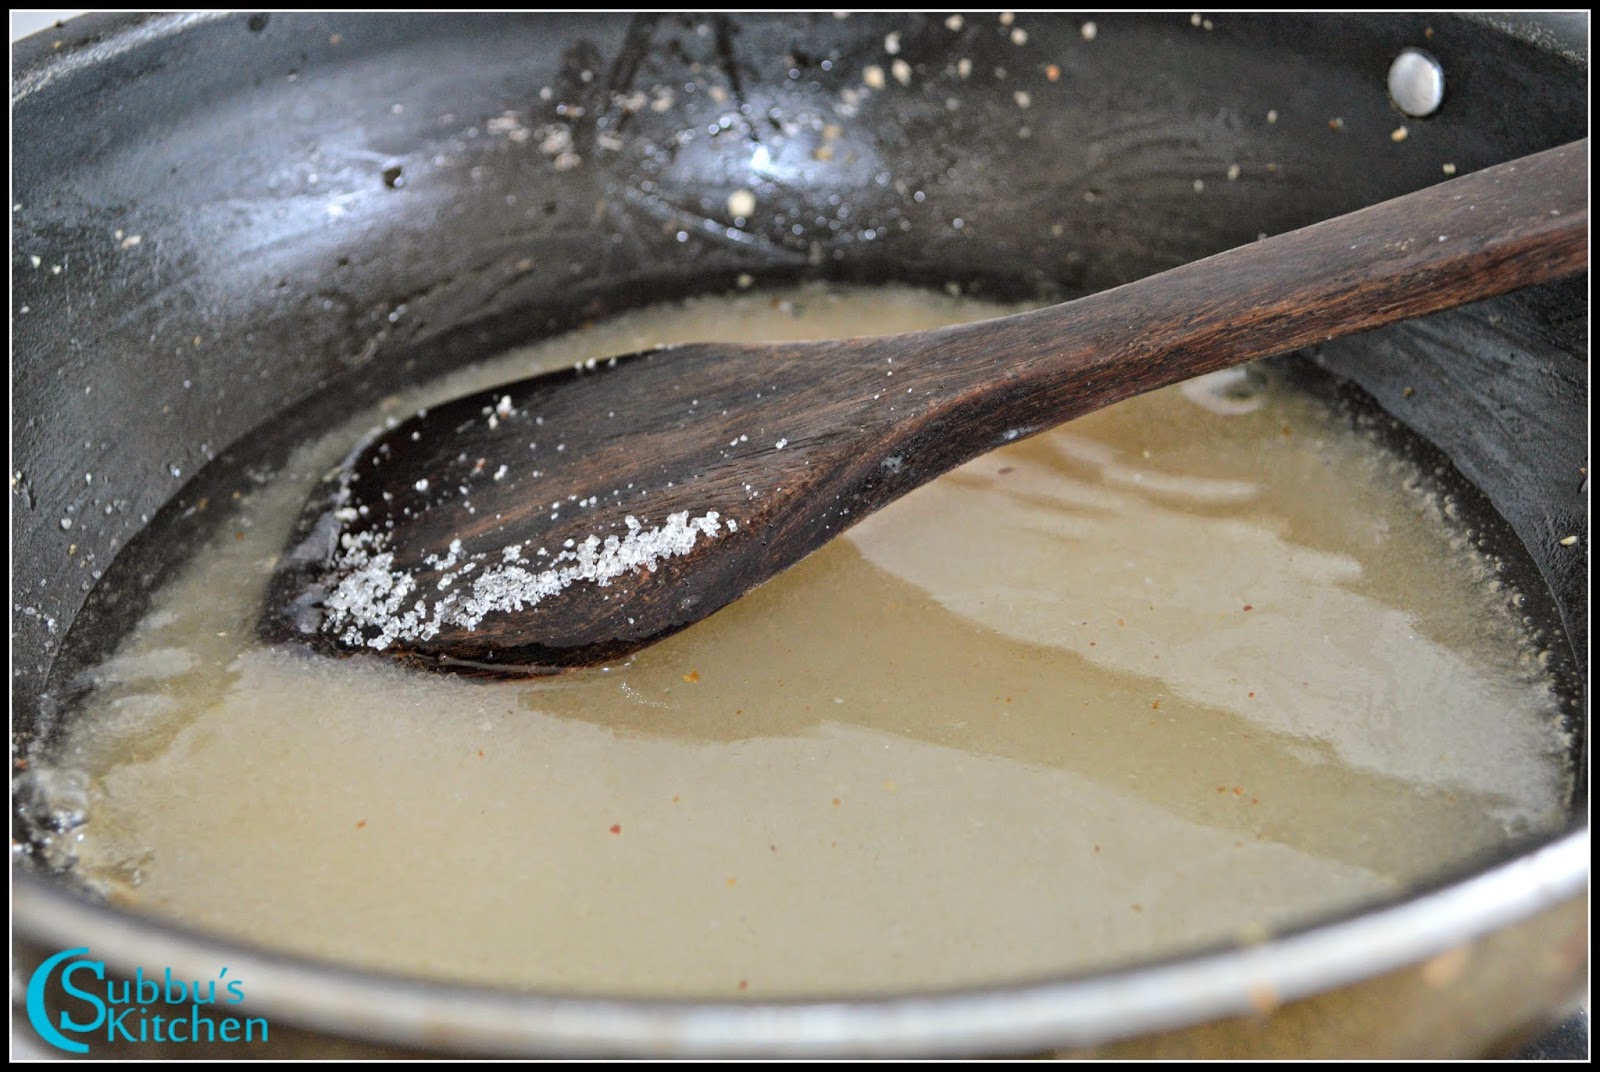
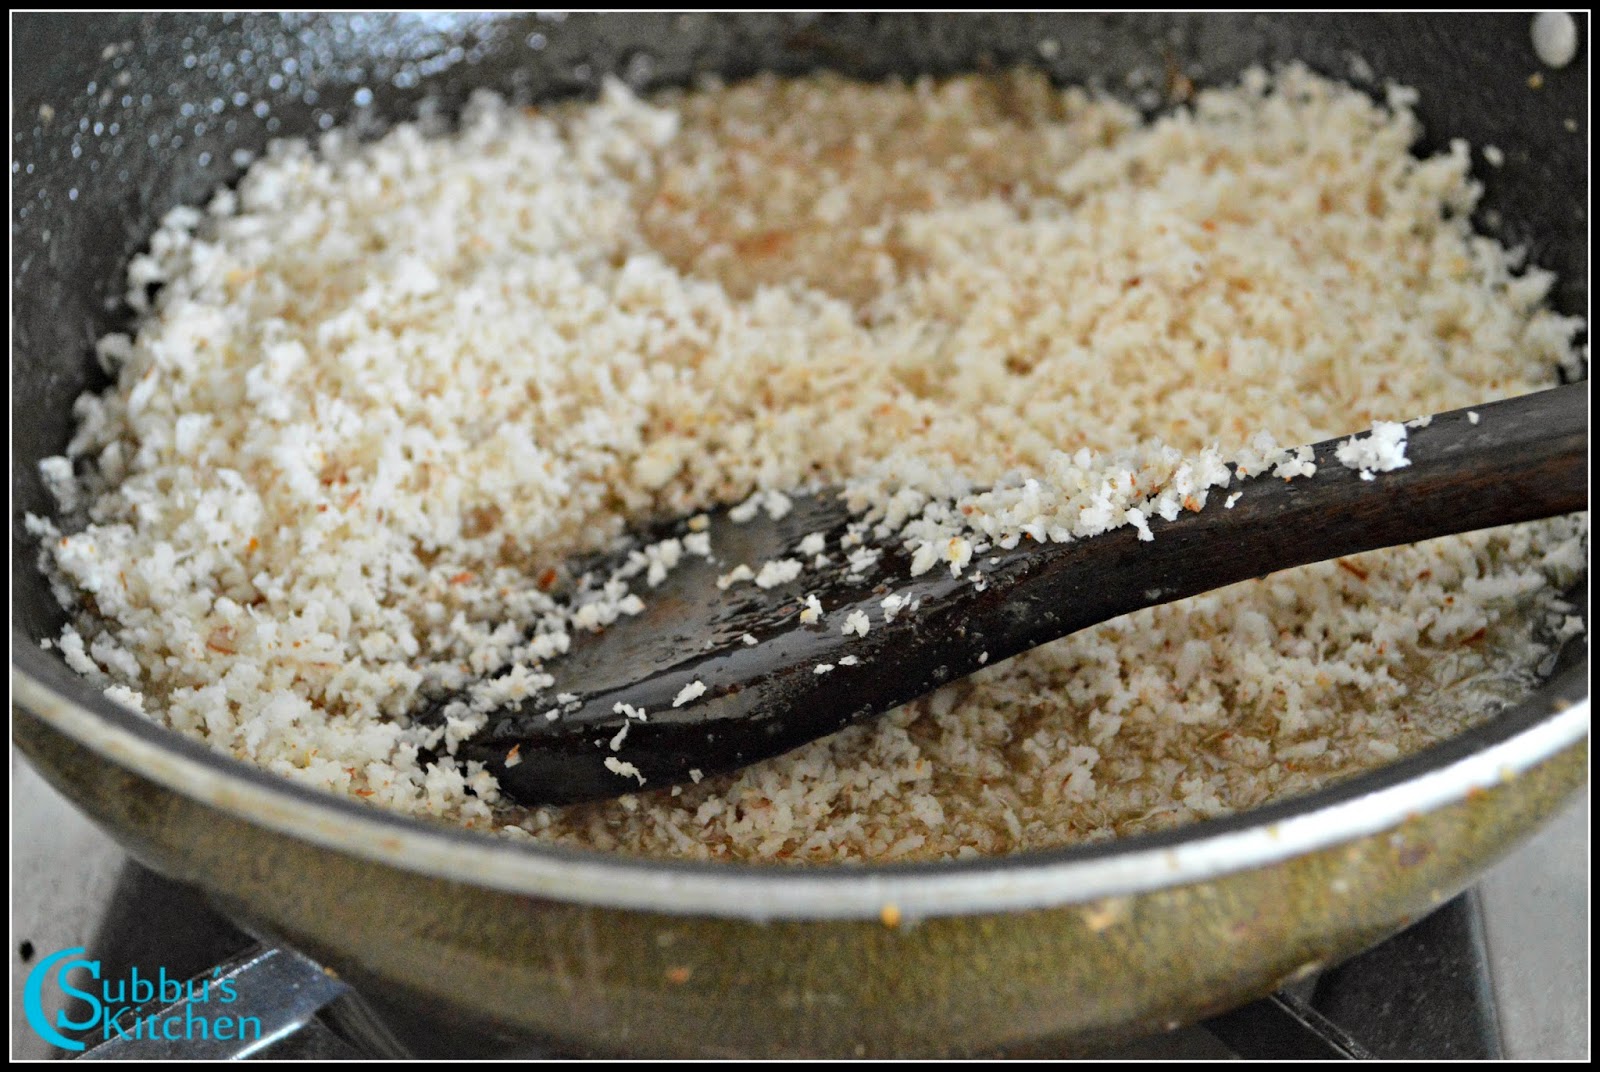
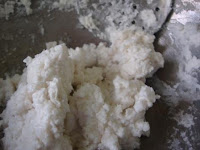 | Soak the rice in water for 30 mins. Grind the rice in mixer to a fine paste. Take the ground flour in a heavy bottomed pan, and keep the flame in low and stir continuously. The ground flour will slowly become thick in consistency and will become like a chapati dough. This is the correct consistency and switch off the flame. |
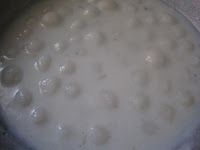
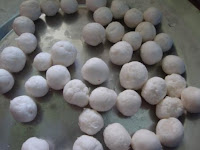 | Make Sundakaai(Turkey Berry) size small balls out of the rice dough as shown here. Around 35-40 balls will come for 1 cup of rice |
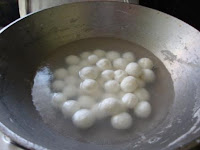 | Add 2 cups of water in the heavy bottomed pan, and add the rice ball to it and allow it to cook completely. We can milk if the water content goes low. Alternatively you can also cook the balls in the idly cooker for about 5 mins |
 | Add the remaining milk and coconut milk and add sugar. When the mixture starts to boil, add cardamom powder and remove from flame. We can also add jaggery instead of sugar. Add saffron threads to decorate Paal Kozhikattai. The yummy Paal Kozhukattai (Milk Kozhukattai) is ready to serve. |
")
")


")
 Kozhukattai")
 Kozhukattai")


 Kozhukattai")


")
")


")
")
")
")


")


 - Sambar, Rasam, Puliseri, Eriseri, Olan, Kalan, Aviyal, Kadamba thoran, Kadala Paruppu Pradaman, Pal Payasam, Thayir Pachadi, Rice and Pappad")
 - Sambar, Rasam, Puliseri, Eriseri, Olan, Kalan, Aviyal, Kadamba thoran, Kadala Paruppu Pradaman, Pal Payasam, Thayir Pachadi, Rice and Pappad")
")


")


")
")
")


")


 Poritha kuzhambu")
 Poritha kuzhambu")
 Poritha kuzhambu")


 Poritha kuzhambu")


 Payasam")
 Payasam")


 Payasam")


