Rasgulla, a popular Bengali Sweet. Homemade Soft, Spongy balls of cottage cheese soaked in sugar syrup. The sponge cheese melts in your mouth making us to have more and more! Getting soft and sponge rasgulla is the challenge in this dish. The main trick to get nice and spongy rasgulla is kneading of the cottage cheese we prepared using full fat milk. Follow this recipe to get nice and spongy rasgulla at home! Ye Dil Mange More :-)
 |
| Rasgulla Recipe | Bengali Sponge Rasgulla Recipe |
Preparation and Yield:
| Preparation time | - |
| Cooking Time | 1 hour |
| Yield | 15 Rasgullas |
 |
| Rasgulla Recipe | Bengali Sponge Rasgulla Recipe |
Ingredients:
| Milk | 4 Cups* or 1 litre + 2 tablespoon |
| Lemon Juice | 1 tablespoon |
| Sugar | 2.5 Cups |
| Water | 3.5 Cups |
| Cardamom Powder | 1/4 teaspoon |
| Chopped Almonds | 1 teaspoon |
| Chopped Pistachios | 1 teaspoon |
* 1 cup = 250ml
 |
| Rasgulla Recipe | Bengali Sponge Rasgulla Recipe |
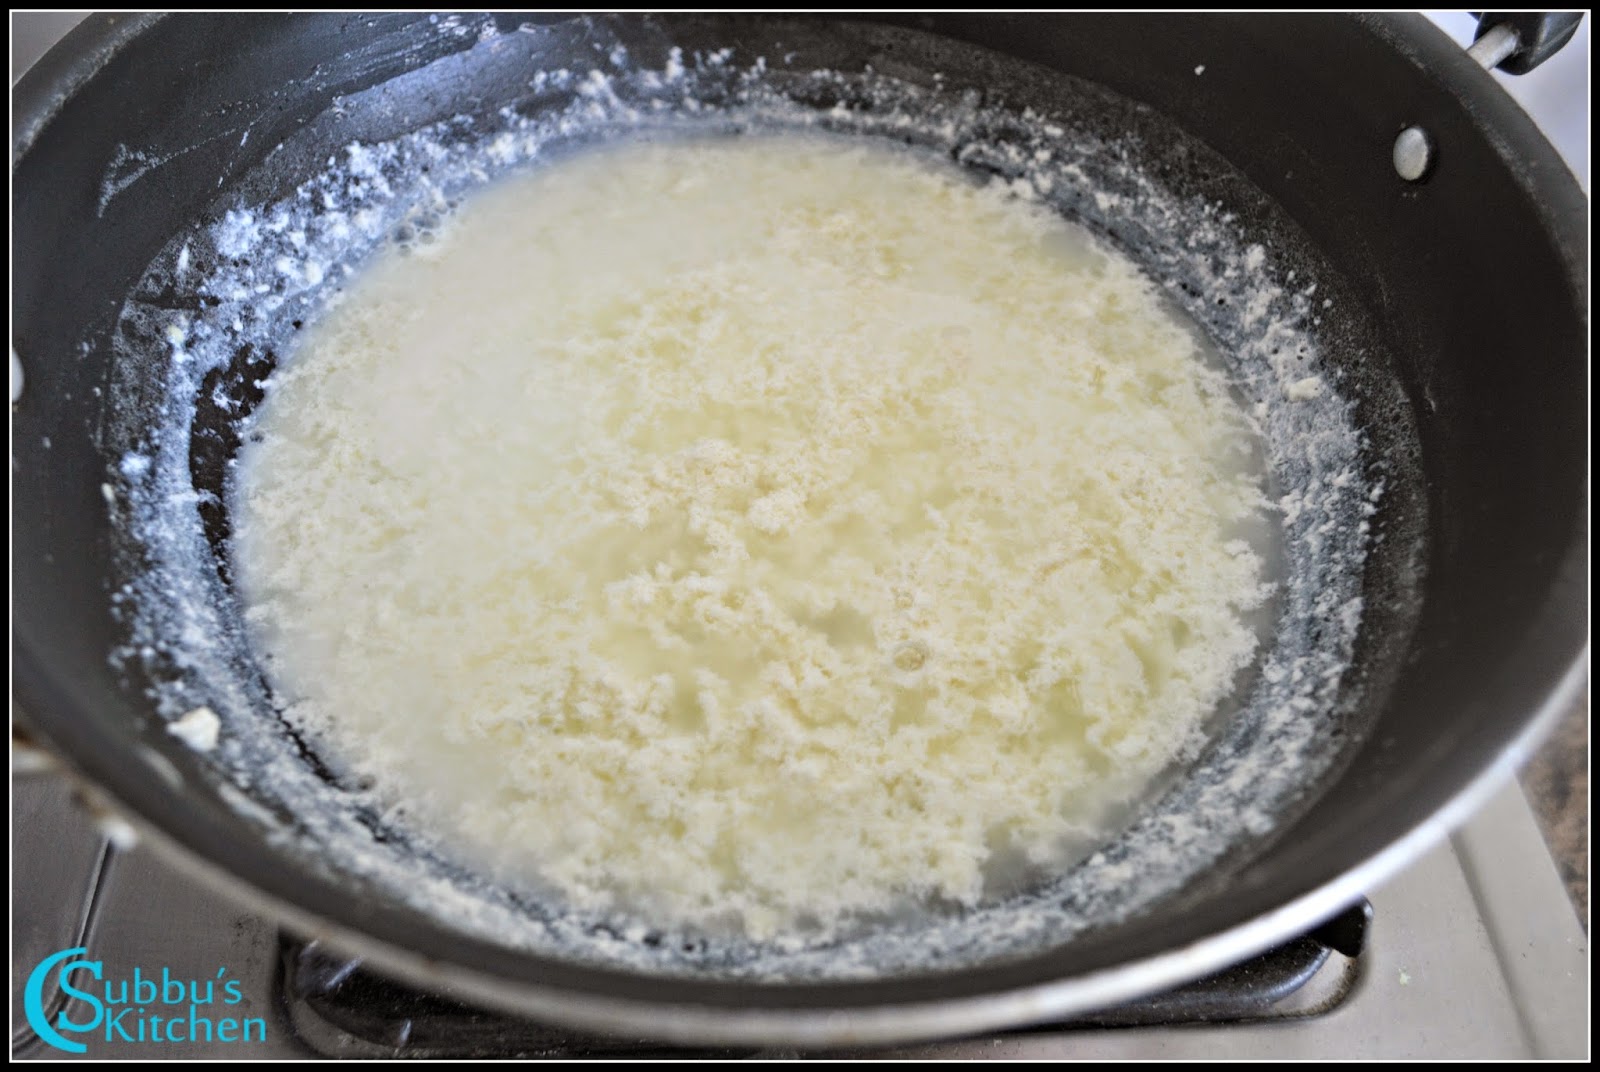
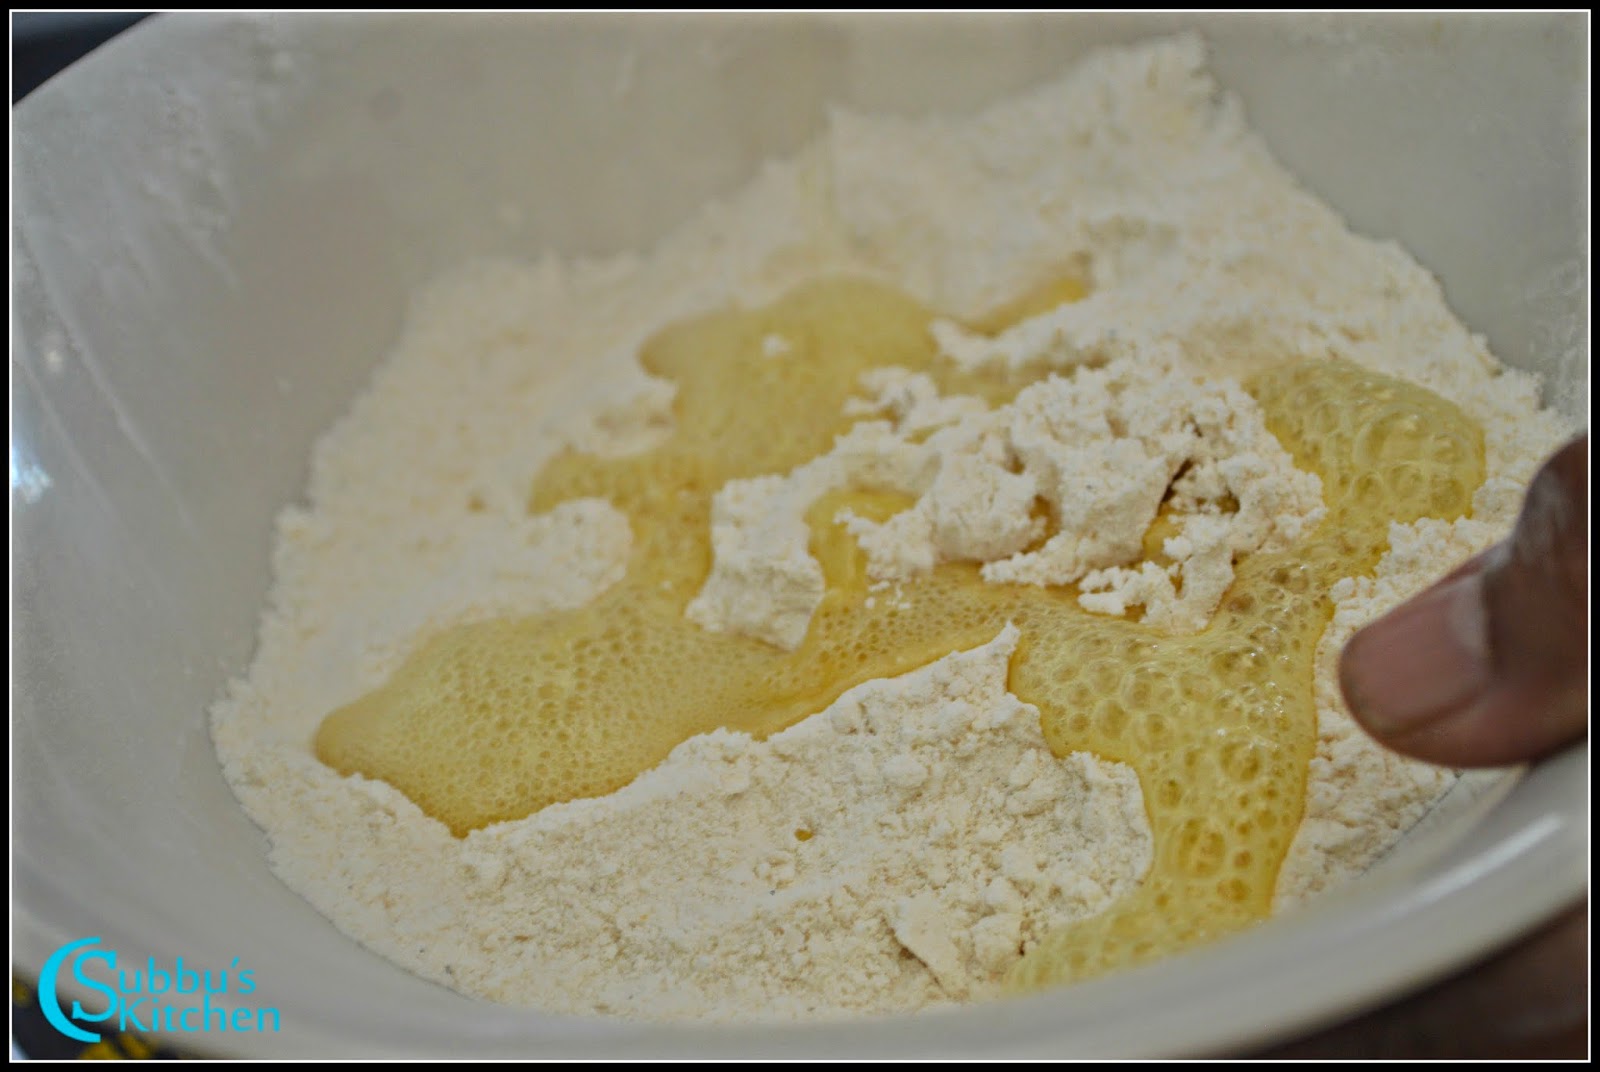
- Heat a pan and add 1 litre of milk to the pan. Keep stirring until the milk starts to boil. We should get nice bubbles in the milk. Also keep stirring till you get bubbles. The stirring will help the fat to fully combine with the milk. If we don't stir, then the fat will separate from the milk and we would not get soft and spongy cottage cheese. Meanwhile dilute the lemon juice with 1 tablespoon of water and keep it ready.
- When the milk starts to boil, switch off the flame and add the lemon juice little by little gradually. When milk starts to curdle, stop adding the lemon juice. Add 1/2 cup of cold water or ice cubes which helps to stop the curdling process. Also the cold water or ice cubes take out the sourness of lemon juice which we have added. Place a muslin cloth or thin cotton cloth over a strainer. Strain the curdled milk through the cloth covered strainer.
- Cover the cloth and squeeze the cloth gently to remove excess water from the cheese. Also show the covered cloth under running water just to ensure the sourness of lemon is removed completely from the cheese. Squeeze the cloth gently and hang it for 30 minutes. In 30 minutes, the hung cloth would have removed most of the moisture from the cottage cheese.
- If you open the cloth, you could see a ball of cottage cheese not completely dry, would have a little moisture and if you touch it would crumble into pieces as shown in the picture. lets knead the cottage cheese nicely using your palm. Knead the cheese for about 7-10 minutes to get soft and spongy rasgullas. This knead is mandatory and is the main process to get softer rasgullas
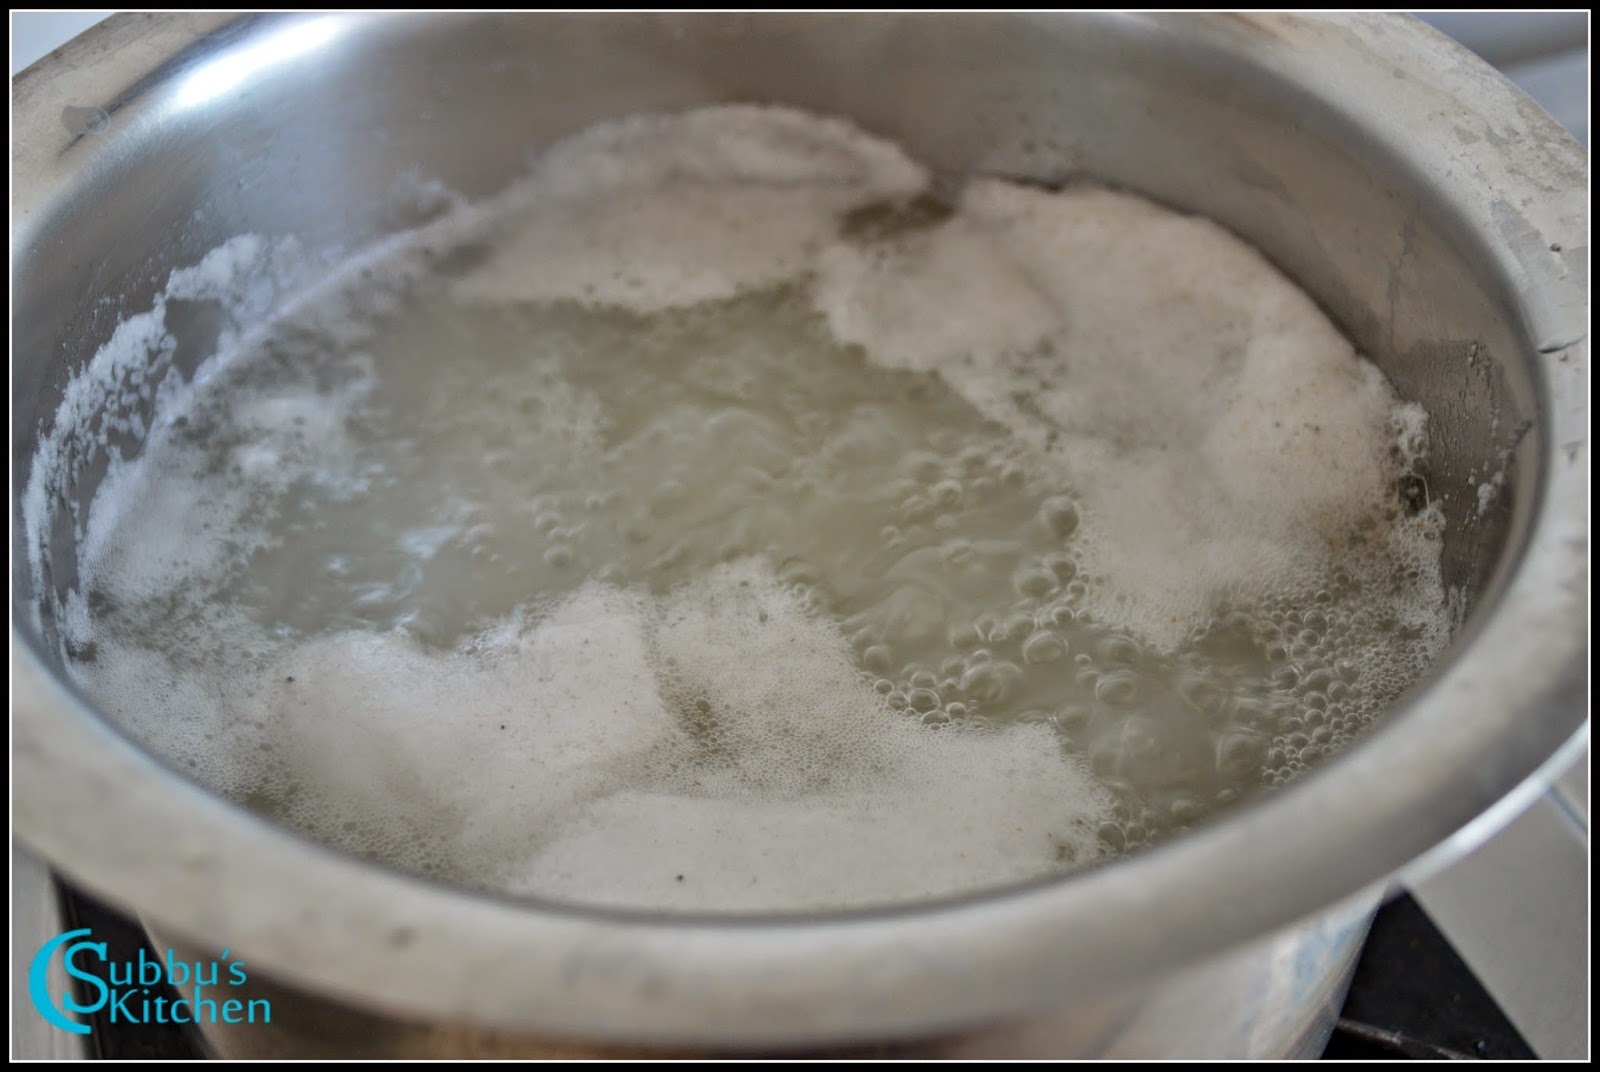
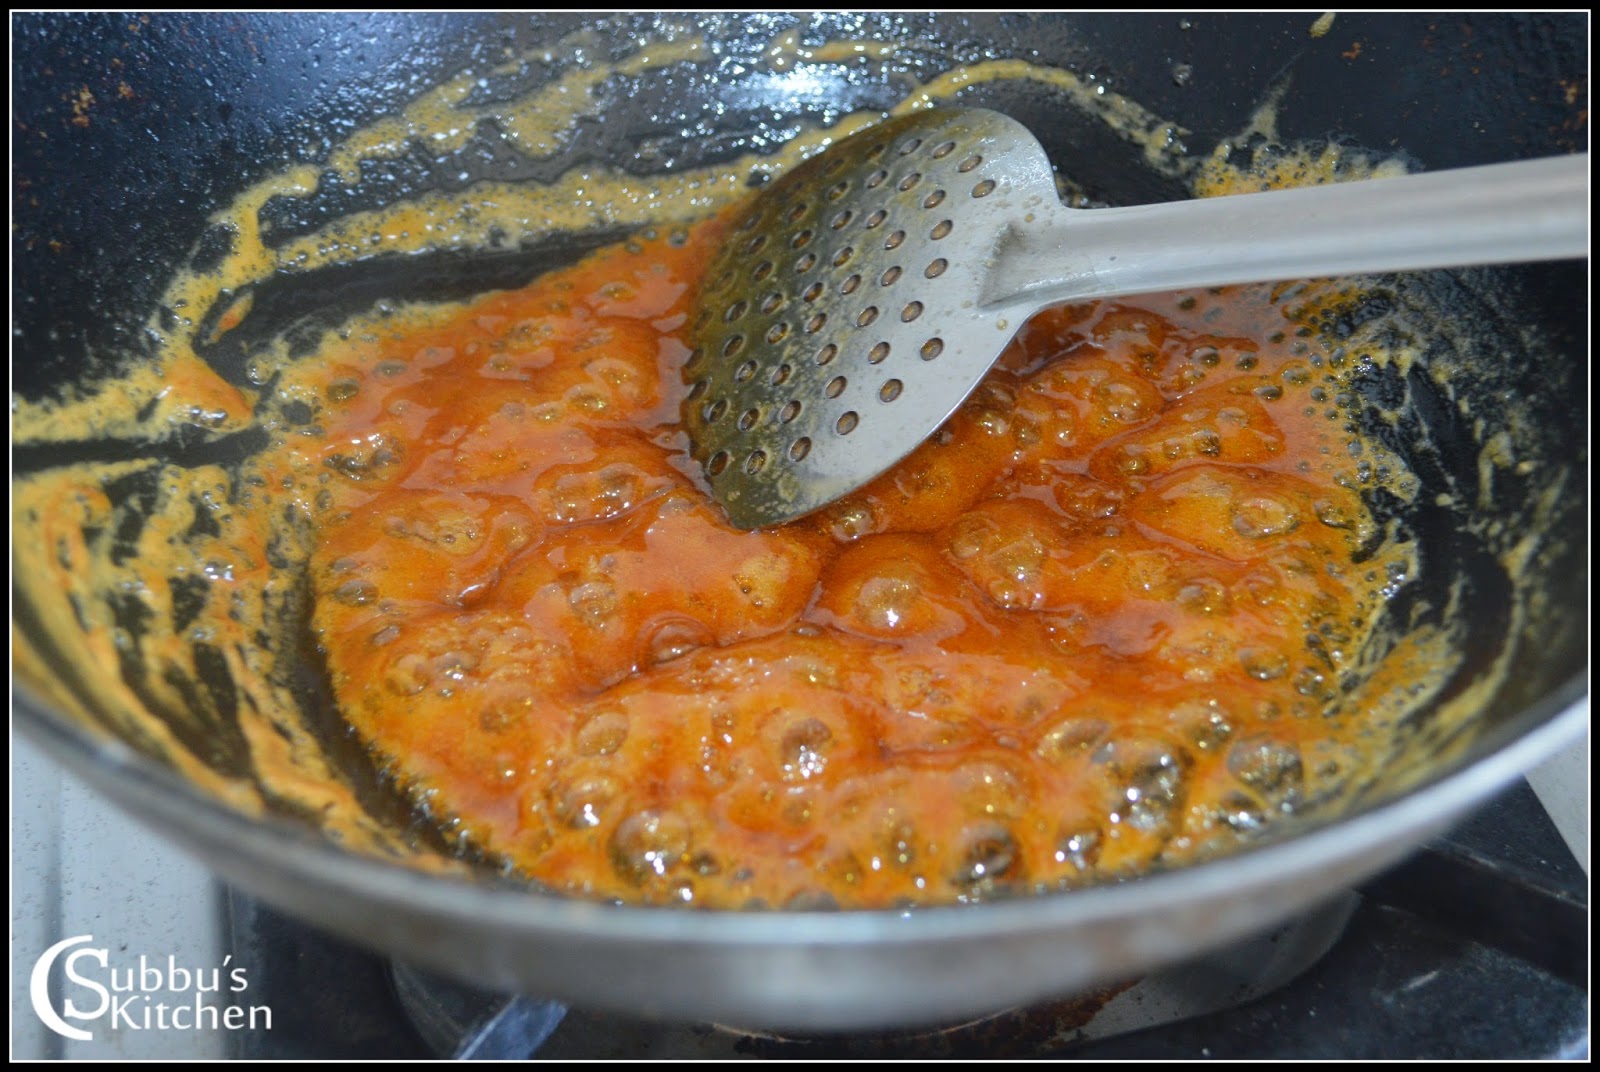
- After 10 minutes, the kneaded cheese would be like a dough. make small lemon sized balls out of the cheese dough. Make sure the sizes are small, because cooking the cheese balls in the sugar syrup doubles its size. Lets heat a cooker or a broad and thick bottomed vessel. Add water and sugar and bring it to boil. When the sugar syrup starts to boil with bubbles, add 2 tablespoon of milk to the boiling sugar syrup. Adding milk to the sugar syrup separates the dust from the sugar and makes it float at the top of the syrup. We can then easily remove the dust using a ladle. This step is optional. If you have clear white sugar, we can skip this. If any dust present in the sugar, it would make the syrup look slightly dull in colour and your rasgullas would not look good in the dull sugar syrup.
- Make sure your sugar syrup is absolutely boiling and add cardamom powder and then drop the cheese balls in the sugar syrup. Cook the cheese balls in the sugar syrup for about 20 minutes with the pan closed with the lid. Gently stir the cheese balls every 5 minutes till they are cooked. You could see the size of the cheese balls gets doubled when they are fully done.
- After 20 minutes, keep the flame low and cook for another 5 minutes. At this stage check the consistency of the sugar syrup, if it is too thick, add a ladle of water and again cook the rasgullas. If the sugar syrup is too thin, keep in low flame for more time to get a thicker consistency. Finally when the sugar syrup is in correct consistency and the rasgullas are cooked, then switch off the flame. Bring the rasgullas to room temperature and then refrigerate for atleast 7-10 hours.
- Our yummy soft and spongy Bengali Rasgulla is now ready to serve Chilled. Add 1-2 rasgullas to a serving bowl and add 1 ladle of sugar syrup. Garnish with finely chopped almonds and pistachios on top of the rasgulla and Serve!


 |
| Rasgulla Recipe | Bengali Sponge Rasgulla Recipe |


.jpg)


")
")


")
 / Deepavali Marundhu")


 / Deepavali Marundhu")