Quantcast
Channel: Subbus Kitchen
Viewing all 1833 articles
Browse latest View live

Bitter Gourd Masala Stir-Fry Recipe | Pavakkai Masala Curry Recipe

$
0
0
Bittergourd as the name explains is a very bitter vegetable. Many of us doesn't like bittergourd and we skip this healthy vegetable. But my family loves this Bittergourd and I make different dishes with bittergourd such as Bittergourd Theeyal, Bittergourd Pitlai etc. We can make plain bittergourd stir-fry which might be little bitter but if we add some masalas along with onion, tomato and potato then the bitterness is nicely reduced and this Bitter Gourd Masala Stir-Fry would be so inviting and appetizing and we would love to have more servings. Lets see how to make this yummy Bitter Gourd Masala Stir-Fry (Pavakkai Masala Curry)...


Bitter Gourd Masala Stir-Fry Recipe | Pavakkai Masala Curry Recipe

Preparation and Yield:
Preparation time45 mins
Cooking Time35 mins
Servings4

Bitter Gourd Masala Stir-Fry Recipe | Pavakkai Masala Curry Recipe

Ingredients:
Bitter Gourd / Pavakkai4 big or 8 small
Onion2
Tomato2
Potato1
Red Chilli Powder1/4 teaspoon
Lemon Juice2 teaspoon
Turmeric Powder1/2 teaspoon
Garam Masala Powder1 teaspoon
Grated Coconut2 teaspoon
SaltTo Taste
Oil2 tablespoon


For Seasoning:
Oil1 teaspoon
Cumin Seeds1 teaspoon
Curry Leavesfew
Green Chilli2

Method:
  1. Wash and chop the bittergourd in circles and remove the seeds. Finely chop the onions, tomatoes and slit the green chilli and keep it ready. Take the chopped bittergourd pieces in a bowl and add red chilli powder, turmeric powder, salt and lemon juice and mix well and marinate it for about 30-40 minutes. After marination, Heat oil in a pan, add and spread the bittergourd pieces and fry them in oil till they are golden brown. Take the fried bittergourd in a plate.

  2. Heat oil in the pan, add cumin seeds. When the cumin seeds starts to sputter, add curry leaves and slit green chillies and fry for couple of seconds. Add chopped onions along with a pinch of salt and saute the onions till they are transparent

  3. Then, add the tomatoes and saute till they are mushy. Add chopped potato to the pan 

  4. Add water to cook the potatoes and cover the pan with a lid and keep the flame in medium to cook the potatoes. When the potatoes are cooked, add fried bittergourd to the pan and mix well

  5. Then add garam masala, salt and grated coconut and mix well and switch off the flame. 

  6. The spicy and yummy Bitter Gourd Masala Stir-Fry is now ready to serve. Relish this yummy dish with rice or roti!
  7. Bitter Gourd Masala Stir-Fry Recipe | Pavakkai Masala Curry Recipe
    Bitter Gourd Masala Stir-Fry Recipe | Pavakkai Masala Curry Recipe


Paruppu Urundai Mor Kuzhambu

$
0
0
Paruppu urundai Mor kuzhambu is a famous dish made in southern part of Tamilnadu and Kerala. Even the little children like to eat the paruppu urundai as it is very yummy. Already I have shared the recipe of paruppu urundai kuzhambu and is much similar to that.

Paruppu Urundai Mor Kuzhambu


For kuzhambu, we put the paruppu urundai directly in kuzhambu to cook. But generally we don't boil the mor kuzhambu. When the mor kuzhambu starts becoming frothy, We have to switch it off else the mor kuzhambu gets diluted. So we steam cook the paruppu urundai and add it to the mor kuzhambu before switching it off. Lets see how to make this yummy Paruppu Urundai Mor Kuzhambu.

Paruppu Urundai Mor Kuzhambu

Preparation and Yield:
Preparation time12 hours
Cooking Time40 mins
Servings5

Paruppu Urundai Mor Kuzhambu


Ingredients for Paruppu Urundai:
Thur Dal1/2 Cup
Chana Dal1/2 Cup*
Red chilli2
Hing a Pinch

* 1 Cup = 250ml
Ingredients for Mor Kuzhambu:
Thick yogurt1 Cup
SaltTo taste
Turmeric Powder1/4 teaspoon
Red Chilli2
Green Chilli3
Rice Flour1 tablespoon
Grated Coconut1/2 Cup*

Ingredients for Seasoning:
Oil1 teaspoon
Mustard Seeds1 teaspoon
Fenugreek Seeds1 teaspoon
Curry Leavesfew

Method:
  1. Soak the dhals in water for 1 hour. After 1 hour, drain the water and add small quantity of dals with the chillies, salt and hing in a mixer

  2. Once the chillies are crushed in the mixer, add the remaining dhals and grind it once. The dhal should be coarse. Take this in a bowl and set it aside.  Make small balls of the dhal and place it in idli plates  

  3. Place the idli plates in a steamer or cooker and steam it for 10 minutes. Now our paruppu urundai are ready

  4. Lets prepare the mor kuzhambu. First,  Grind the coconut, red and green chillies and rice flour to a fine paste

  5. Add the ground paste to the sour thick butter milk and turmeric powder in a heavy bottomed pan and place it in a flame. When the mixture starts to become frothy, add the cooked balls of paruppu urundai and stir carefully and then switch off the flame. Add salt and stir well. Salt may dilute the mor kuzhambu if you add it while boiling the mor kuzhambu. 

  6. In a separate pan add the oil and when the oil is hot add the mustard seeds. When the mustard sees begins to sputter add the fenugreek seeds and fry it until it becomes red colour and then add curry leaves. Add these to the moorkuzhambu. 

  7. Now the Paruppu urundai moorkuzhambu is ready to Serve.
  8. Paruppu Urundai Mor Kuzhambu
    Paruppu Urundai Mor Kuzhambu

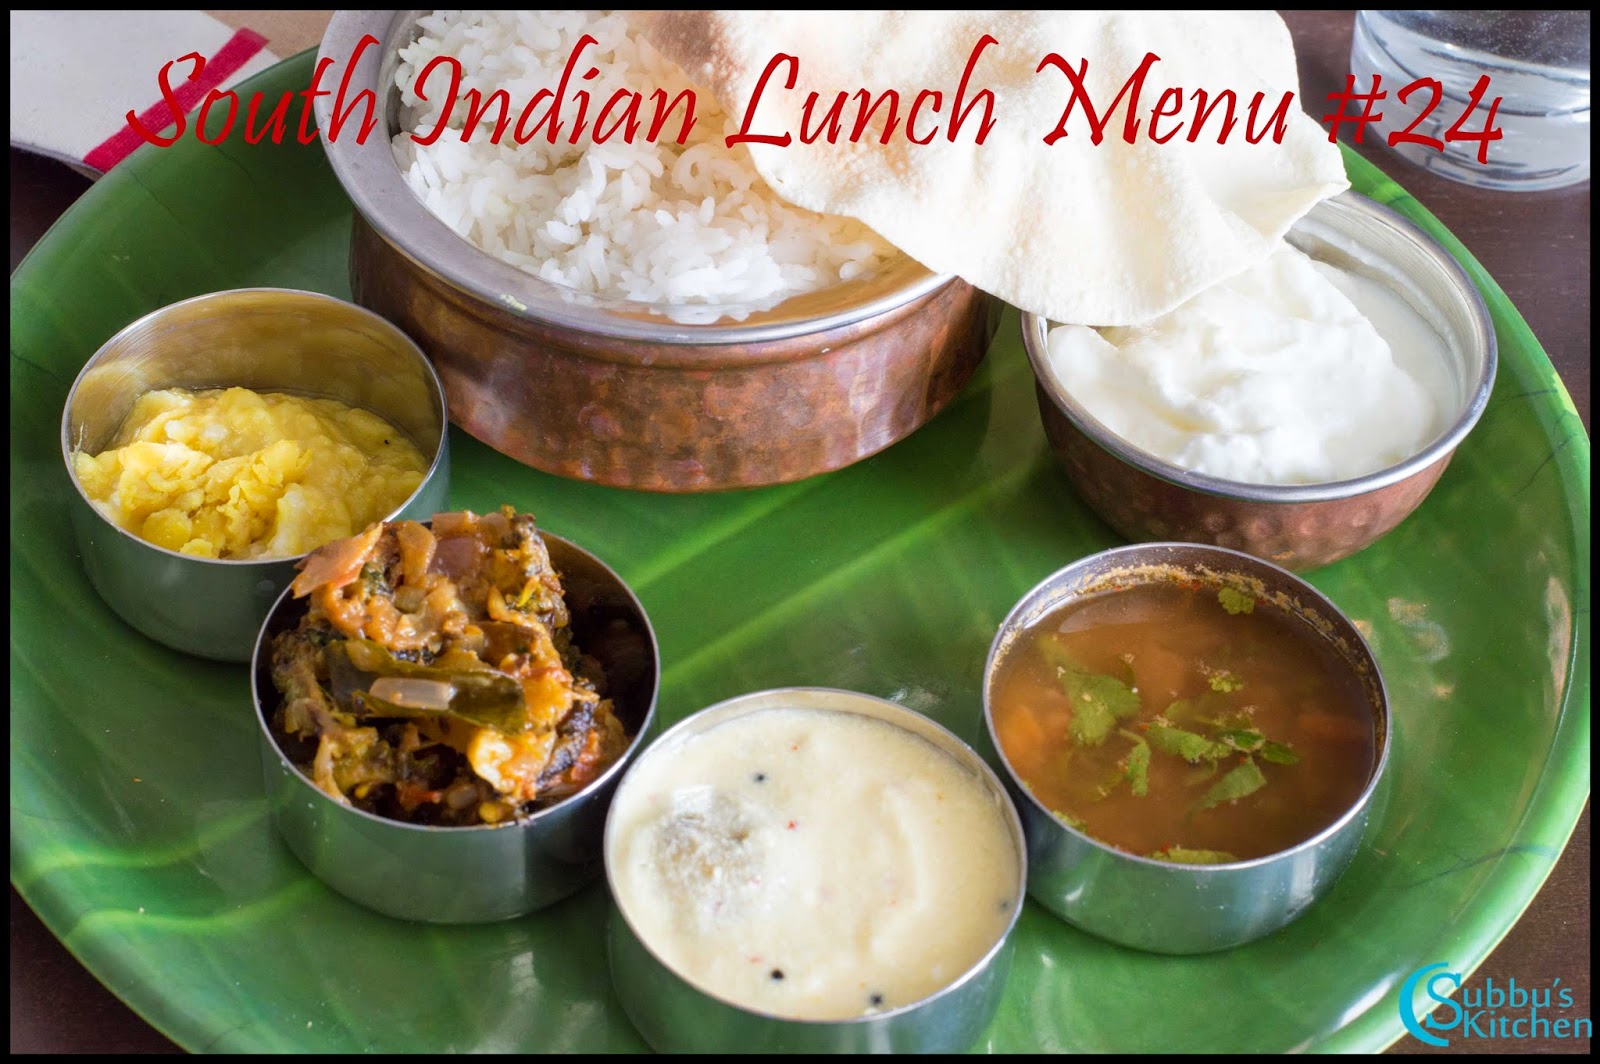
South Indian Lunch Menu 24 - Paruppu Urundai Mor Kuzhambu, Kalyana Rasam, Bittergourd Stir-Fry, Dal with ghee, Curd and Papad

$
0
0
A special lunch menu this week. A perfectly mouth-watering lunch menu. Paruppu Urundai Mor Kuzhambu with Bitter Gourd Stir-Fry, Kalyana Rasam, Dal with ghee, curd and papad. Always a stir-fry curry would be best choice for Mor kuzhambu. Ladys finger fry, Kovakkai Fry, potato fry, Tara root fry etc. This time I have opted Bitter Gourd Stir-Fry. I love this combination. Mor kuzhambu is generally very light in spice, and hence a spicy stir-fry would be a best accompaniment. 

Instead of a plain Mor Kuzhambu, this time I have enriched with Paruppu Urundai. Paruppu Urundai soaked in mor kuzhambu is a very yummy dish. Also a tomato rich rasam would be a best combo. So I have enriched the menu with Kalyana Rasam. Finally serve with Dal with ghee and also with curd and papad. 

This menu could be finished within 2 hours. Just a little planning ahead will make our life easier. Soaking the dals over night for paruppu urundai will ease our mor kuzhambu preparation. Also for Bitter gourd stir -fry we need some time for marinating. Rest of all are simple and straight. Lets see the individual dishes enriching this menu...

South Indian Lunch Menu 24 - Paruppu Urundai Mor Kuzhambu, Kalyana Rasam, Bittergourd Stir-Fry, Dal with ghee, Curd and Papad


Preparation and Yield:
Preparation time12 hours
Cooking Time1 hour & 45 mins
Servings5

Recipes:
Paruppu Urundai Mor KuzhambuBitter Gourd Stir-Fry

Kalyana Rasam


South Indian Lunch Menu 24 - Paruppu Urundai Mor Kuzhambu, Kalyana Rasam, Bittergourd Stir-Fry, Dal with ghee, Curd and Papad

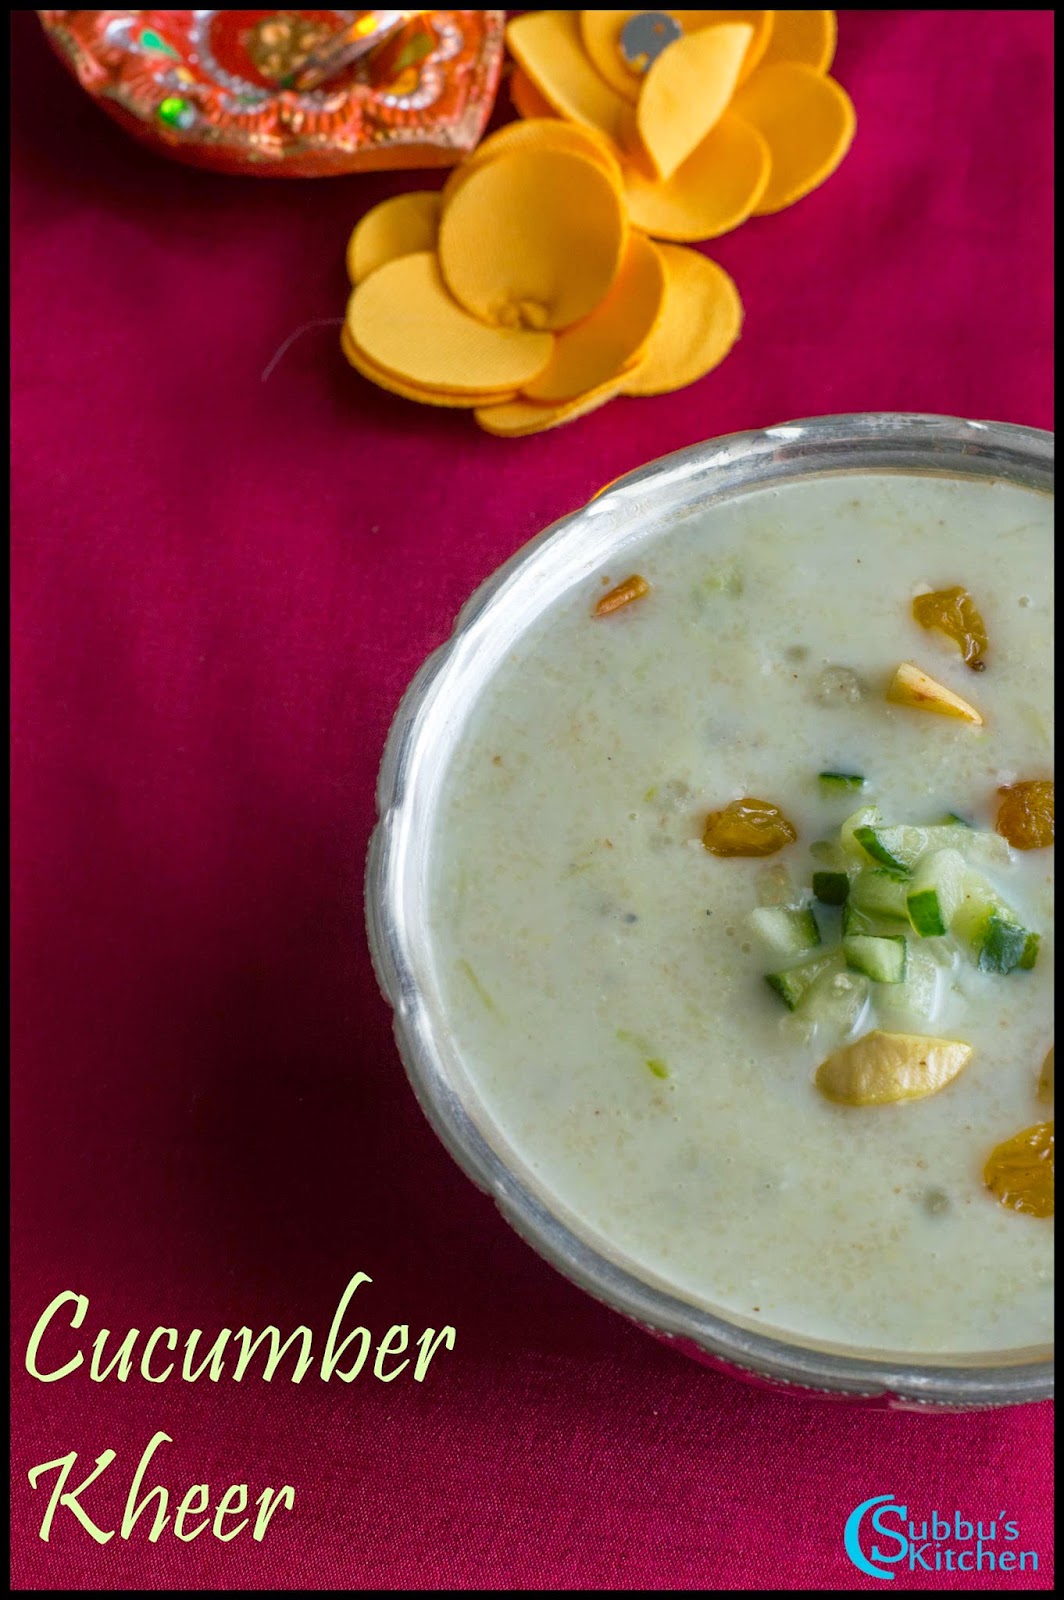
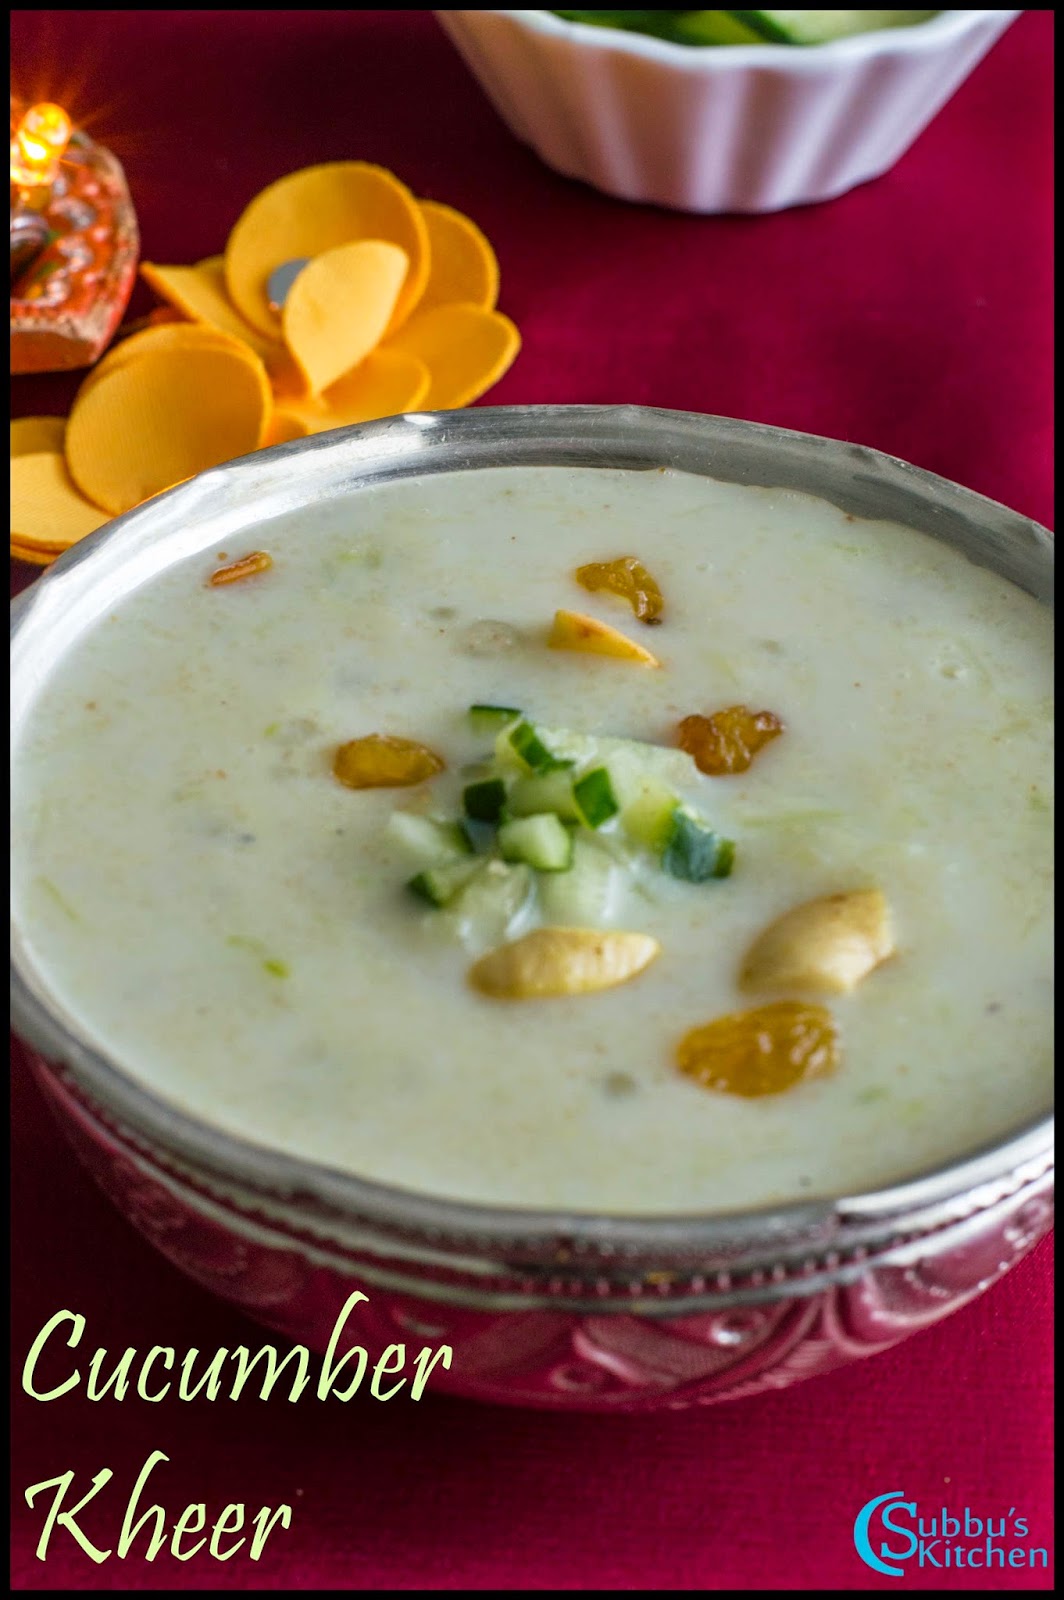
Cucumber Kheer Recipe | Vellarikkai Payasam Recipe

$
0
0
I happen to see this Cucumber Kheer(Vellarikkai Payasam) in one of the TV shows. I was so fascinated by this and tried it immediately and it turned out awesome. I have made a slight variation. The kheer is so tasty and yummy. Generally, milk kheer (Pal Payasam), semolina kheer and other dal kheers are the traditional and conventional kheers we use to make at home. This is a very unique and yummy kheer. 

Cucumber Kheer Recipe | Vellarikkai Payasam Recipe

Grated cucumber along with sabudana, sooji and sugar concocted together to a tasty and yummy kheer. Garnish with nuts and raisins and enjoy this wonderful dish. A different payasam variety to surprise your family and friends. Lets see how to make this wonderful dish...


Cucumber Kheer Recipe | Vellarikkai Payasam Recipe


Preparation and Yield:
Preparation time30 mins
Cooking Time35 mins
Servings5

Cucumber Kheer Recipe | Vellarikkai Payasam Recipe

Ingredients:
Grated Cucumber1 Cup
Semolina / Sooji / Rawa2 tablespoon
Sago / Sabudana / Jevvarasi1/4 Cup
Sweetened Condensed Milk1/2 Cup
Sugar1/4 Cup
Cardamom Powder1/4 teaspoon
Raisins10
Cashews10
Milk1/4 Cup
Ghee1 tablespoon


Cucumber Kheer Recipe | Vellarikkai Payasam Recipe


Method:

  1. Rinse and Soak the sago in water for 30 minutes. Wash, Peel and grate the cucumber. Take 1 cup of grated cucumber and set it aside

  2. After half an hour, drain the water from sago. Place a saucepan in the flame and add the soaked and drained sago and add water and cook it till the sago is soft. Heat ghee in a pan and add the broken cashews and raisins and saute them till the cashews turn golden brown color.  Take this roasted cashews and raisins in a separate bowl or plate. 

  3. In the same pan, add the semolina and roast it till you get a nice aroma and the semolina changes slightly brown color. Add 1/2 Cup of hot water to the pan to cook the semolina. 

  4. When the semolina is half-cooked, add the grated cucumber to the pan and stir well. Add milk to the pan and cook the cucumber. 

  5. When the cucumber are cooked fully and becomes tender, add the cooked sago and condensed milk and stir well. Keep in low flame for 5 minutes. Add cardamom powder along with roasted cashews and raisins and remove from flame. We can also add unsweetened khoya that will add more taste to this payasam

  6. Yummy and delicious Cucumber Kheer (Vellarikkai Payasam) is now ready to serve!
  7. Cucumber Kheer Recipe | Vellarikkai Payasam Recipe
    Cucumber Kheer Recipe | Vellarikkai Payasam Recipe

Vermicilli Cutlet Recipe | Semiya Cutlet Recipe

$
0
0
Vermicilli Cutlet (Semiya Cutlet) is one of the yummy and crunchy evening Snack! Like other conventional cutlets, vermicilli cutlet also has the same procedure. The only variation here is the vermicilli. Most of the cutlets we use lots of veggies. But here vermicilli is our main ingredient along with potato, bread crumbs and coarse peanut powder. Combine everything and make scrumptious and crunchy Vermicilli cutlets. This would be a perfect snack for the children after they return from school and also a perfect snack to go with hot coffee / tea in the evening. As I always mention, taking deep fried / shallow fried snacks once a while doesn't make our diet unhealthy. So try this yummy cutlet and let me know your comments!

Vermicilli Cutlet Recipe | Semiya Cutlet Recipe

Preparation and Yield:
Preparation time20 mins
Cooking Time40 mins
Yield15 Cutlets

Vermicilli Cutlet Recipe | Semiya Cutlet Recipe

Ingredients:
Vermicilli / Semiya1/2 Cup*
Boiled Potatoes2
Bread Crumbs3/4 Cup
Crushed Peanuts1/4 Cup
Green Chilli2
SaltTo taste
Lemon Juice1 teaspoon
OilFor Frying

* 1 Cup = 250ml


Vermicilli Cutlet Recipe | Semiya Cutlet Recipe

Method:

  1. Measure 1/2 Cup of vermicilli and set it aside. Boil 2-3 cups of water and add the vermicilli  to the boiling water and cook it till it becomes soft and tender. Generally it takes only 2-3 minutes for the vermicilli to cook in boiling water

  2. Once the vermicilli is cooked, strain the excess water and take the cooked vermicilli in a mixing bowl. Allow it to cool is that you can handle it with your hands. Once the vermicilli is cooled off, add boiled, peeled and mashed potatoes to the mixing bowl

  3. Then add, crushed peanuts to the mixing bowl followed by bread crumbs. We can add each ingredient in any order we want. 

  4. Add finely chopped green chillies, salt and lemon juice to the mixing bowl and mix well to make it like a dough. The dough should not be sticky. if it is sticky then add little more bread crumbs. Grease your palm with little oil and take lemon sized balls out of the dough and make cutlets in any shape like circle or oval. Make cutlets out of the dough and set it aside

  5. Heat oil in a pan for deep frying. When the oil is hot enough, gently drop 4-5 cutlets in the pan and deep fry them on the both the side till they are golden brown color

  6. When the cutlets are crispy and turns golden brown color remove from oil and place it in tissue paper to drain excess oil. Repeat the step for rest of the cutlets

  7. The crunchy and yummy Vermicilli Cutlets are now ready to serve! Serve with your favourite dips and enjoy the snack!
  8. Vermicilli Cutlet Recipe | Semiya Cutlet Recipe
    Vermicilli Cutlet Recipe | Semiya Cutlet Recipe

Plantain Stem Stew Recipe | Vazhathandu Kootu Recipe

$
0
0
Banana tree is the only plant which is useful to us from leaves to stem. Plantain stem is a nutritional rich veggie. It is rich in fiber and very good diet for diabetic patients too. This Plantain Stem Stew (Vazhathandu kootu) is a delicious and healthy dish. Generally many of us find it difficult or lazy to cook plantain stem because of its fibrous nature. To chop the Plantain stem, we need little more patience. We have to put more efforts to cook Plantain stem and Plantain flower, but once we are done with the chopping, then preparation of the dish is quite simple. Like other vegetable stews, Plantain Stem Stew has also the same procedure. A slight variation is that, I have used thur dal instead of moong dal. Rest of the procedure remains same. Lets see how to cook this healthy dish!

Plantain Stem Stew Recipe | Vazhathandu Kootu Recipe


Preparation and Yield:
Preparation time20 mins
Cooking Time25 mins
Servings3

Plantain Stem Stew Recipe | Vazhathandu Kootu Recipe

Ingredients:
Plantain Stem1 / 350gms
Thurdal1/4 Cup
Turmeric Powder1/4 teaspoon
SaltTo taste
Coconut Oil1 teaspoon


For Grinding:
Oil1 teaspoon
Channa Dal1 teaspoon
Coriander Seeds2 teaspoon
Grated Coconut2 tablespoon

For Seasoning:
Oil1 teaspoon
Mustard Seeds1 teaspoon
Split Urid dal1 teaspoon
Red Chilli1
Curry Leavesfew
Method:
  1. Remove the outer rings of the stem so that there are no more rings seen in the cross section. Cut the stem into thin disks. Remove the fibers between the disks by one of your fingers.It is the most frustrating part of preparing banana stem for cooking :-)Slice the disks into a smaller pieces and immerse the same in the butter milk and water mixture as this will preserve the original color of the stem otherwise this will turn out to be black in color

  2. I always prefer to cook the Plantain stem in pressure cooker as it will take more time to cook over gas top. Take the chopped plantain stem in a vessel and add turmeric powder and water. Place the vessel in the cooker and allow it to cook for 2-3 whistles. Once the plantain stem is cooked, allow the pressure to release and then gently remove from cooker and set it aside.

  3. Pressure cook the thurdal with a pinch of turmeric. Once cooked, mash the dal nicely and set it aside

  4. Heat oil in a pan and fry the grinding ingredients other than coconut. Take these in a mixer and add coconut to the mixer

  5. Grind all these to a nice paste. Heat oil in a pan and add the mustard seeds. When the mustard seeds starts to sputter, add split urid dal and saute them till the dal turns golden brown. Then add broken red chilli and curry leaves and saute for few seconds. 

  6. Add the cooked plantain stem to the pan. Add the mashed dal to the pan and mix well

  7. Next, add the ground paste and mix well. Bring the stew to boil and then switch off the flame. 

  8. The healthy Plantain Stem Stew is now ready to serve!
  9. Plantain Stem Stew Recipe | Vazhathandu Kootu Recipe
    Plantain Stem Stew Recipe | Vazhathandu Kootu Recipe

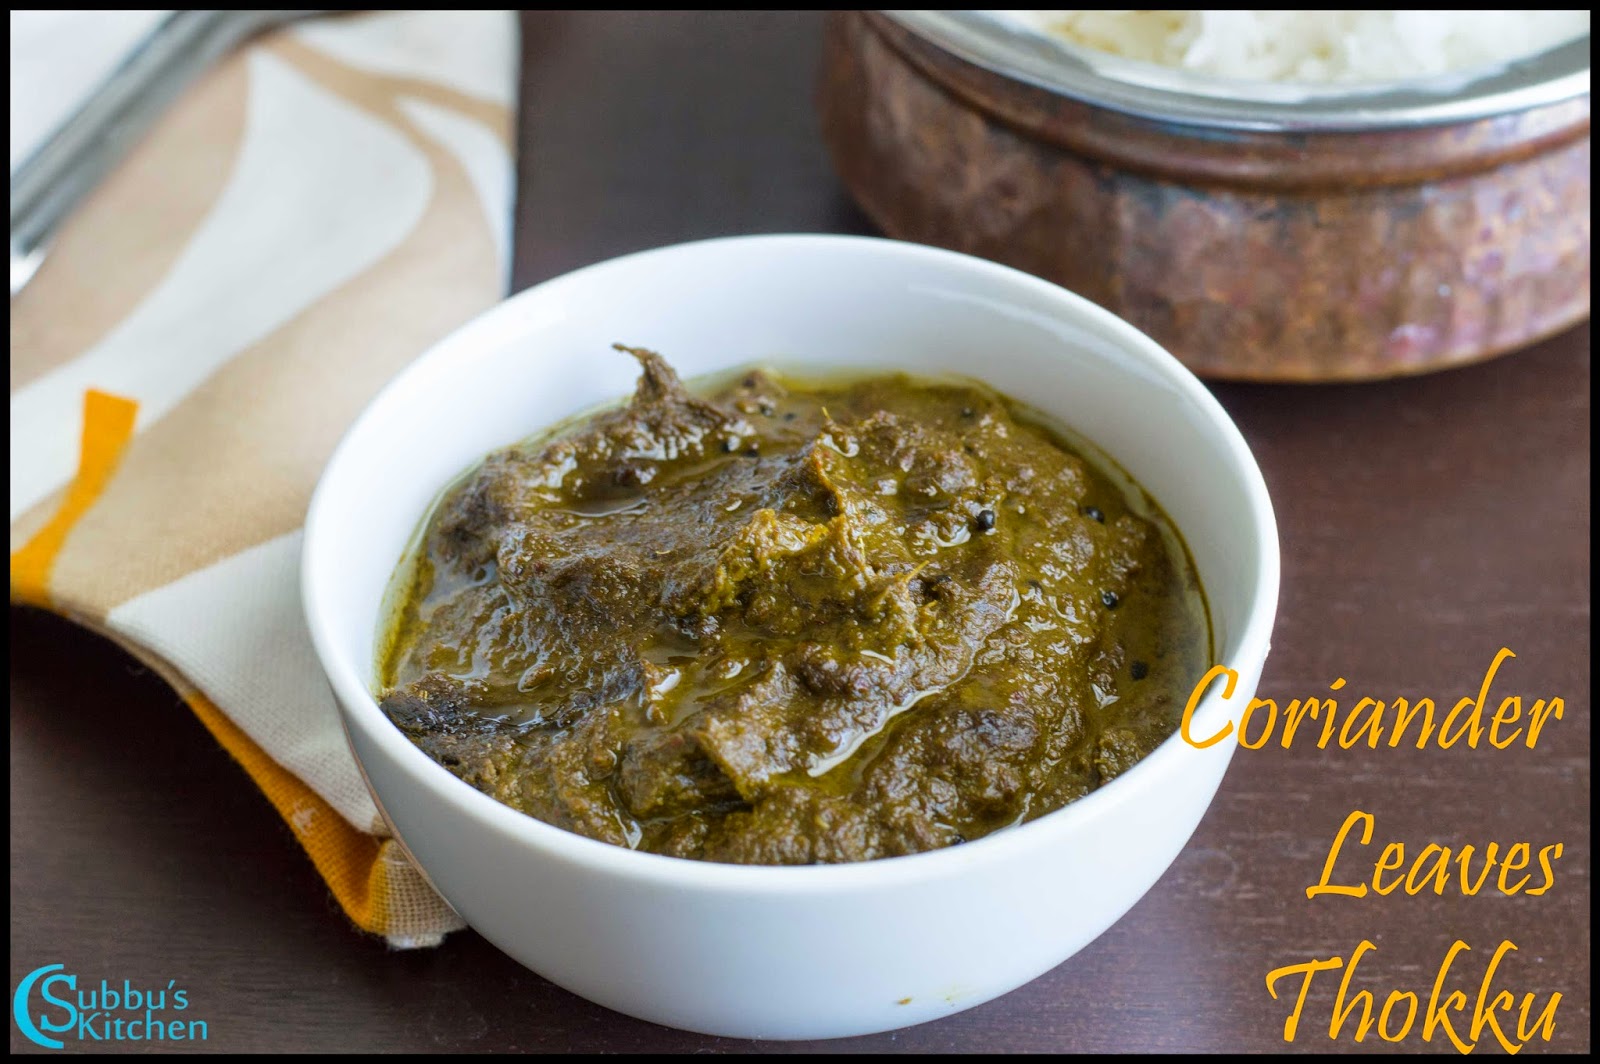
Coriander Leaves Thokku Recipe | Kothamalli Thokku Recipe

$
0
0
Sometimes, we have surplus of coriander leaves. Though we chop and store it in air-tight container and refrigerate it, sometimes it might get rotten. So we can make coriander leaves thogayal or thokku. Coriander leaves Thokku (Kothamalli Thokku) is another travel friendly recipe. For long time travel, we always plan ahead about many things.  One of the important aspect in travel is the food. Many of us are not a great fan of restaurant food. Once a while, we love to have restaurant food, but to have it continuously might affect our digestive system because of many artificial substances being added to food in restaurants. So many of us plan to take some homemade travel safe dishes. 

Coriander leaves thokku is one such wonderful dish which is travel safe dish too. This dish you could make it very quickly and the aroma of the coriander leaves  is extraordinary. We can make this yumy thokku and mix with hot steaming rice along with a spoon of gingelly oil. If you are making this for travel, then add 2 tablespoon of oil as a top layer of the thokku before closing the thokku with a lid.

Coriander Leaves Thokku Recipe | Kothamalli Thokku Recipe


Preparation and Yield:
Preparation time10 mins
Cooking Time30 mins
Servings4

Coriander Leaves Thokku Recipe | Kothamalli Thokku Recipe

Ingredients:
Tightly packed Coriander Leaves2 Cups*
Tamarind1 gooseberry size
Red Chilli5-6
Hing1/4 teaspoon
Grated Jaggery1 teaspoon
Oil2 tablespoon
Mustard Seeds1 teaspoon

* 1 Cup = 250ml


Coriander Leaves Thokku Recipe | Kothamalli Thokku Recipe

Method:
  1. Remove the leaves and thin stem of the coriander leaves and measure it and clean it nicely

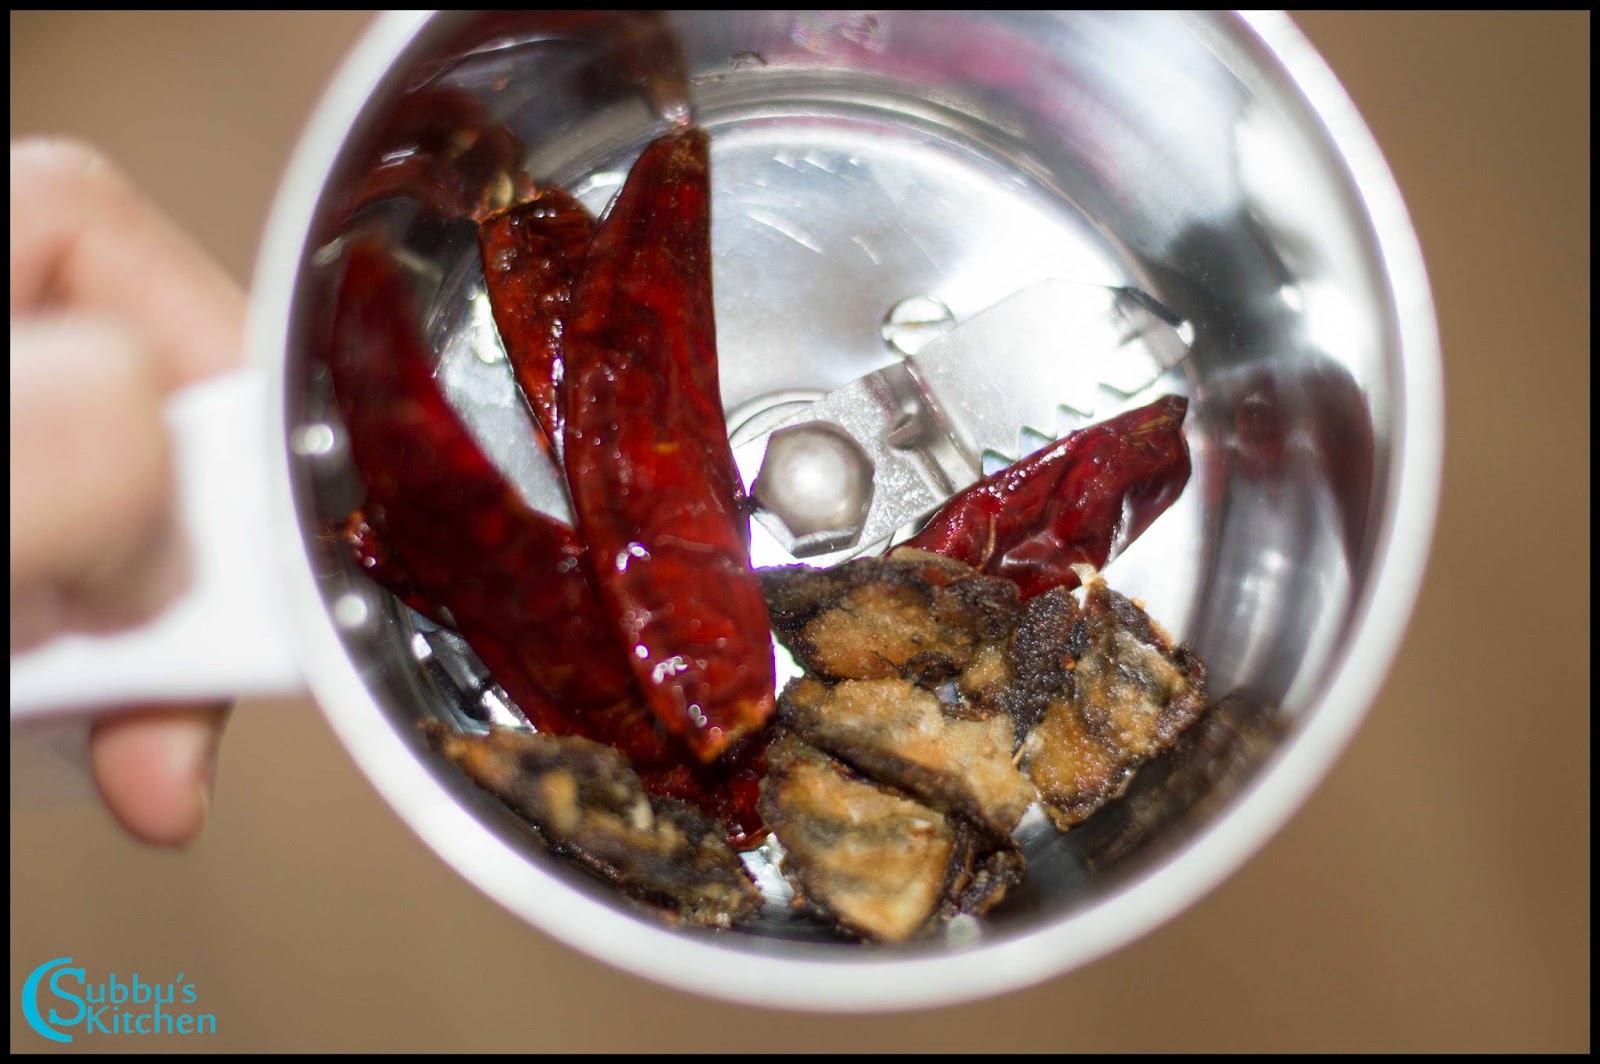
  2. Heat 1 teaspoon of oil, add tamarind, red chilli and saute it for couple of minutes. Then add the saute red chilli and tamarind in a mixer and grind it nicely

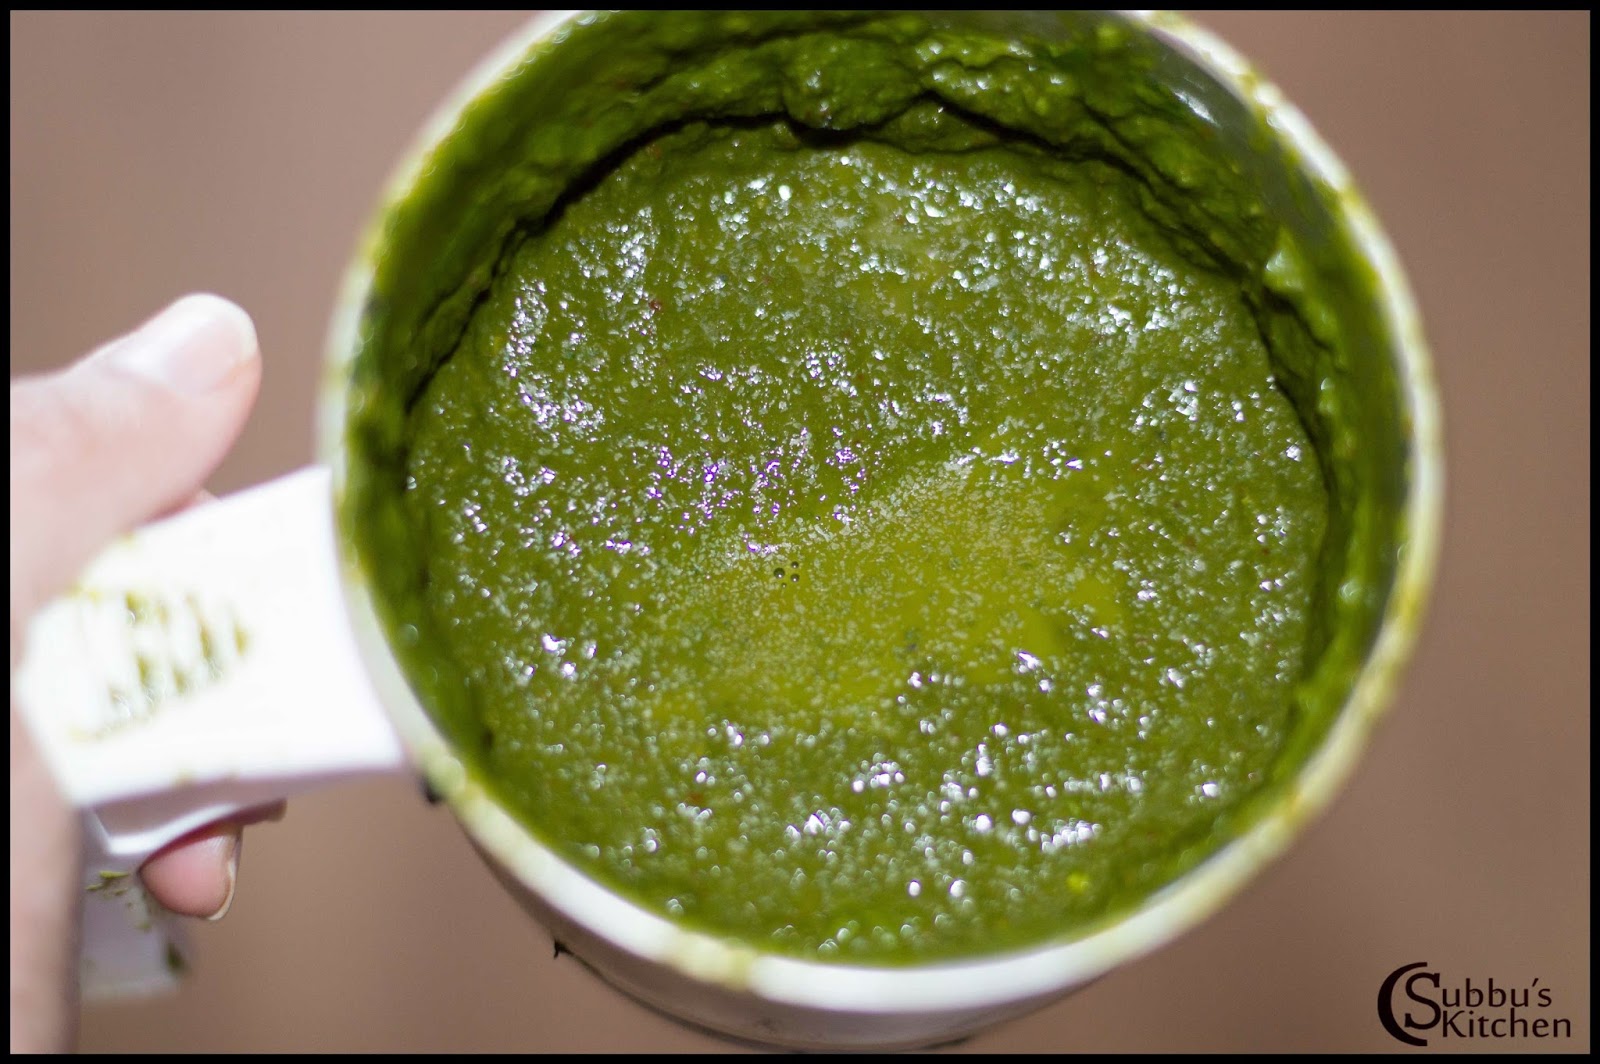
  3. Then add washed coriander leaves and grind it to a smooth paste by adding only little water. 

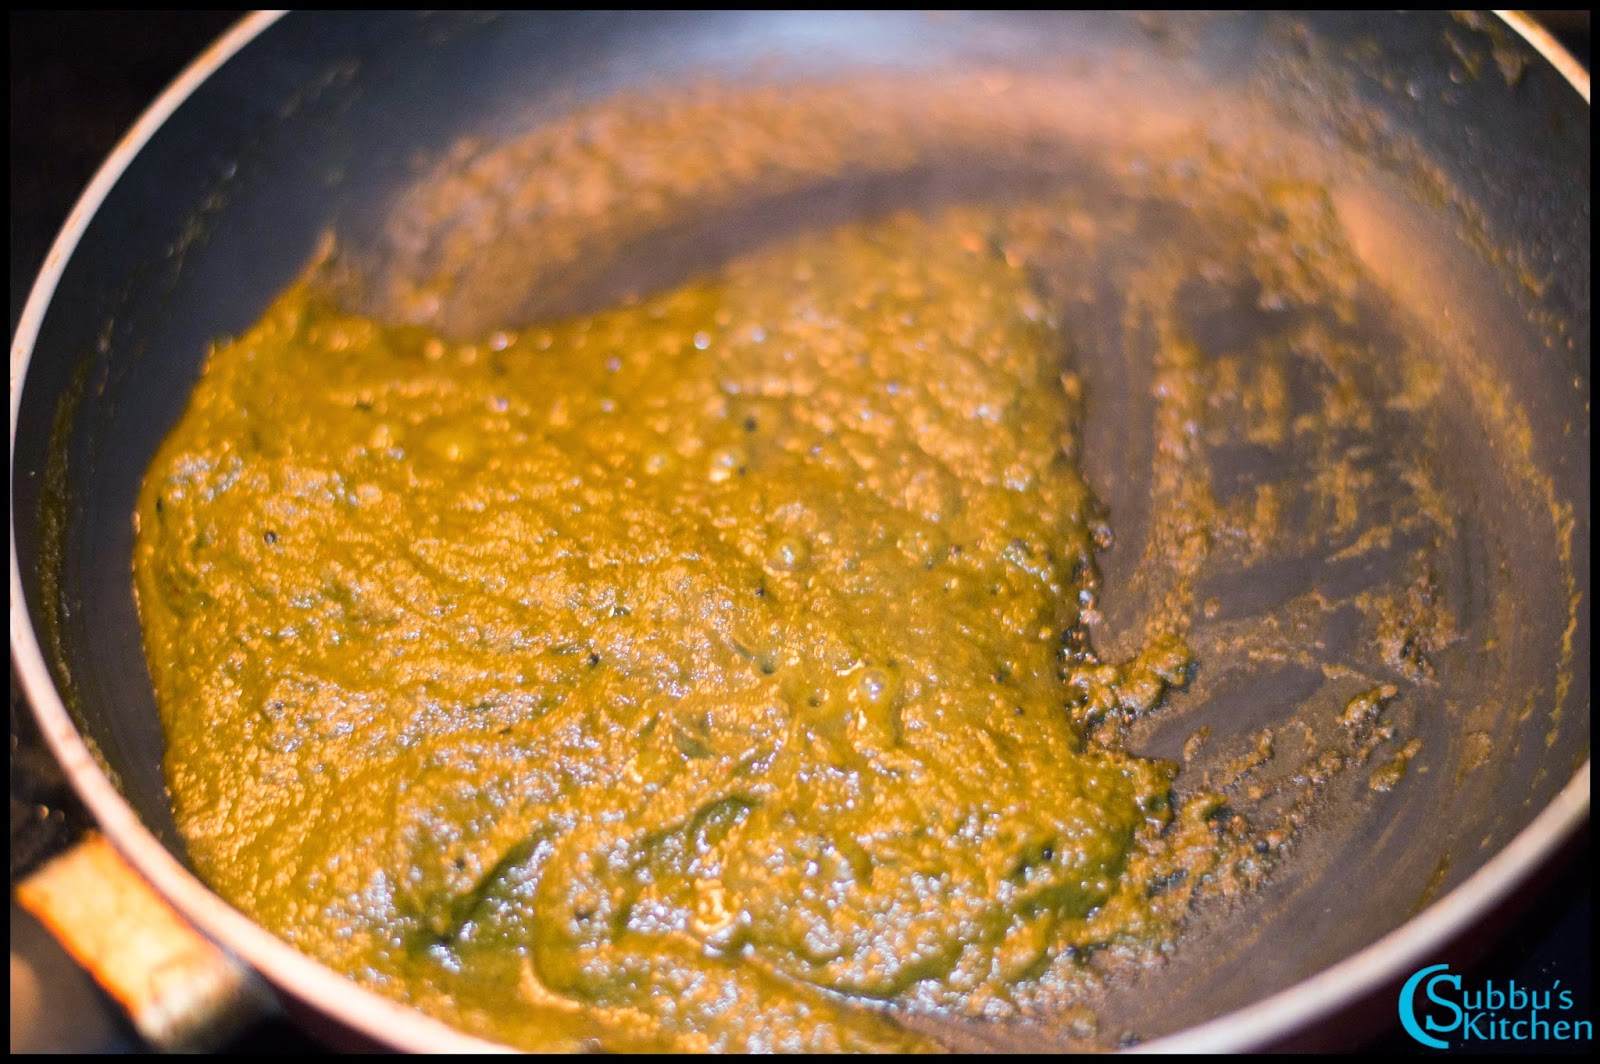
  4. Heat the remaining oil in the pan again and add the mustard seeds. When the mustard seeds starts to sputter, add the ground coriander-spice paste along with salt and allow the thokku to oil for 10 minutes in low flame. After 10 minutes, you can see the oil starts oozing out of the thokku and the thokku would have become thick also. Add jaggery now and mix well and remove from flame.

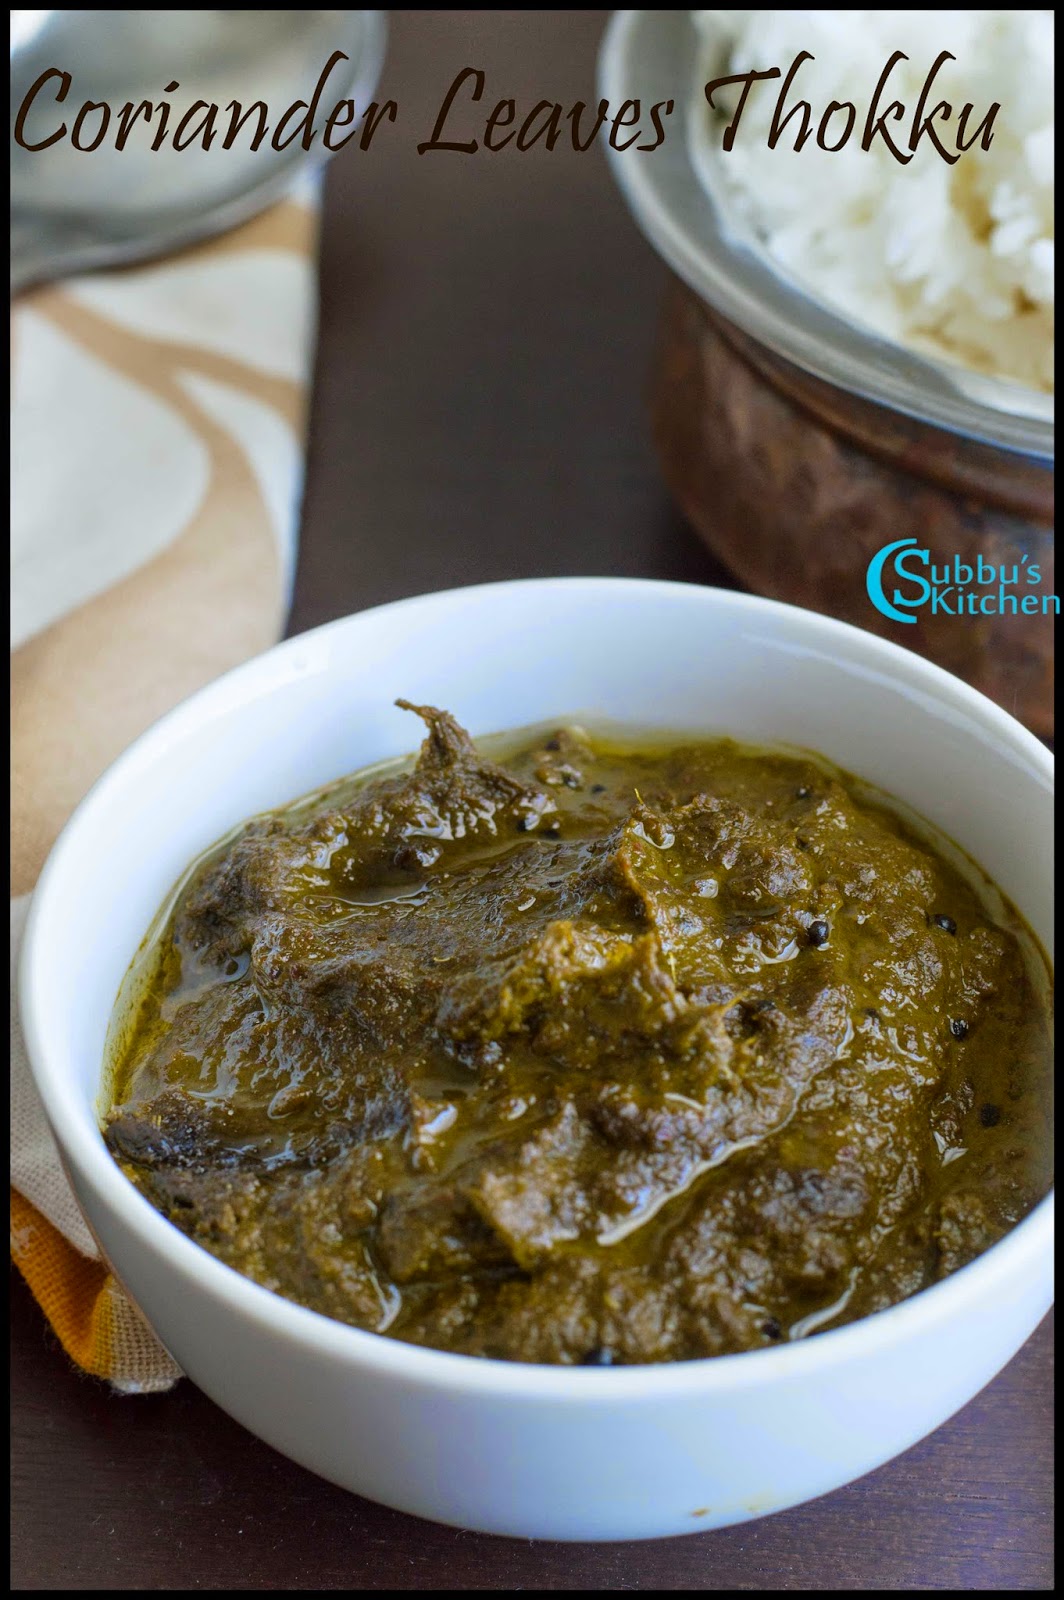
  5. Now Coriander Leaves Thokku (Kothamalli Thokku) is now ready to serve!
  6. Coriander Leaves Thokku Recipe | Kothamalli Thokku Recipe
    Coriander Leaves Thokku Recipe | Kothamalli Thokku Recipe

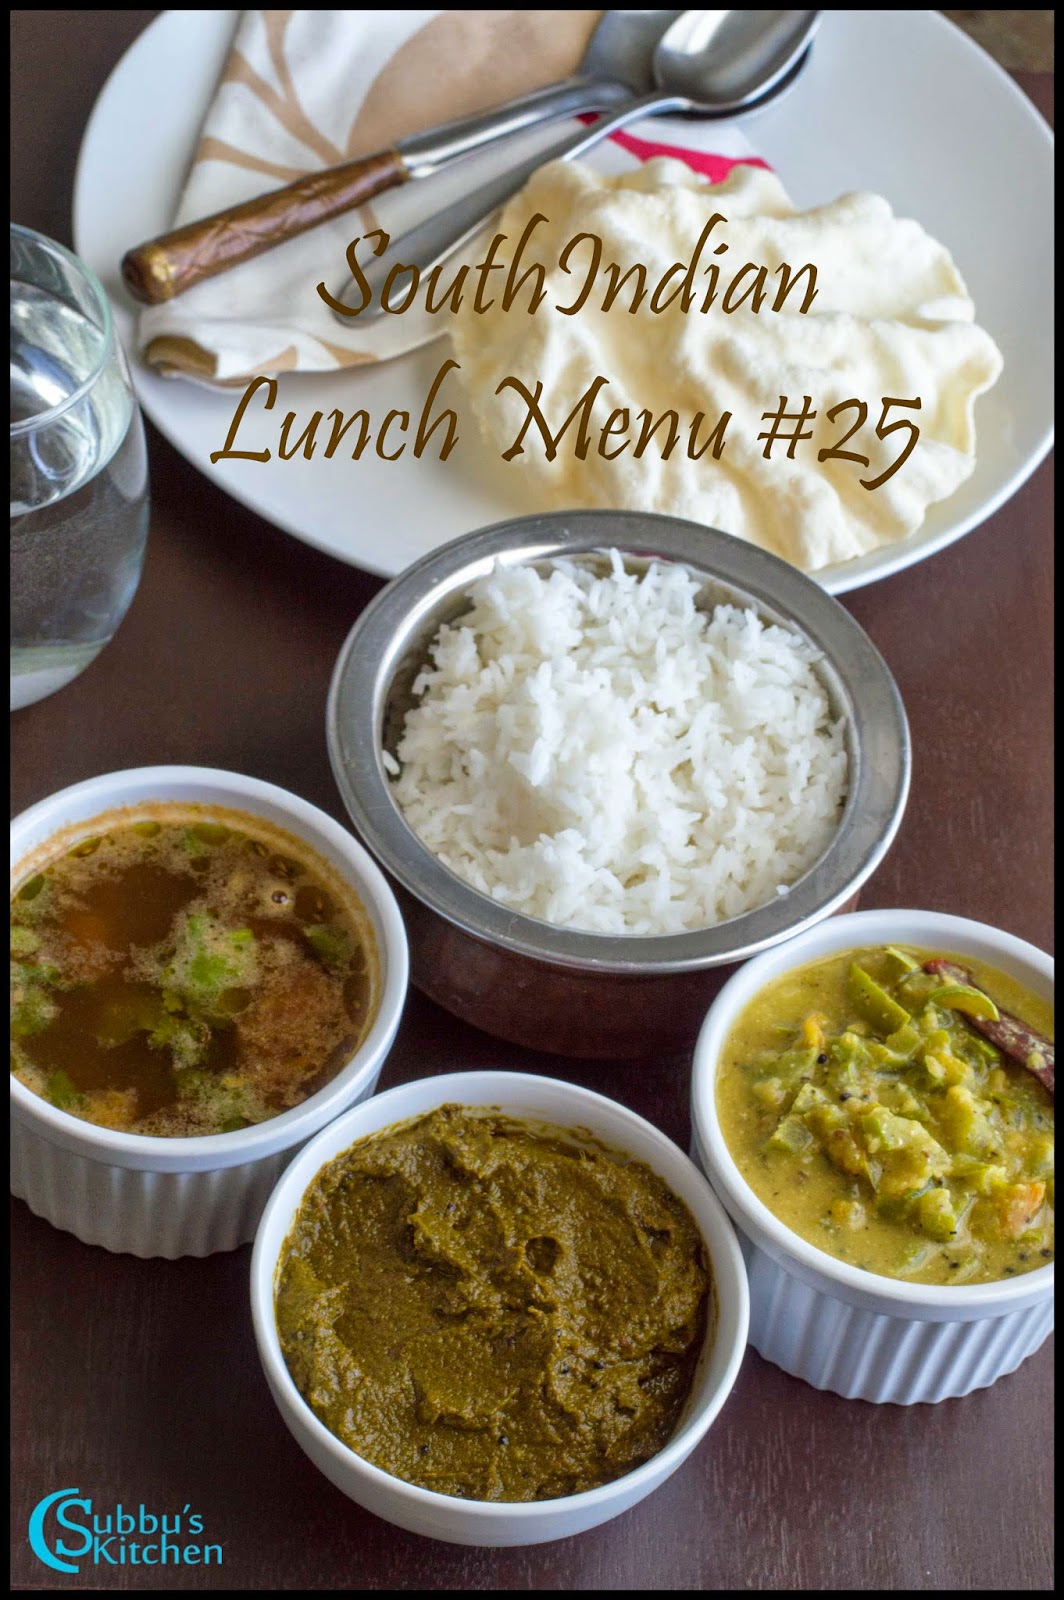
South Indian Lunch Menu 25 - Coriander Leaves Thokku, Capsicum Kootu, Mysore Rasam, Curd, Papad and Rice

$
0
0
This week its yet another simple and tasty lunch menu. I have surplus of coriander leaves which might get rotten if I keep it in fridge. So I decided to make coriander leaves thokku. I immediately took stock of the vegetables in fridge and decided to make capsicum kootu. Stew is a best combination for thokku. We can make any vegetable stew for this thokku. But this capsicum stew is a perfect accompaniment. To enrich the menu, I have included Mysore rasam. Finally curd, papad and steamed rice are to be included to complete the menu. 

We can make this tasty thokku very quickly. Capsicum is also an easy cook vegetable. If we plan to cook the dal along with rice then the dal can be used for both capsicum stew as well as rasam. All these dishes needed grinding. So, first we can plan to grind the rasam spice as it needs to be a dry powder. Then we can grind for stew and thokku. Once dal and our grinding mixtures are ready, then it would be hardly less time to complete the whole menu. 

South Indian Lunch Menu 25 - Coriander Leaves Thokku, Capsicum Kootu, Mysore Rasam, Curd, Papad and Rice


Preparation and Yield:
Preparation time10 mins
Cooking Time5 mins
Servings5

Recipes:
Coriander Leaves Thokku

Capsicum KootuMysore Rasam
South Indian Lunch Menu 25 - Coriander Leaves Thokku, Capsicum Kootu, Mysore Rasam, Curd, Papad and Rice


Karadayan Nonbu on 15th March 2015 between 4 to 4.30 am IST

$
0
0
Karadayan Nonbu or Savitri Vratham is a traditional tamilnadu festival of fasting wherein married women will pray for the wellness and long life of their husbands. This nonbu should be done exactly in the time when tamil month 'Masi' ends and the next month 'Panguni' starts. The reason why this fasting is carried out is that "Savithri fought with yema to save her husbands life", the sameway the married women should fast on this auspicious day for long life of their husbands.
Karadayan Nonbu
Karadayan Nonbu

This year the date for karadayan nonbu is 14th March (Friday) and the time it should be carried out exactly at 4 - 4.30am. 

Karadayan Nonbu
Karadayan Nonbu

The neivehdyam for this fasting is Karadayan Nonbu Adai with butter along with vetrilai, pakku, pazham and cocunut. We should get yellow ropes that has to be tied by all the women in a house. In each of the rope small flower is tied up and one rope should be put in the Kamakshi amman picture and the rest should be tied up by all women in the house.

"Urugadha Vennayam oru adayum vaithu nonbu notren oru nallum en kanavar piriyamal iruka vendum". This should be chanted while tying up the rope in the neck. Even the young girls of more than one year old should tie up these ropes to get the blessings of God.

Karadayan Nonbu
Karadayan Nonbu

Karadayan Nonbu Adai | Sweet Adai

$
0
0
Karadayan Nonbu Adai (Sweet Adai) is the special neivedhyam dish we prepare for Karadayan Nonbu. Rice flour with jaggery juice is steam cooked and the yummy adai is concocted for the auspicious day. Sweet adai and Kara adai are the dishes we generally prepare for the Nonbu and women has to eat the adai as their fasting dish. 

Karadayan Nonbu Adai | Sweet Adai

Preparation Time30 mins
Cooking Time 30 mins
Yield16 Adai

Karadayan Nonbu Adai | Sweet Adai

Ingredients:
Raw Rice1 Cup*
Karamani1 tablespoon
Grated Jaggery1 Cup
Finely Sliced Coconut1 tablespoon
Cardamom Powder1/4 teaspoon
Water1.5 Cups
Ghee1 tablespoon
Salta pinch
* 1 Cup Capacity = 200ml


Karadayan Nonbu Adai | Sweet Adai

Method:
  1. Soak the raw rice in water for 30 mins and then drain it and spread it in a towel for about 10 mins 

  2. Take the rice in a mixer and grind it to a fine powder. Sieve it to extract the lumps and you can again grind the lumps once more to get fine powder. 

  3. In a pan, dry fry the wet rice powder for a while till the flour changes its color to golden brown(The flour should not stick the vessel), you can also test it by taking a pinch of flour and try to put a circle and if you are able to draw using the flour then you can switch off the flame. Initially with the ground flour is so smooth that you could not be able to draw a circle but after we dry roast the flour, we should be able to draw. Now our rice flour is ready. 

  4. In a pan, dry fry the karamani till the raw smell goes off and pour some water to cook the karamani. 

  5. When the karamani is cooked take it in a plate and keep aside. The rice flour and jaggery ratio is 1:1. If the ground rice flour is 1 cup then take 1 cup of grated jaggery in a separate vessel. Add 1/2 cup of water(for one cup of jaggery) to the vessel and add the grated jaggery and stir it well 

  6. Once the jaggery gets dissolved in water, Strain the jaggery juice using strainer in a bowl to remove the dust. Add the strained jaggery juice in the pan and add the remaining 1 cup of water.Add a pinch of salt, finely chopped/sliced cocunut, ghee, cooked karamani and cardamom powder and bring the jaggery juice to boil

  7. When the jaggery juice starts to boil, add the rice flour little by little and stir it continuously and properly to avoid lumps. Stir it well till the flour is half-cooked and tightens. Switch off the flame.

  8. Now make small balls out from the flour and place it in a ghee greased plastic cover and press it in center to make it like a vadai and put a small hole and place the patties in the idly plates and cook it for 10mins in pressure cooker

  9. The delicious Karadayan Nonbu adai is ready for Neivedhyam and for serving. Sever with butter.
  10. Karadayan Nonbu Adai | Sweet Adai
    Karadayan Nonbu Adai | Sweet Adai

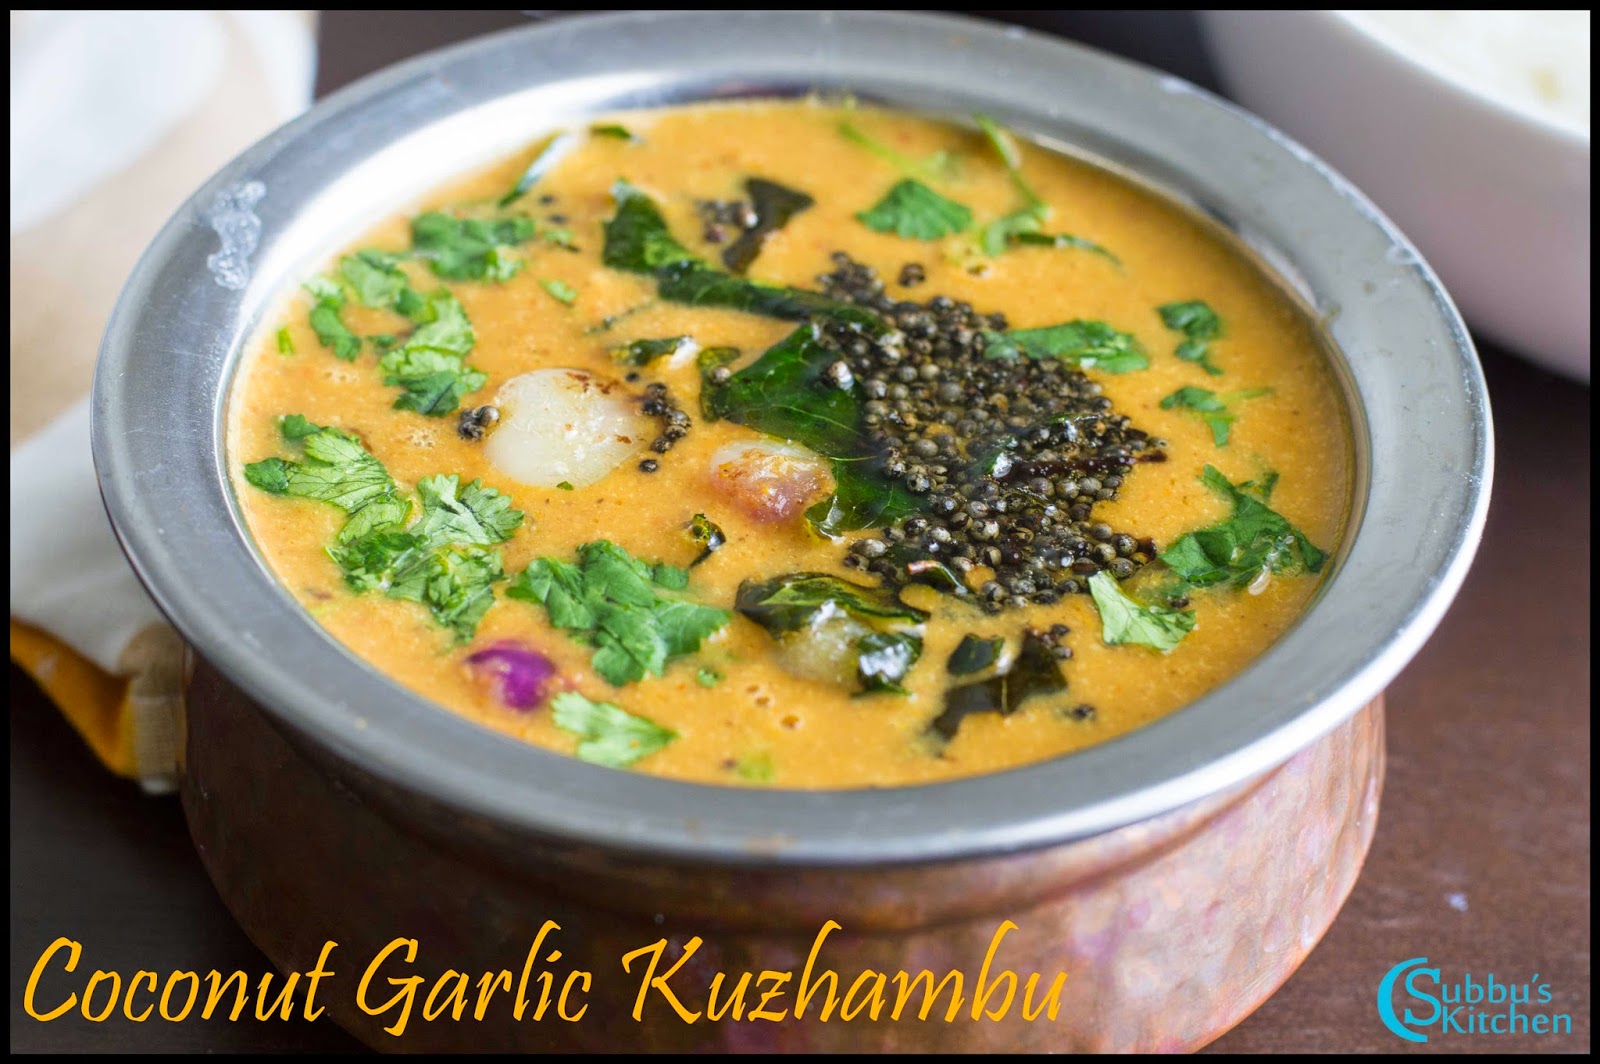
Coconut Garlic Kuzhambu Recipe | Thengai Poondu Kuzhambu Recipe

$
0
0
We have make many variations in Garlic kuzhambu. We can me spicy garlic kuzhambu in chettinad style or we can also use coconut in making garlic kuzhambu. Garlic is highly nutritious and has less calories. Garlic aids in boosting immune system. Garlic supplementation helps to prevent and reduce the severity of common illnesses like the flu and common cold. We have to include this nutritional rich garlic in our diet. Many of us follow authentic cooking and doesn't include onion and garlic in their food. Garlic has known beneficial effects on common causes of chronic disease, so it makes perfect sense that it could help you live longer. So we should try and include in our diet. We can use garlic in different ways. Garlic kuzhambu is one such way of including garlic in our diet. NorthIndians mostly use garlic in their gravy or curry. In this garlic kuzhambu, we are going to use coconut. Either we can use coconut milk or we can grind coconut and add it to the kuzhambu. Either ways the kuzhambu is so tasty. Lets see how to make this Coconut Garlic Kuzhambu (Thengai Poondu Kuzhambu) now...

Coconut Garlic Kuzhambu Recipe | Thengai Poondu Kuzhambu Recipe

Preparation and Yield:
Preparation time15 mins
Cooking Time35 mins
Servings5

Coconut Garlic Kuzhambu Recipe | Thengai Poondu Kuzhambu Recipe


Ingredients:
Tamarind1 Lemon Size
Garlic Cloves1/2 Cup
Turmeric Powder1/2 teaspoon
SaltTo taste
Gingelly Oil1 teaspoon


Grinding Ingredients for Spices:
Coriander Seeds1 tablespoon
Channa Dal1 teaspoon
Red Chilli6
Peppercorns10
Fenugreek Seeds1/4 teaspoon
Grated Dry Coconut*1 tablespoon
Oil1 teaspoon
* Dry coconut is optional
For Coconut Milk:
Grated Coconut1/2 Cup
Cumin Seeds1/2 teaspoon
For Seasoning:
Gingelly Oil1 tablespoon
Pearl Onions10
Curry Leavesfew


Coconut Garlic Kuzhambu Recipe | Thengai Poondu Kuzhambu Recipe

Method:
  1. Soak tamarind in water and extract the juice

  2. Peel and chop the garlic cloves. Peel the pearl onions and keep it aside. Heat oil in a pan for roasting the grinding ingredients. Add the grinding ingredients other than coconut and fry in oil till the dal turns golden brown color. Take these fried ingredients in a mixer. Then add the grated dry coconut to the pan and roast them till they turn brown color. 

  3. Add the roasted coconut to the mixer. Grind all these to a nice and smooth paste

  4. Heat gingelly oil in a pan. Add the garlic pieces to the pan and saute them in oil for 2-3 minutes. Then add the tamarind extract along with turmeric powder and salt and allow it to boil for 5-7 mintues in medium flame. 

  5. Meanwhile, take coconut and cumin seeds in a mixer and grind it to a paste by adding water. Now when the tamarind water is boiled, add the spice paste first and mix well. Keep the flame low and allow the kuzhambu to boil for 10 minutes in low flame

  6. Add the coconut paste to the kuzhambu and when the kuzhambu starts to boil, switch off the flame. 

  7. Heat gingelly oil in another pan and add mustard seeds. When the mustard seeds starts to sputter, add peeled pearl onions and curry leaves and saute the onions till they are tender. Add these seasoned ingredients to the garlic kuzhambu and mix well

  8. Now the mouth-watering Coconut Garlic Kuzhambu (Thengai Poondu Kuzhambu) is now ready to serve with rice! This garlic kuzhambu is also a best accompaniment for Uthappam or dosa!
  9. Coconut Garlic Kuzhambu Recipe | Thengai Poondu Kuzhambu Recipe
    Coconut Garlic Kuzhambu Recipe | Thengai Poondu Kuzhambu Recipe

Aval Kesari Recipe | Poha Kesari Recipe | Flattened Rice Kesari

$
0
0
Aval Kesari (Poha / Flattned Rice Kesari), is another variety of Kesari which is so mouth-watering. Conventionally, we make kesari using Semolina. But we can make kesari with Aval, Semiya, Samba Wheat and other millets. Even Pineapple kesari is so yummy and tasty. All variety of kesari are so simple to make and they are so delicious.

Aval Kesari Recipe | Poha Kesari Recipe | Flattened Rice Kesari
Aval Kesari Recipe | Poha Kesari Recipe | Flattened Rice Kesari 

This Aval kesari is one of the dish which I used to make during festivals. Last night, I was doing an inventory and found that I have missed to publish the Aval Kesari. So today morning, first thing, I made this yummy Aval Kesari and took decent snaps :-) This is yet another sweet you can do it quickly and surprise your family and guests. If we have sudden guests, immediately, we plan to make rawa kesari. But aval kesari is also a perfect dish to treat guests. So next time, If you have any guests, surprise them with Aval Kesari and I bet, they will surely love and appreciate you...

Aval Kesari Recipe | Poha Kesari Recipe | Flattened Rice Kesari
Aval Kesari Recipe | Poha Kesari Recipe | Flattened Rice Kesari 


Preparation and Yield:
Preparation time5 mins
Cooking Time15 mins
Servings3

Aval Kesari Recipe | Poha Kesari Recipe | Flattened Rice Kesari
Aval Kesari Recipe | Poha Kesari Recipe | Flattened Rice Kesari 


Ingredients:
Aval / Poha / Flattened Rice1 Cup*
Sugar1 Cup
Water 2 Cups
Cardamom Powder1/4 teaspoon
Cashews nuts5-6
Raisins5-6
Orange or Yellow food Color2-3 Pinches
Ghee3 tablespoon

* 1 Cup = 250ml


Aval Kesari Recipe | Poha Kesari Recipe | Flattened Rice Kesari
Aval Kesari Recipe | Poha Kesari Recipe | Flattened Rice Kesari 

Method:
  1. Heat a pan and add the poha and dry roast it for couple of minutes. Do not roast it for a long time, it may get burnt. Take this roasted aval in a mixer

  2. Grind it in a mixer. Just give a pulse or two. Let the aval powder be coarse. Heat a pan and add 1 teaspoon of ghee and add the broken cashews and raisins and fry them in ghee. Do not make the cashews so brown. 

  3. Take the cashews aside in a plate and then add the coarsely ground aval powder to the pan and roast it in ghee for couple of minutes and then remove the aval powder from pan and take it in a plate and set it aside

  4. Now add water to the pan and bring it to boil. When the water starts to boil, add the roasted aval powder and mix well to avoid lumps. 

  5. When the aval is cooked completely and water is absorbed fully, add sugar to the pan and mix well. Adding sugar makes the mixture diluted. Don't worry about that, Stir continuously. Add the food color along with cardamom powder and mix well. 

  6. Keep the flame low and stir the whole mixture nicely. Add ghee at this point and mix well. keep stirring util the kesari becomes a whole mass without sticking to the sides of the pan. Add the roasted cashews and raisins and mix well and switch off the flame

  7. Mouth-watering Aval Kesari / Poha Kesari / Flattened Rice Kesari is now ready to serve!
  8. Aval Kesari Recipe | Poha Kesari Recipe | Flattened Rice Kesari
    Aval Kesari Recipe | Poha Kesari Recipe | Flattened Rice Kesari 

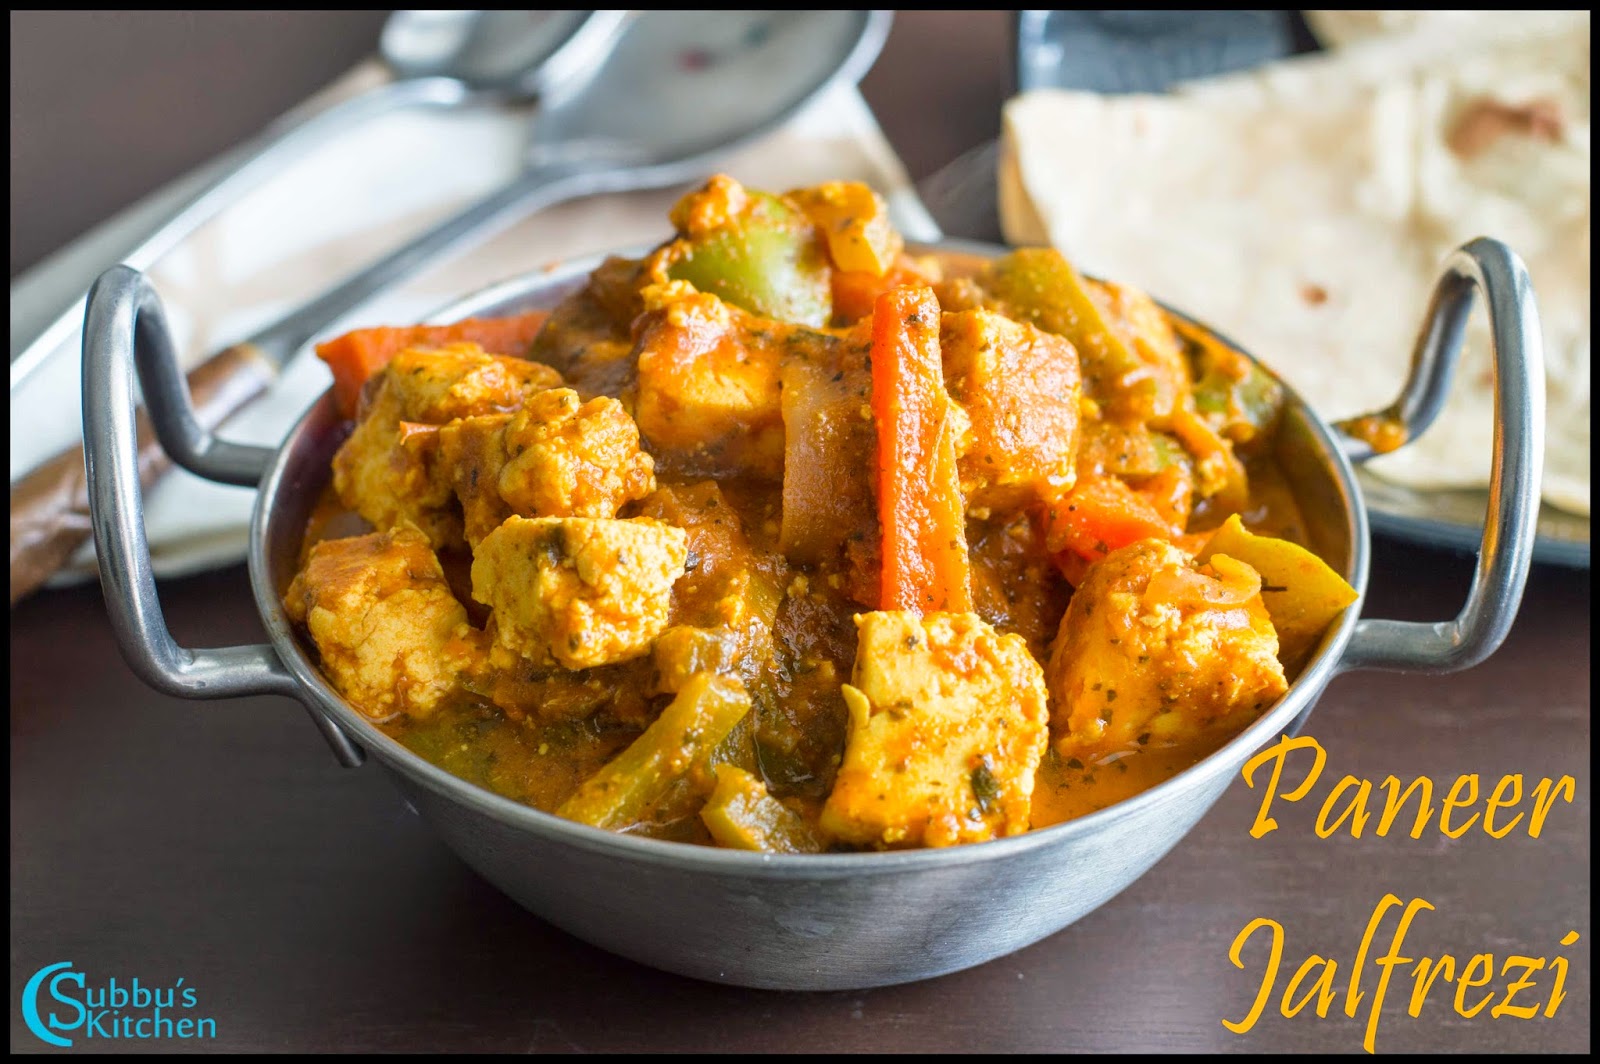
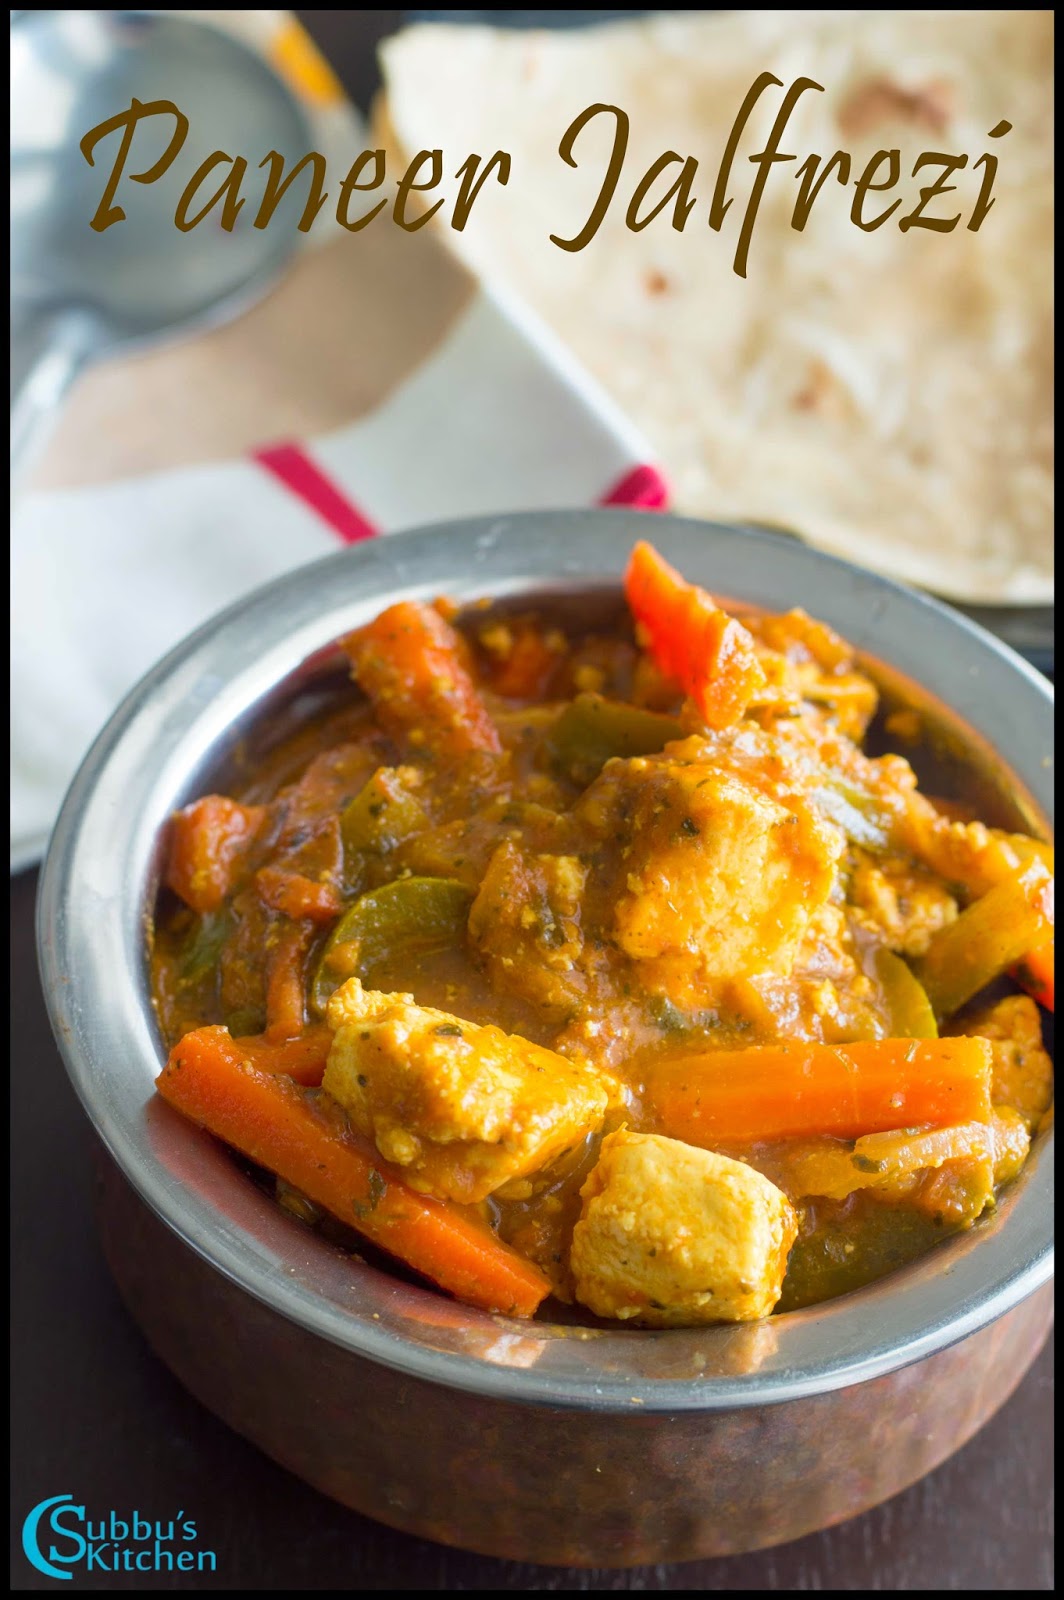
Paneer Jalfrezi Recipe

$
0
0
Paneer Jalfrezi is one more rich and healthy Paneer and vegetable gravy which is another classic Paneer recipe. This is one of the delicious Paneer gravy which is liked by most of the Britishers also. I have seen many foreigners order this delicious Paneer Jalfrezi in Indian Restaurants.  Paneer with carrots and capsicum cooked in onion-tomato gravy along with Indiab spices makes this gravy Queen of all gravies. Paneer Butte Masala, Paneer Pasanda, Mutter Paneer and many more gravies are Paneer special gravies. Along with this list, Paneer Jalfrezi is also a delicious special Paneer dish. We also make Jalfrezi only with veggies and exclude paneer also. Now let see how to concoct this yummy Paneer Jalfrezi. 

Paneer Jalfrezi Recipe

Preparation and Yield:
Preparation time10 mins
Cooking Time40 mins
Servings5

Paneer Jalfrezi Recipe

Ingredients:
Cubed Paneer1.5 Cup*
Carrot2
Capsicum1
Onion1
Tomato 4
Ginger-Garlic Paste1 teaspoon
RedChilli Powder1/4 teaspoon
Coriander Powder1 teaspoon
Cumin Powder1/2 teaspoon
Garam Masala1 teaspoon
Coarse Pepper Powder1/2 teaspoon
Kasoori Methi1 tablespoon
Chopped Coriander Leavesfew
SaltTo taste

* 1 Cup = 250ml
For Seasoning:
Oil2 tablespoon
Cumin Seeds1 teaspoon
Paneer Jalfrezi Recipe


Method:

  1. Cube the paneer and set it aside. Chop the onions, carrots, capsicum length wise and set it aside. Grind 3 tomatoes in a mixer to a pulp. Chop the remaining 1 tomato in length wise and set it aside. 

  2. First heat the pan with half of the oil, add the cubed paneer and fry in oil till they are slight golden color. Remove the fried paneer pieces from pan and set it aside. Now add the remaining oil, and add cumin seeds. 

  3. When the cumin seeds become brown color, add the sliced onions along with pinch of onion and saute them till they are transparent. Add the ginger-garlic paste and saute for 10 more seconds. Then add the tomato puree to the pan. You can also use canned crushed tomatoes which will give a nice color. 

  4. Then add chopped carrots and add 1/2 cup of water and close the pan with a lid and allow the carrot to cook. When the carrots are half-cooked, add capsicum to the pan.

  5.  Add the red chilli powder, coriander powder, cumin powder and salt and cover the pan with lid and allow the capsicum to cook till they are tender. Then add the cubed paneer along with chopped tomatoes to the pan. Allow the gravy to boil for 5 more minutes.

  6.  By this time, the gravy would have become thicker. If not, just keep the flame low and allow it to become thicker. Finally crush the kasoori methi and add it to the jalfrezi and also garnish with coriander leaves.

  7. Delicious Paneer Jalfrezi is now ready to serve with any Indian Breads!
  8. Paneer Jalfrezi Recipe
    Paneer Jalfrezi Recipe

Roomali Roti Recipe | Rumali Roti Recipe

$
0
0
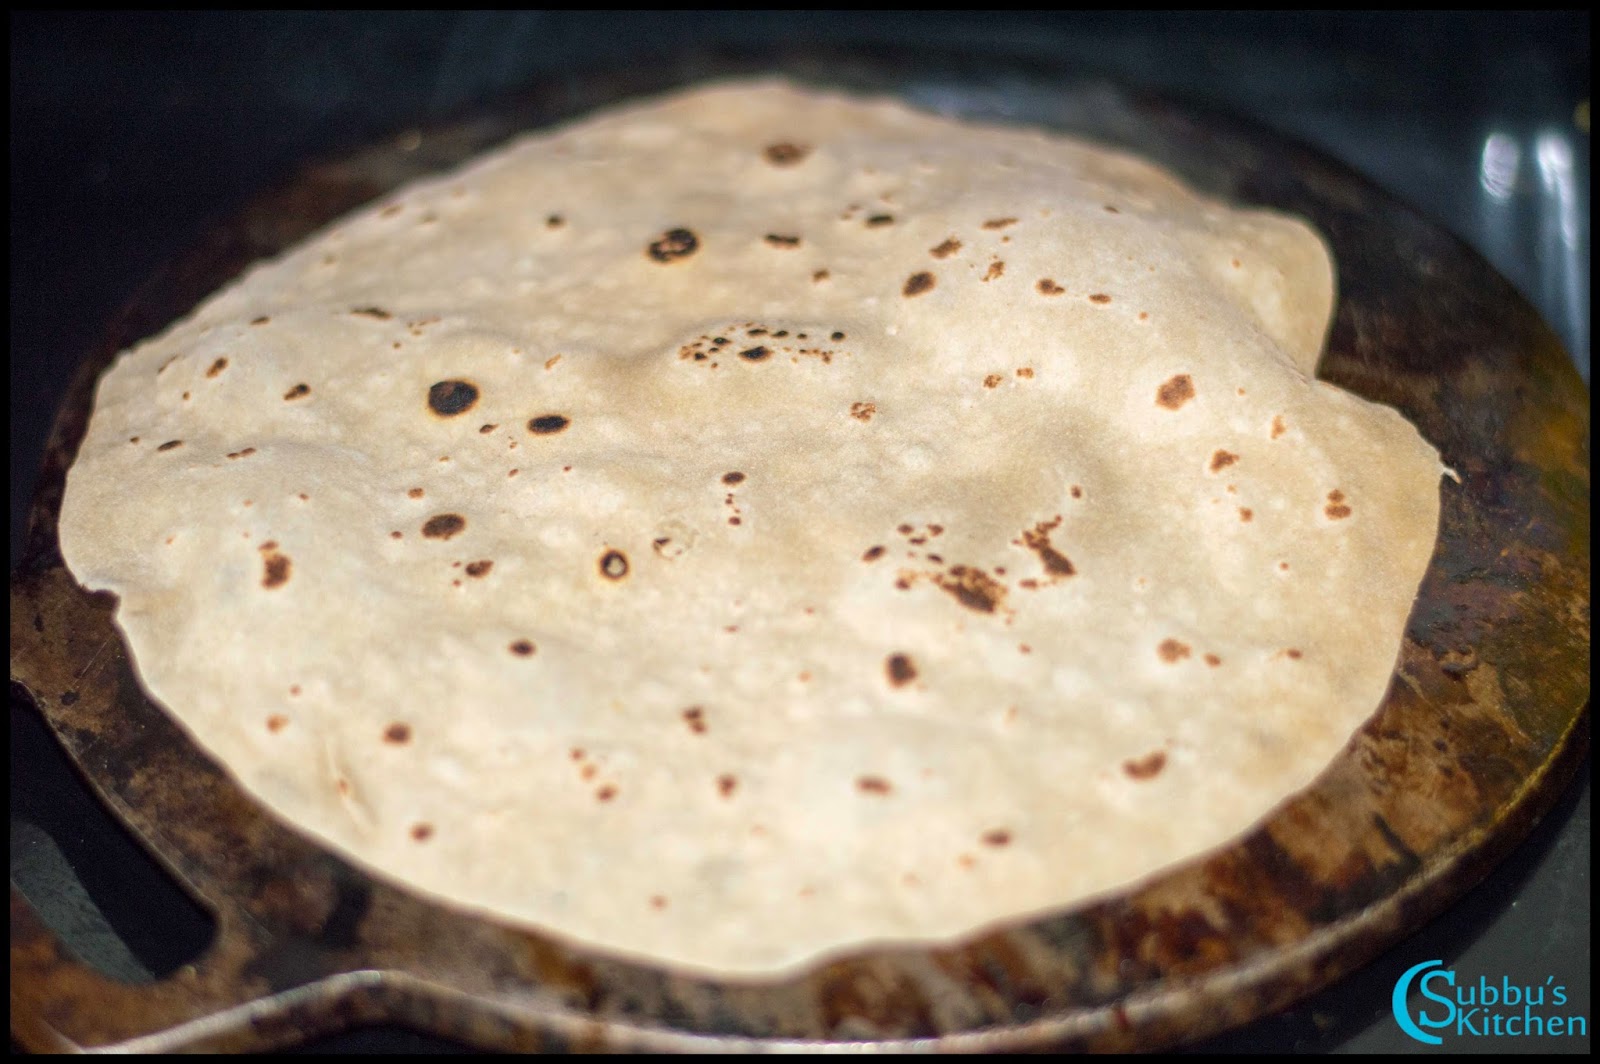
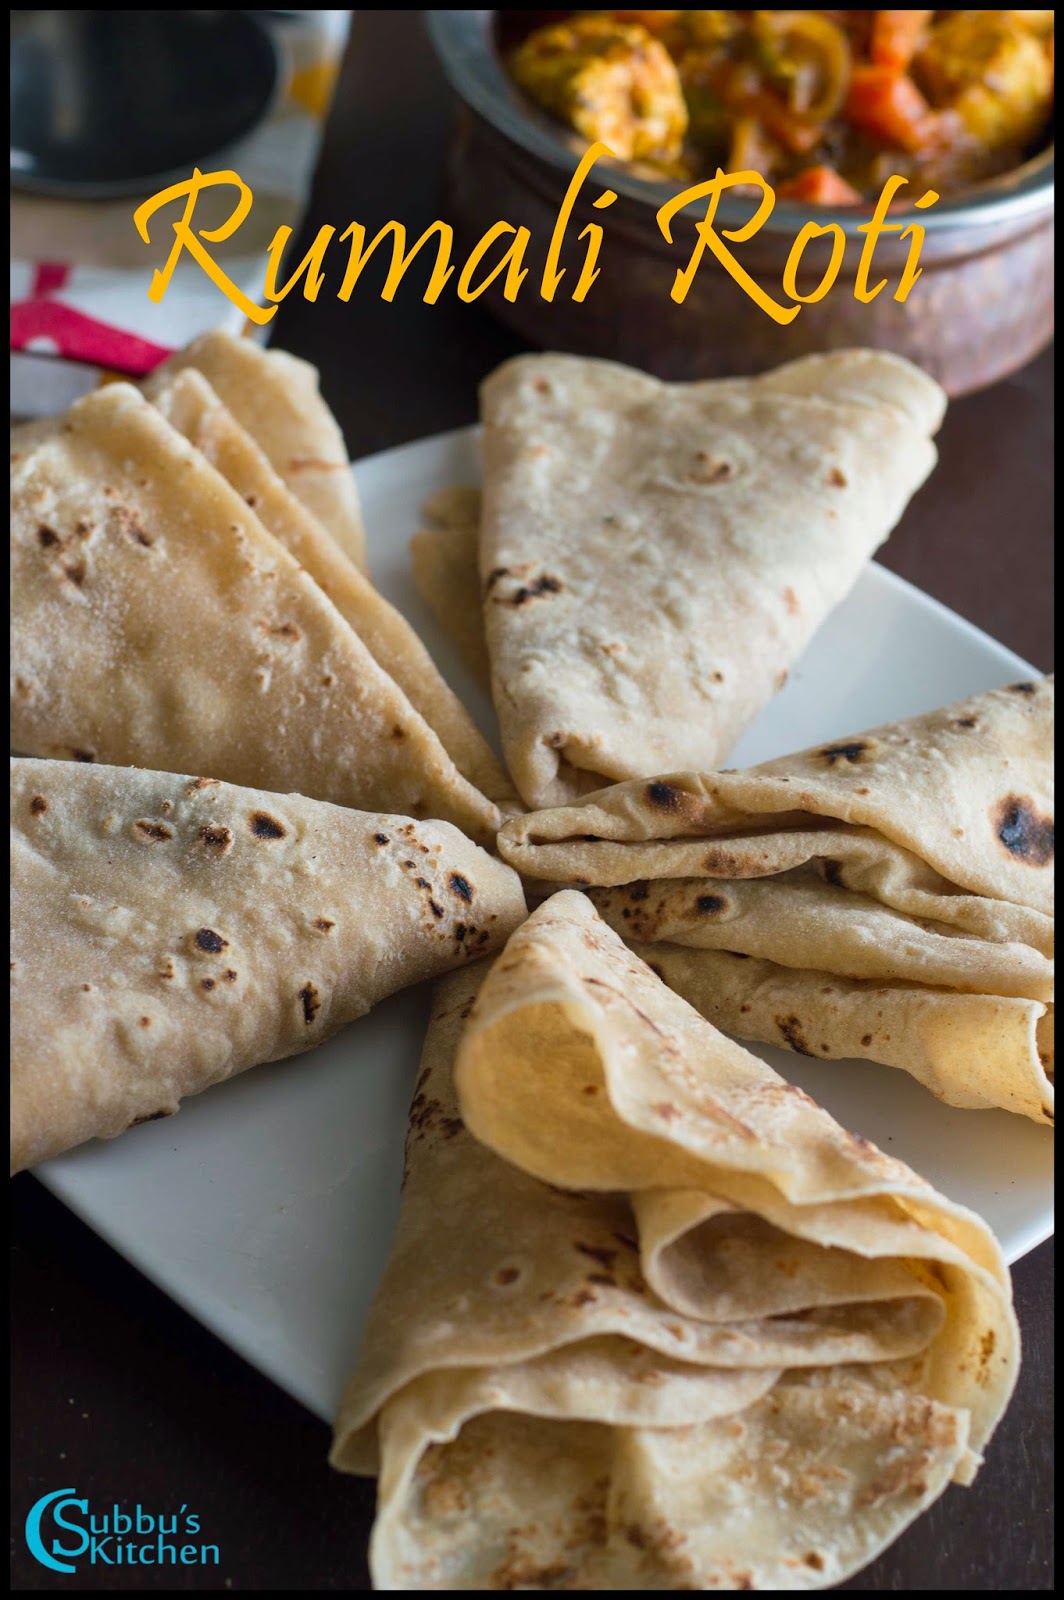
Roomali Roti (Rumali Roti) is a flat and thin Indian Bread. Rumal is "Hand Kerchief" in Hindi. As the name specifies, it is very soft and thin like a Hand Kerchief. Rumali Roti is very easy to make at home. We just need to roll the roti as thin as possible. Also, we have to cook these rotis slightly different than the usual way. We have to place the griddle or tawa upside down and cook the rotis in a very hot tawa.  The is the conventional way of making these rotis in restaurants. Believe me there is no complexity. Its very easy to make at home. Just we need some practice to roll the rotis as thin as possible and also need to flip them between your hands repeatedly to make it ultimately thin. Thin texture is the main differentiator in this roti as compared to other varieties of roti or chapati. I always love to order Naan or Rumali Roti whenever I go to North Indian Restaurants. Any paneer dish or dal or any veg gravy would be best accompaniment for this dish. I have done Paneer Jalfrezi as an accompaniment for this wonderful Roti. 

Roomali Roti Recipe | Rumali Roti Recipe


Preparation and Yield:
Preparation time1 Hour
Cooking Time25 mins
Yield8

Roomali Roti Recipe | Rumali Roti Recipe


Ingredients:
Wheat Flour1.5 Cups**
Maida / All Purpose Flour1/2 Cup
Warm Milk1/2 Cup
Oil1 teaspoon
SaltTo taste
Water2-3 tablespoon or as needed


Method:
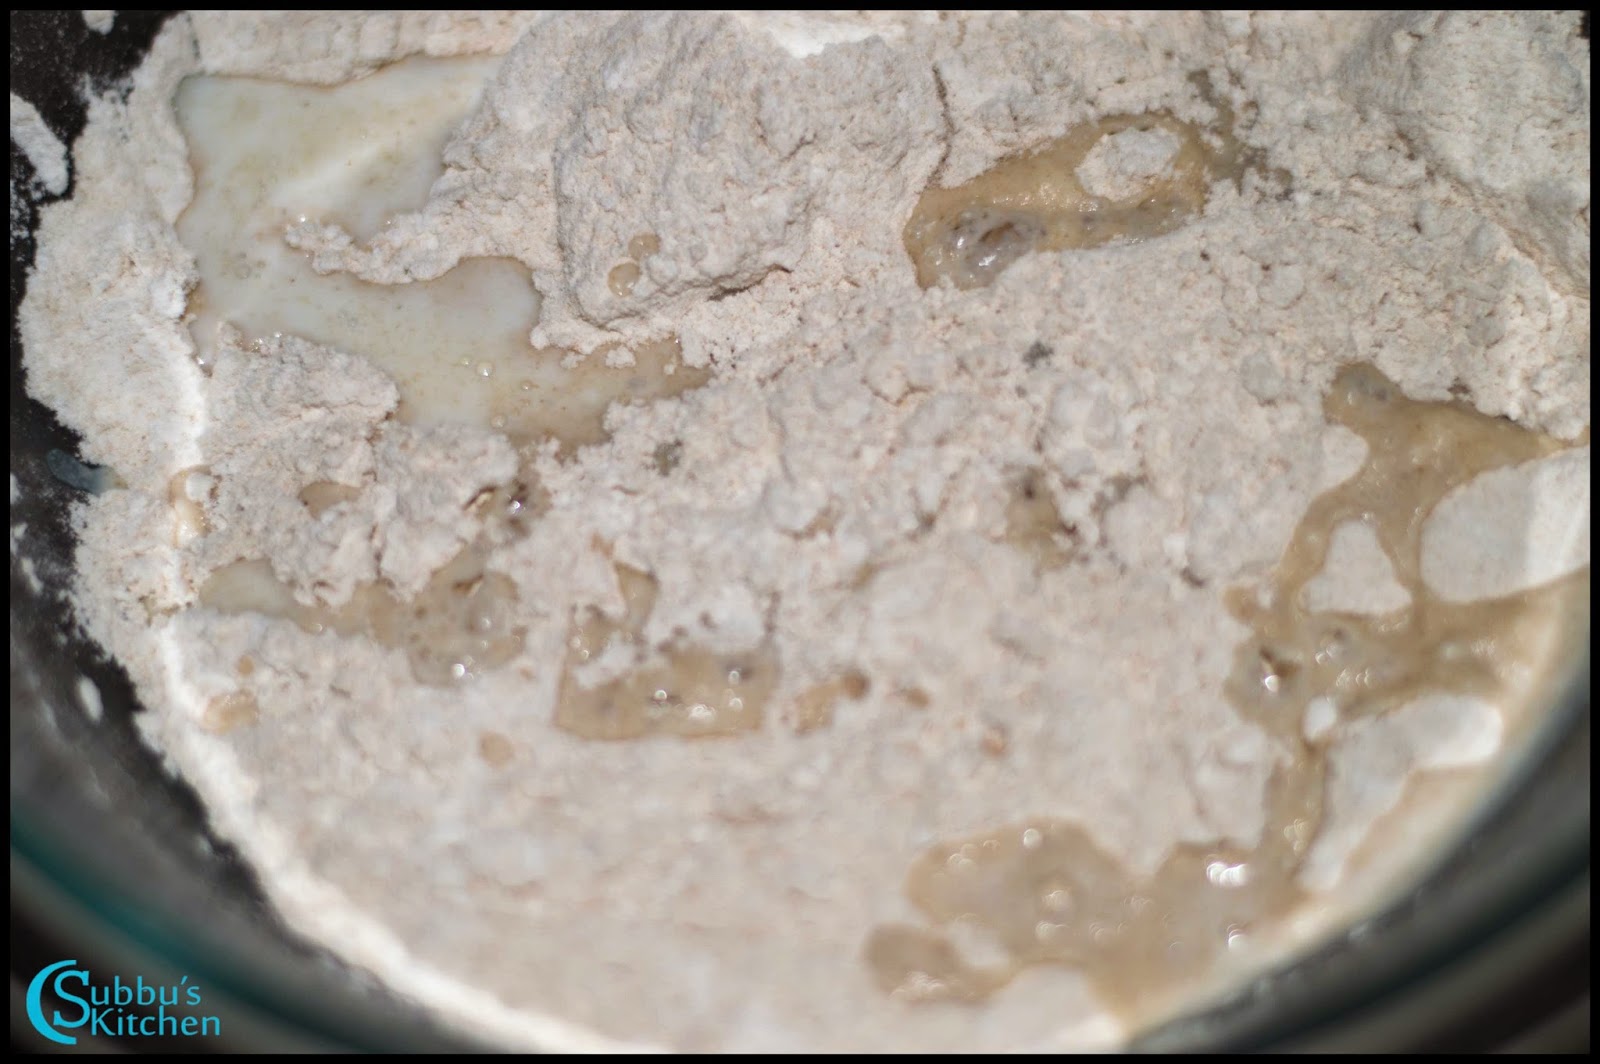
  1. Take a mixing bowl and add wheat flour, maida and salt and mix well. Add warm milk and knead the dough. 

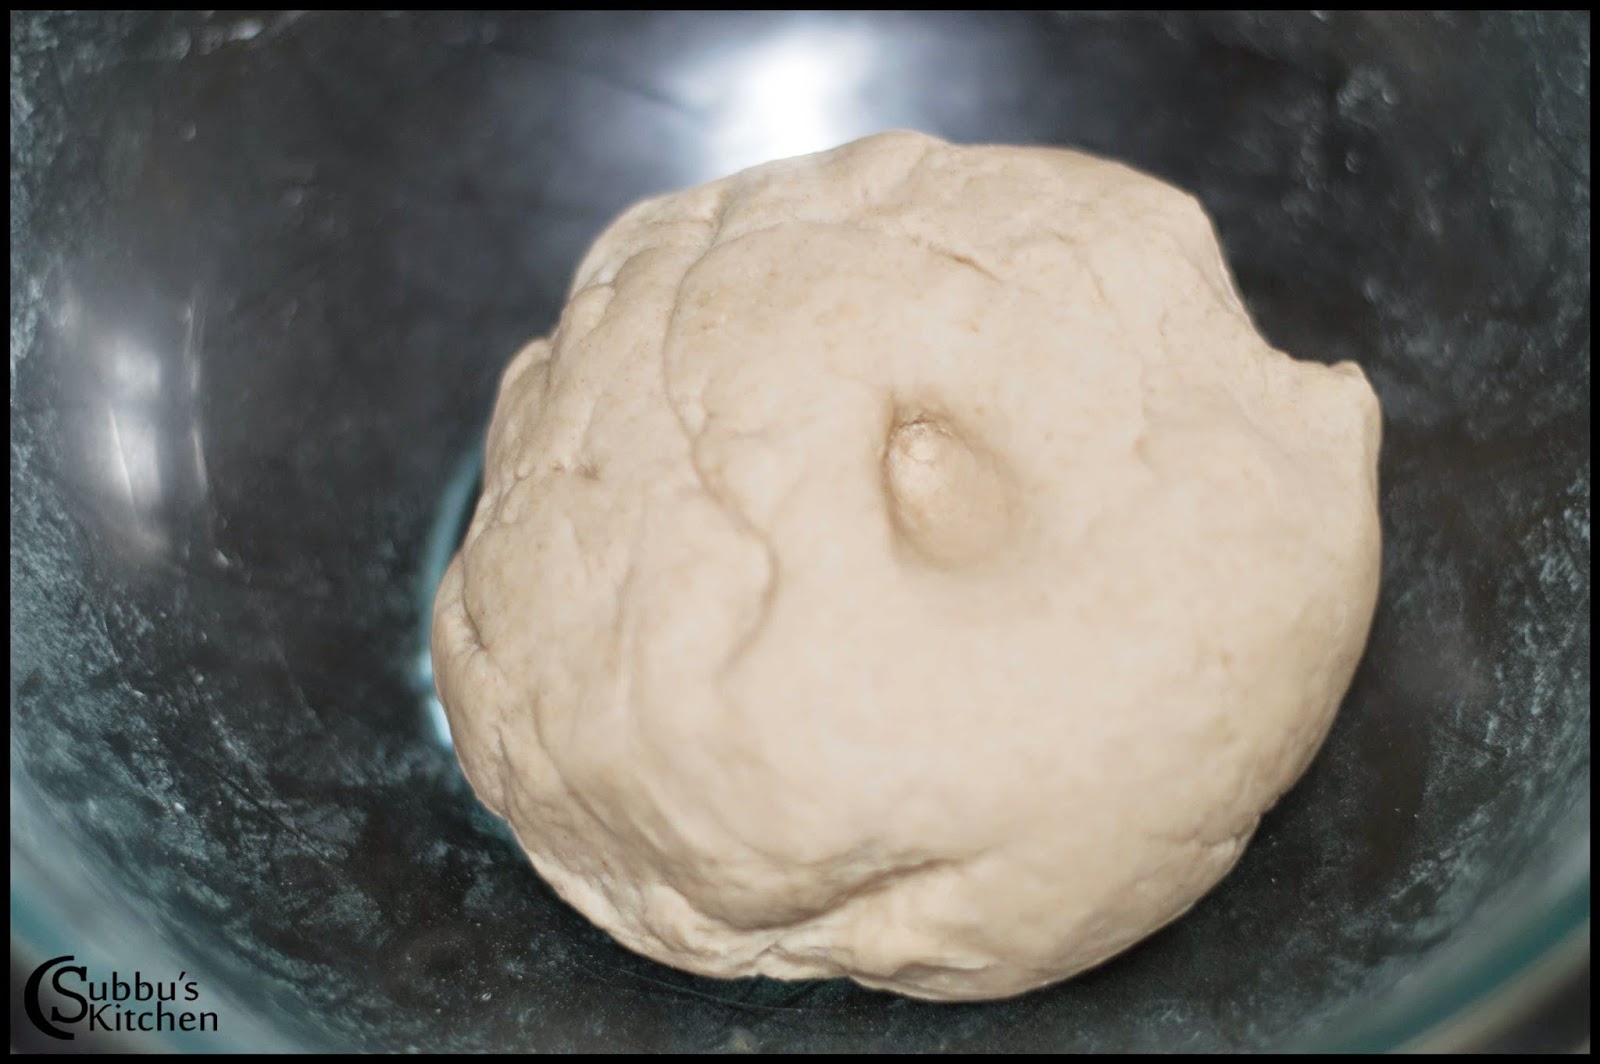
  2. Add water little by little and knead the dough nicely and make it a soft and smooth dough. Add oil and knead again for couple of minutes and cover the dough with a damp cloth and set it aside for 1 hour. 

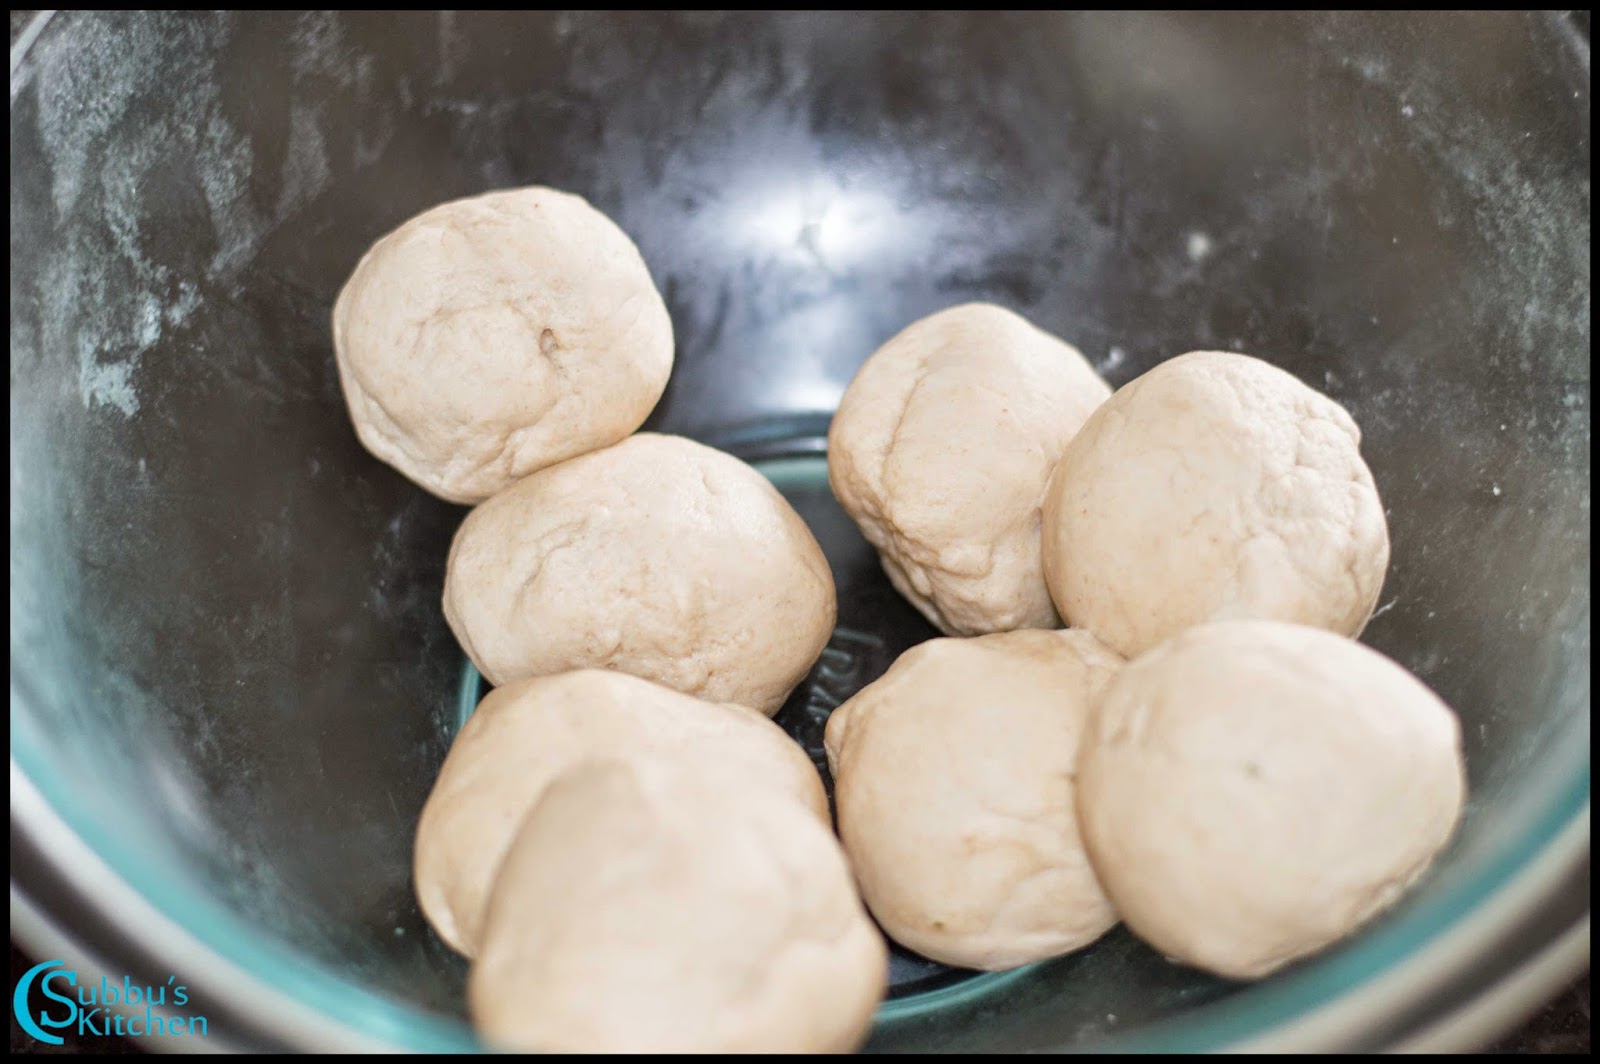
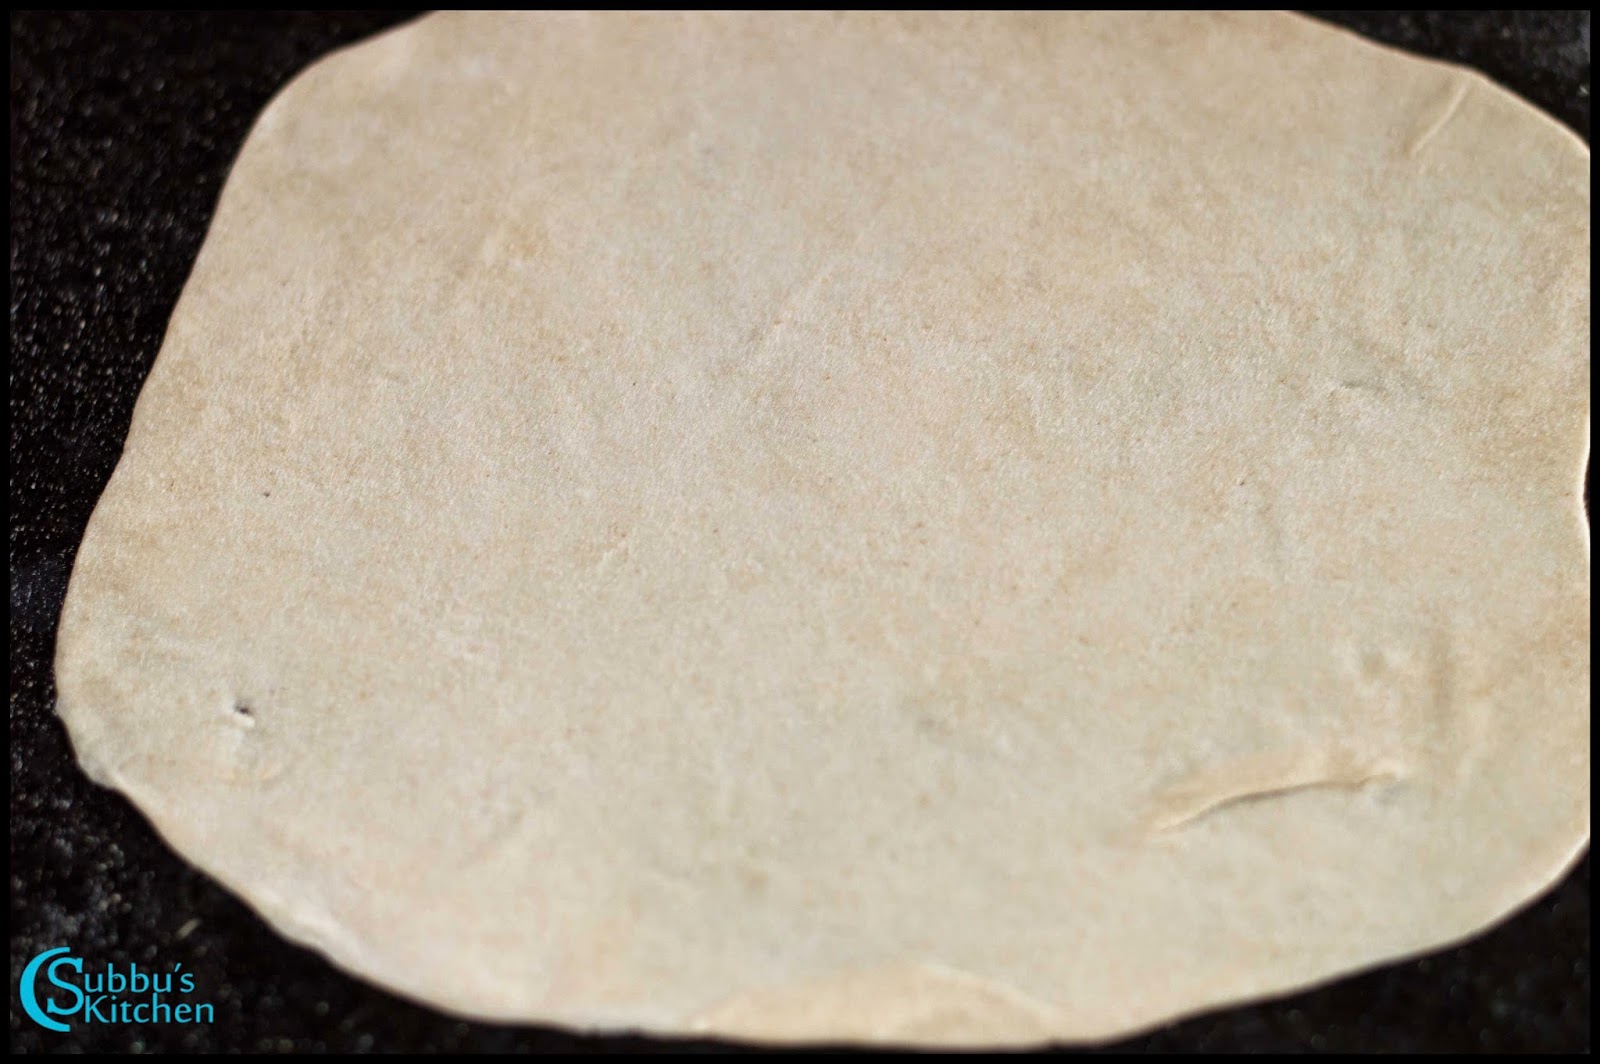
  3. After 1 hour, make big lemon sized balls out of the dough. The size of the dough ball should be double the size of usual chapati. Because we need to roll the dough ball to a thin and big roti. Dust the dough balls with flour and using a rolling pin, roll the dough balls to very thin rotis. Make sure the edges are also thinner than the center. Roll it as thin as possible If you take the roti in your hand you should be able to see your fingers. I do this roti often and hence flip the rolled rotis between my hands atleast 4-5 times. Initially you may find it difficult to flip, but you will get it eventually, Flipping the rotis will make it much more thinner. Set the flipped or rolled thin rotis aside for a couple of minutes

  4. Place an iron tawa upside down on a high flame. Try not to use coated tawa as the coating may get spoiled when kept directly on flame. You can also use a sauce pan and keep it inverted on the flame. The tawa should be very hot to make rumali rotis. Place the rolled roti on top of the hot tawa. When you see the bubbles in the roti, quickly flip the roti to other side. Quickly flip the roti to avoid burning of the roti. As the tawa is too hot, all the rotis are cooked very quickly. If you feel the rotis are getting sticky on the tawa, you can sprinkle some salt water and then place the rolled rotis to avoid sticking to the tawa. 

  5. Repeat the procedure and cook all the rumali rotis. You can easily fold them like a triangle as they are very soft and thin. Since they are too soft and thin, place them in a tissue and put them in a air-tight container till they are being served. 

  6. Yummy and soft Roomali Roti (Rumali Roti) are now ready to be served with any gravies!!!
  7. Roomali Roti Recipe | Rumali Roti Recipe
    Roomali Roti Recipe | Rumali Roti Recipe

Doodhi Halwa Recipe | Bottle Gourd Halwa Recipe | Surakkai Halwa Recipe | Lauki Halwa Recipe

$
0
0
I recently read one of the article in "Times of India" about Bottle Gourd. Here is the summary from that article. Consuming bottle gourd juice has many health benefits. This simple vegetable is full of minerals and water. Bottle gourd helps fight many small problems keeping you healthy. Listed below are a few health benefits of bottle gourd juice. Bottle gourd juice is widely used for the weight loss. It helps reduce the inflammations in the liver and kidneys. Helps in easing the problem related to constipation. The water and fiber in the bottle gourd make the digestive system free and active. Sesame oil when mixed with bottle gourd juice helps to cure problems of insomnia. Bottle Gourd is one of the nutrition rich veggie and we should try and use that as often as possible in our day to day diet. We can make many different dishes using Bottle Gourd. 

Doodhi Halwa (Bottle gourd Halwa) is one of the scrumptious Indian Dessert made using Bottle Gourd and condensed milk. Like Carrot or beetroot halwa, this is also easy to make and very tasty. Here, I have given a simple method to make Lauki halwa. I have used sweetened condensed milk which eases our procedure. This halwa would be a best treat for our family and guests! Lets see how to make this yummy and healthy Doodhi Halwa / Lauki Halwa.

Doodhi Halwa Recipe | Bottle Gourd Halwa Recipe | Surakkai Halwa Recipe | Lauki Halwa Recipe


Preparation and Yield:
Preparation time10 mins
Cooking Time25 mins
Servings5

Doodhi Halwa Recipe | Bottle Gourd Halwa Recipe | Surakkai Halwa Recipe | Lauki Halwa Recipe

Ingredients:
Grated Bottle Gourd4 Cups**
Milk1 Cup
Condensed Milk1/2 Tin or 200gms
Cashews5-6
Almonds5-6
Raisins10
cardamom Powder1/4 teaspoon
Green Food Color (Optional)2 pinches
Ghee3 tablespoon

* 1 Cups = 250 ml
Doodhi Halwa Recipe | Bottle Gourd Halwa Recipe | Surakkai Halwa Recipe | Lauki Halwa Recipe

Method:

  1. Wash, Peel and grate the bottle gourd and set it aside. Heat a pan and add a teaspoon of ghee and fry the cashews, almonds and raisins and set them aside. To the pan, add the grated bottle gourd to the pan and saute them in ghee for 3-4 minutes in medium flame

  2. After 3-4 minutes, the grated bottle gourd would become soft and tender. Then add milk to the pan and allow the bottle gourd to cook completely. Add the green food color to the pan and mix well. Food color is just optional. Generally Doodhi halwa is light green in color but if you feel not to add artificial color, then you could skip it. 

  3. When the milk is fully absorbed, add the condensed milk to the pan and mix well. Stir continuously till the condensed milk and the bottle gourd are completely incorporated. 

  4. Add ghee at regular intervals till the whole mixture rolls like a ball without sticking to the sides of the pan. Finally add cardamom powder and roasted nuts and mix well

  5. Delicious Doodhi Halwa (Bottle Gourd Halwa) is now ready to serve! 
  6. Doodhi Halwa Recipe | Bottle Gourd Halwa Recipe | Surakkai Halwa Recipe | Lauki Halwa Recipe
    Doodhi Halwa Recipe | Bottle Gourd Halwa Recipe | Surakkai Halwa Recipe | Lauki Halwa Recipe


Yugadhi / Ugadi Festival 21-Mar-2015

$
0
0
Yugadhi/Ugadi is a New Year day for the people of Andhrapradesh, Karnataka, Maharashtra and Goa. The name Yugadi or Ugadi is derived from the Sanskrit words Yuga(Age) and Adi(Beginning). It falls on the first day of the Hindu Calendar month Chaitra. The day, begins with ritual showers (oil bath) followed by prayers. 
This year Ugadi festival is on 21-Mar-2015


On this special Occasion, People prepare a special dish called Ugadi Pachadi in Telugu and Bevu Bella in Kannada which is a mixture of 6 tastes.  This dish symbolizes the fact that life is a mixture of different experiences (sadness, happiness, anger, fear, disgust, surprise), which should be accepted together and with equanimity through the New Year.


The special mixture consists of:
  • Neem Buds/Flowers for its bitterness, signifying Sadness
  • Jaggery and ripe banana pieces for sweetness, signifying Happiness
  • Green Chilli/Pepper for its hot taste, signifying Anger
  • Salt for saltiness, signifying Fear
  • Tamarind Juice for its sourness, signifying Disgust
  • Unripened Mango for its tang, signifying Surprise
Other special dishes made on this auspicious day are:
Like Tamilians, the people of AndhraPradesh prepare Bobbatlu and Kannada’s prepare Obbatu which is called as Purana Poli in TamilNadu.  It consists of a filling (gram and jaggery/sugar boiled and made in to a paste) stuffed in a flat roti-like bread. It is usually eaten hot or cold with ghee or milk topping or coconut milk at some places of Karnataka.

Another dish which is prepared on occasion of Ugadi is Ugadi pachhadi (mentioned above). Other dishes include our normal festival thali.

Later, people traditionally gather to listen to the recitation of the religious Panchangam (almanac) of the new year, and the general forecast of the year to come. This is called the 'Panchanga Sravanam', an informal social function where an elderly and respected person will read the almanac.

Click the link below for the Yugadhi / Ugadhi Recipes


Mangai Thokku Recipe | Grated Raw Mango Pickle Recipe | Mango Thokku Recipe

$
0
0
Raw Mango season started! Got nice Raw Mangoes from Indian Shop today.. First thing came to my mind is Pickle. Got 2 Kgs of raw mangoes. I made Grated Mango Thokku and Chopped Mango pickle. My husband's favourite is Chopped Mango Pickle. But my favorite is Thokku. I learnt these pickles from my MIL, she is indeed a very good chef! For any pickle we should be generous in spice and salt and for any sweet we should be generous in adding sugar / jaggery. This is one of the secret advice given by my MIL. Keeping that in mind, I have made this spicy and mouth-watering Mangai Thokku (grated Raw Mango Pickle). Mango thokku is a great accompaniment for curd rice and even for rotis. My husband came home for lunch and he enjoyed this yummy Mangai Thokku with curd rice a lot! Lets learn how to make this Mangai Thokku now..

Mangai Thokku Recipe | Grated Raw Mango Pickle Recipe | Mango Thokku Recipe


Preparation and Yield:
Preparation time10 mins
Cooking Time15 mins
Yield150gms

Mangai Thokku Recipe | Grated Raw Mango Pickle Recipe | Mango Thokku Recipe

Ingredients:
Raw Mango1  Big Size / 300gms
Red Chilli Powder4 tablespoon
Hing1/2 teaspoon
SaltTo taste
Fenugreek Powder1/2 teaspoon
Turmeric Powder1/2 teaspoon
Gingelly Oil4 tablespoon
Mustard Seeds1 teaspoon


Mangai Thokku Recipe | Grated Raw Mango Pickle Recipe | Mango Thokku Recipe


Method:

  1. Wash, peel and grate the mango and set it aside. Heat 1 tablespoon of gingelly oil in a pan and add the mustard seeds and hing. 

  2. When the mustard seeds starts to sputter, add the grated mango and mix well. Add turmeric powder and salt and give it a good mix. 

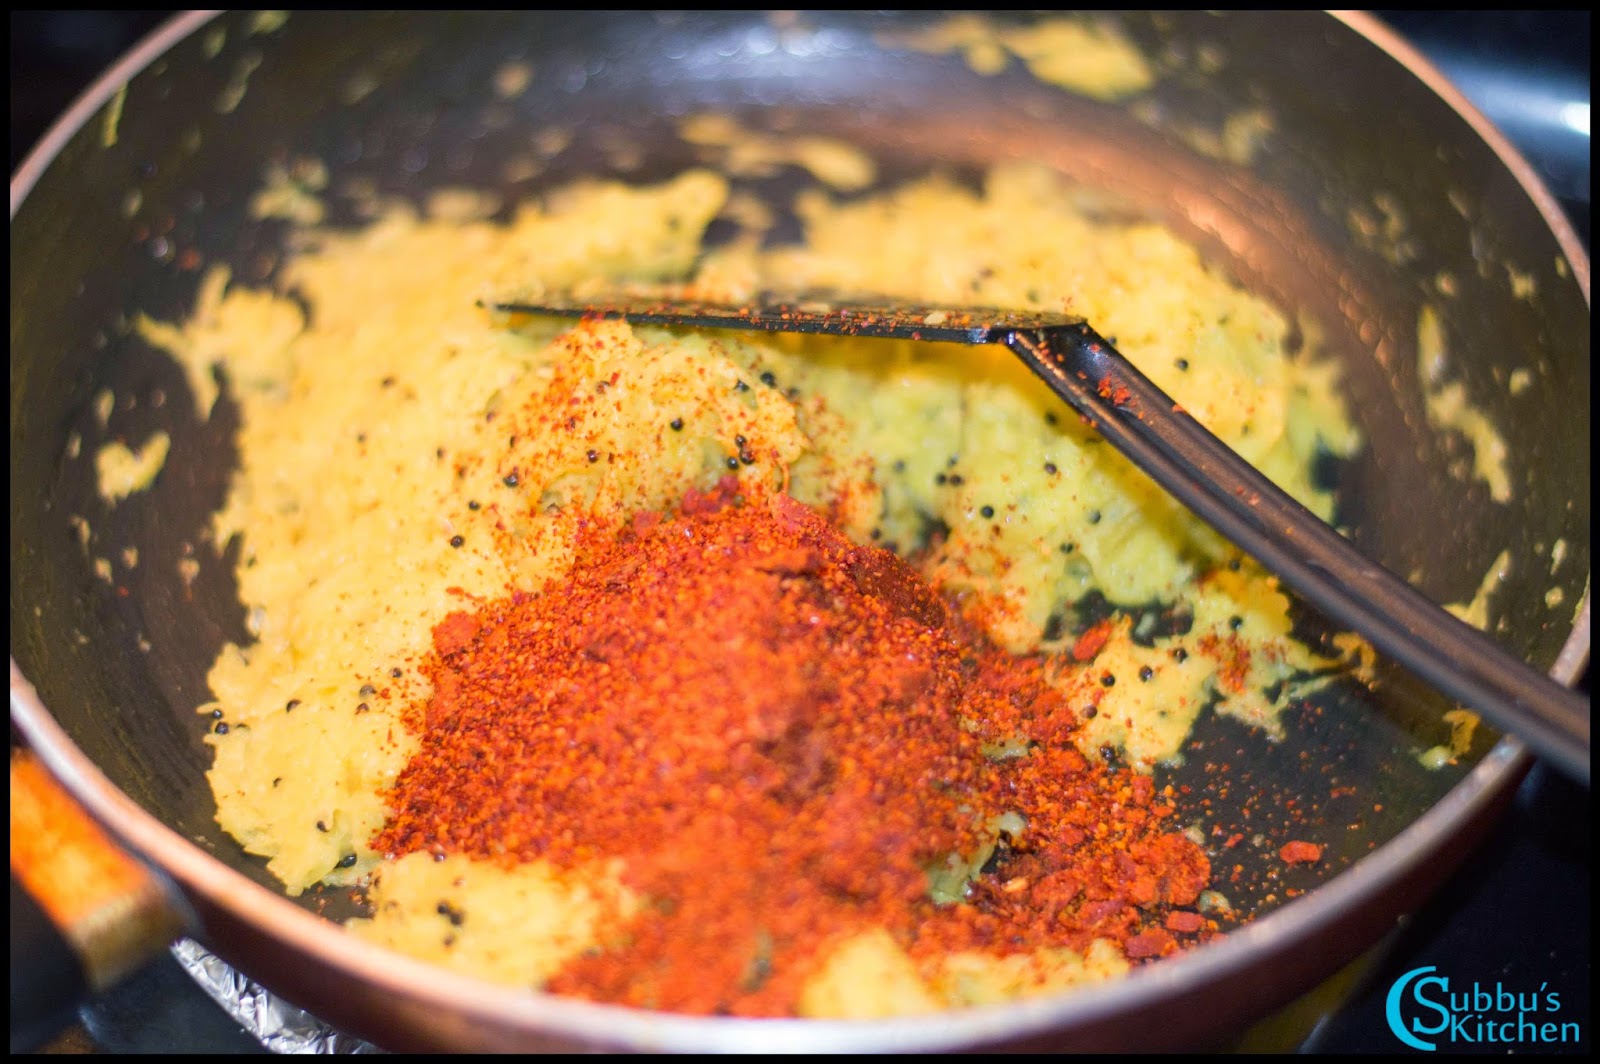
  3. Keep the flame low and allow the grated mangoes to cook nicely. Generally in 3-4 minutes, the mango will be tender and soft. Now its time to add the red chilli powder. Add red chilli powder to the pan and mix well. Add 2 tablespoon of oil to the pan and stir well. Adjust the salt if needed.

  4. Keep the flame low and allow the thokku to combine well till the oil oozes out of the thokku. Finally add fenugreek powder, mix well and Switch off the flame. Take the thokku in a air-tight container and once it comes to the room temperature, heat 1 tablespoon of oil and add it to the top of the thokku and close the container with a lid and refrigerate to have a long life. The oil preserves this thokku. While serving, do not use the top layer oil. Also use dry spoon while serving. Also once a day stir the thokku well and refrigerate again.

  5. Yummy and spicy Mangai Thokku is now ready to serve!
  6. Mangai Thokku Recipe | Grated Raw Mango Pickle Recipe | Mango Thokku Recipe
    Mangai Thokku Recipe | Grated Raw Mango Pickle Recipe | Mango Thokku Recipe

Methi Puri / Poori Recipe | Vendhaya Keerai Puri / Poori Recipe

$
0
0
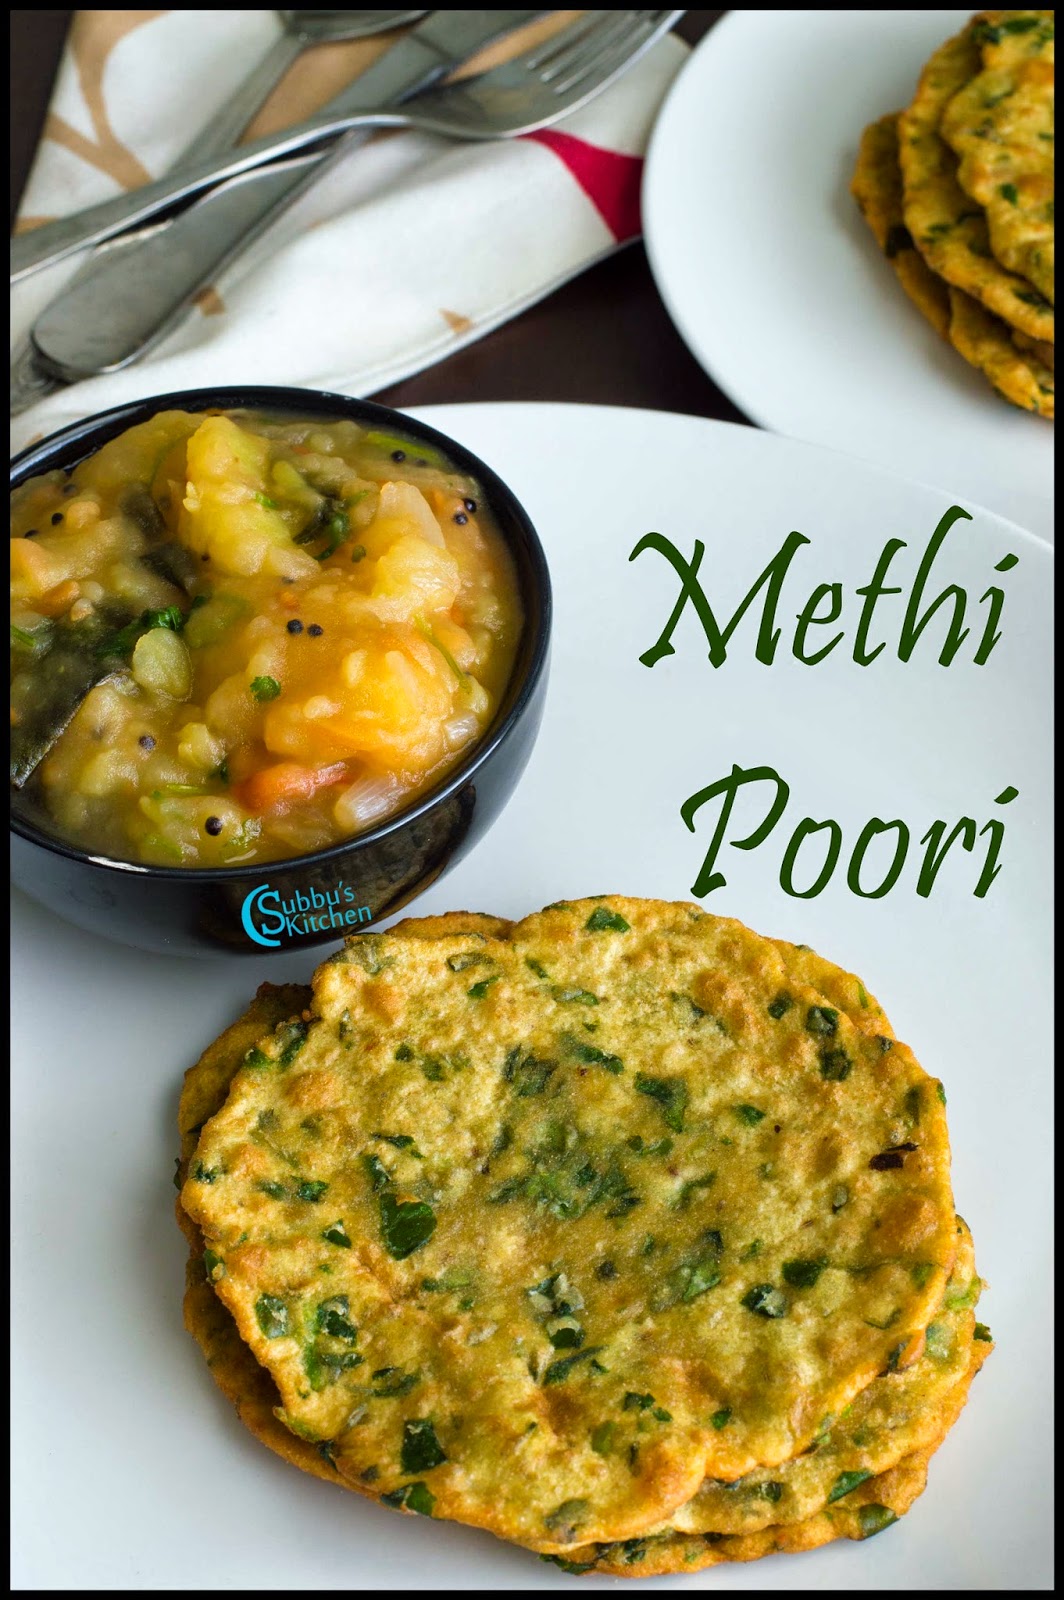
Methi Poori / Puri, Methi leaves mixed with besan and whole wheat flour and deep fry them in oil as we do for conventional poori. We can prepare these poori like conventional poori also just with wheat flour. I like adding besan with wheat flour it gives a wonderful taste to the poori. These besan added methi poori won't puff up like our usual pooris but taste wise they are so good. Methi leaves are nutritional rich and this is one way we could include these healthy greens in our diet. I love to make these Methi Poori especially on sundays when everyone in our family sits together for a breakfast! My daughters love to have this poori along with potato subji. Lets see how to make this Methi Puri.

Methi Puri / Poori Recipe | Vendhaya Keerai Puri / Poori Recipe


Preparation and Yield:
Preparation time10 mins
Cooking Time35 mins
Yield15

Methi Puri / Poori Recipe | Vendhaya Keerai Puri / Poori Recipe

Ingredients:
Whole Wheat Flour2 Cups*
Besan / Gram Flour1 Cup
Methi Leaves1 Cup tightly packed
Omam / Ajwain Seeds1/2 teaspoon
Red Chilli Powder1/2 teaspoon
SaltTo taste
OilFor Deep Frying


Method:

  1. Wash and chop the methi leaves and set it aside. Take a mixing bowl and add besan, wheat flour, chopped methi leaves, salt, red chilli powder, omam and mix well

  2. Add water little by little and knead it to a nice and smooth dough. Add a teaspoon of oil and knead it again and set it aside for 10 minutes. After 10 minutes, make small lemon sized balls out of the dough 

  3. Take each ball and dust it with flour and then using a rolling pin, roll each ball of dough to a small and little thicker circle. 

  4. Heat oil in a heavy bottomed pan for frying the pooris. When the oil is hot, gently drop the rolled pooris one by one and fry them till they are crispy and slightly golden brown.

  5. Yummy and crispy Methi Poori is ready to serve! Serve with Aloo Masala or Channa masala and enjoy your breakfast!
  6. Methi Puri / Poori Recipe | Vendhaya Keerai Puri / Poori Recipe
    Methi Puri / Poori Recipe | Vendhaya Keerai Puri / Poori Recipe

Raagi Cookies Recipe | Finger Millet Cookies Recipes

$
0
0
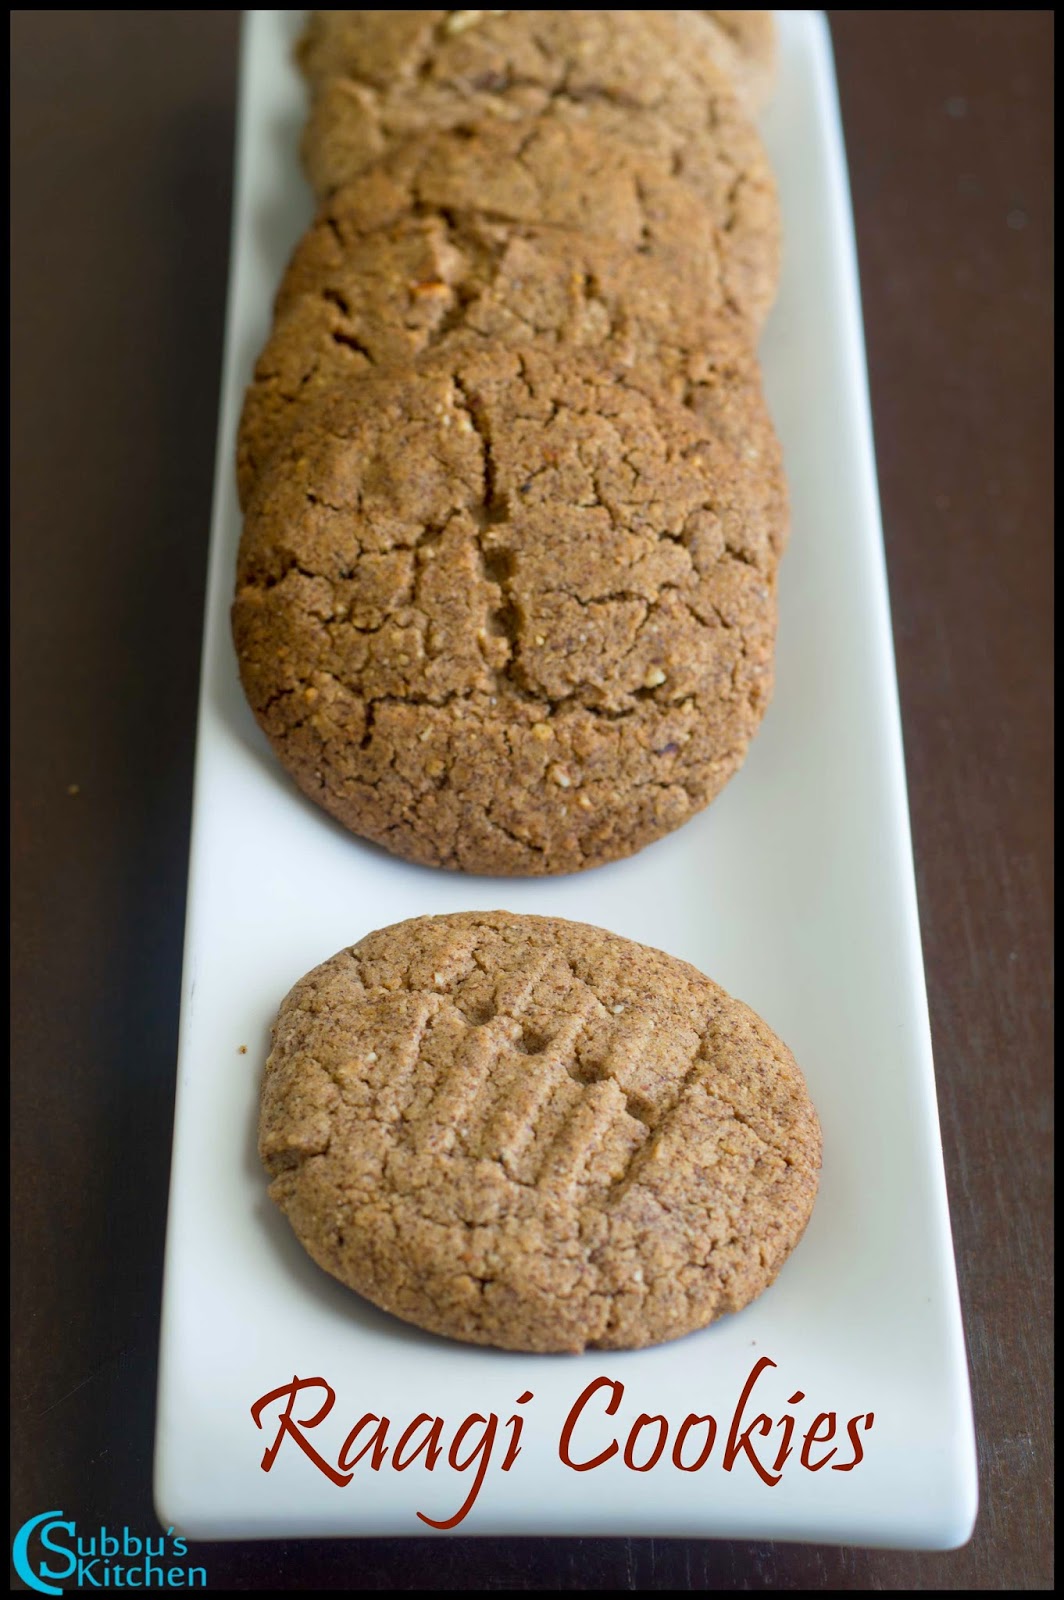
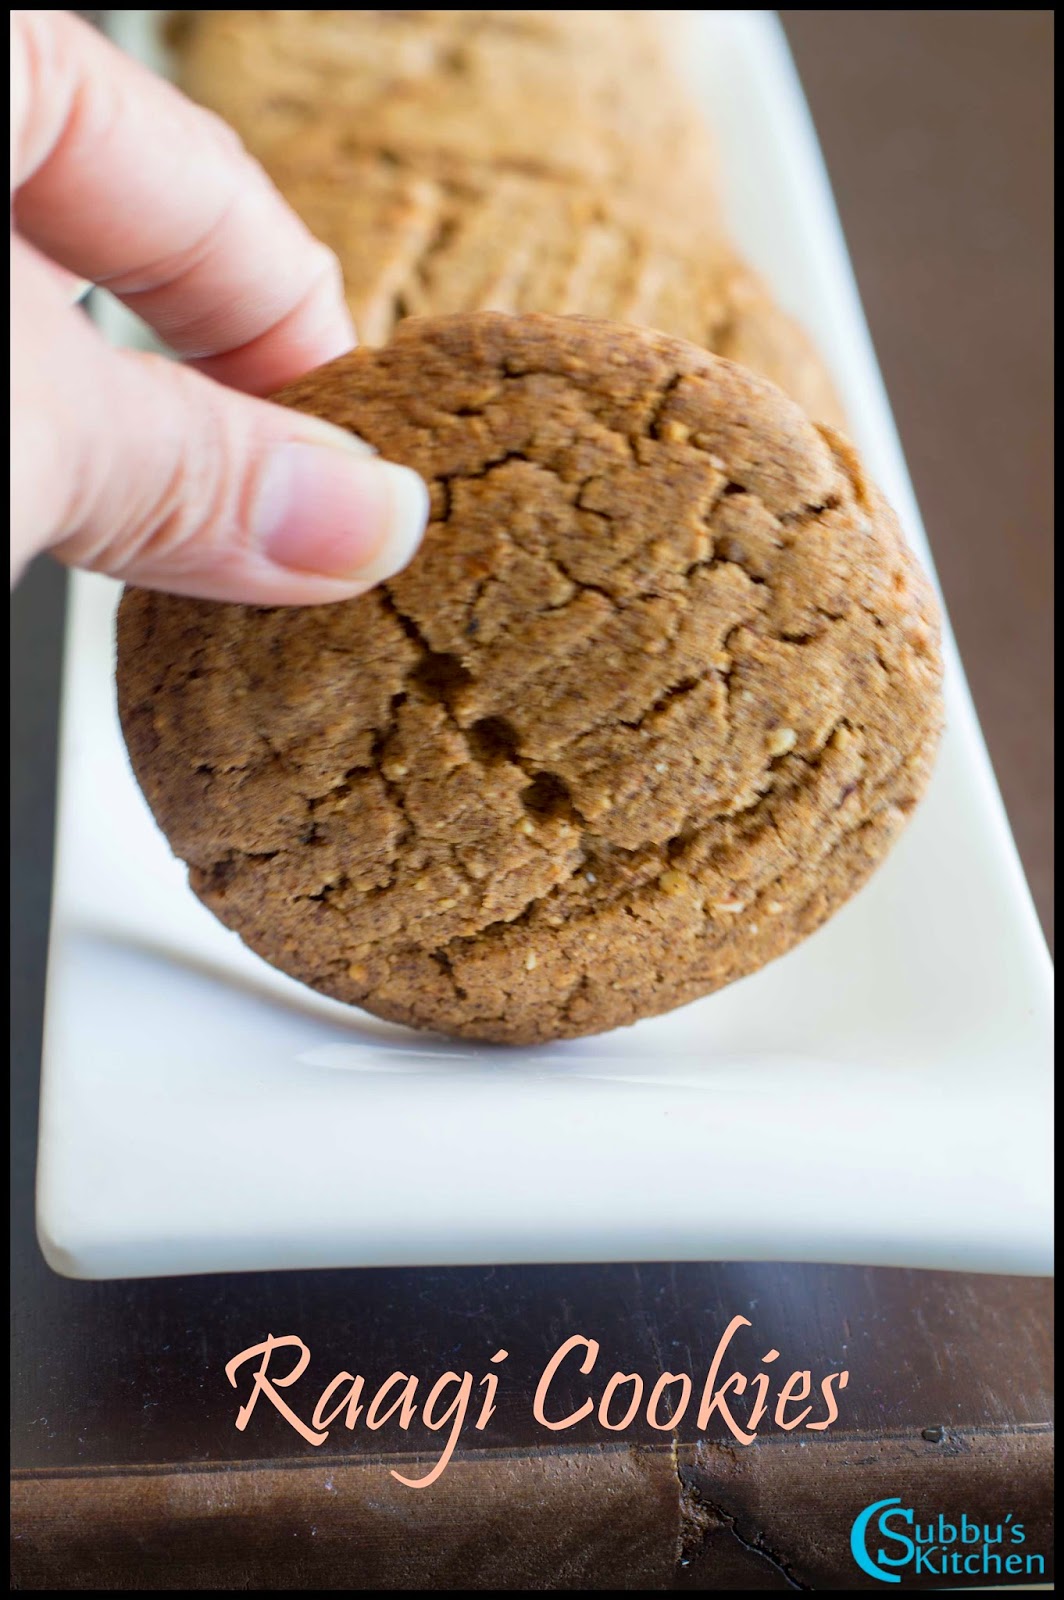
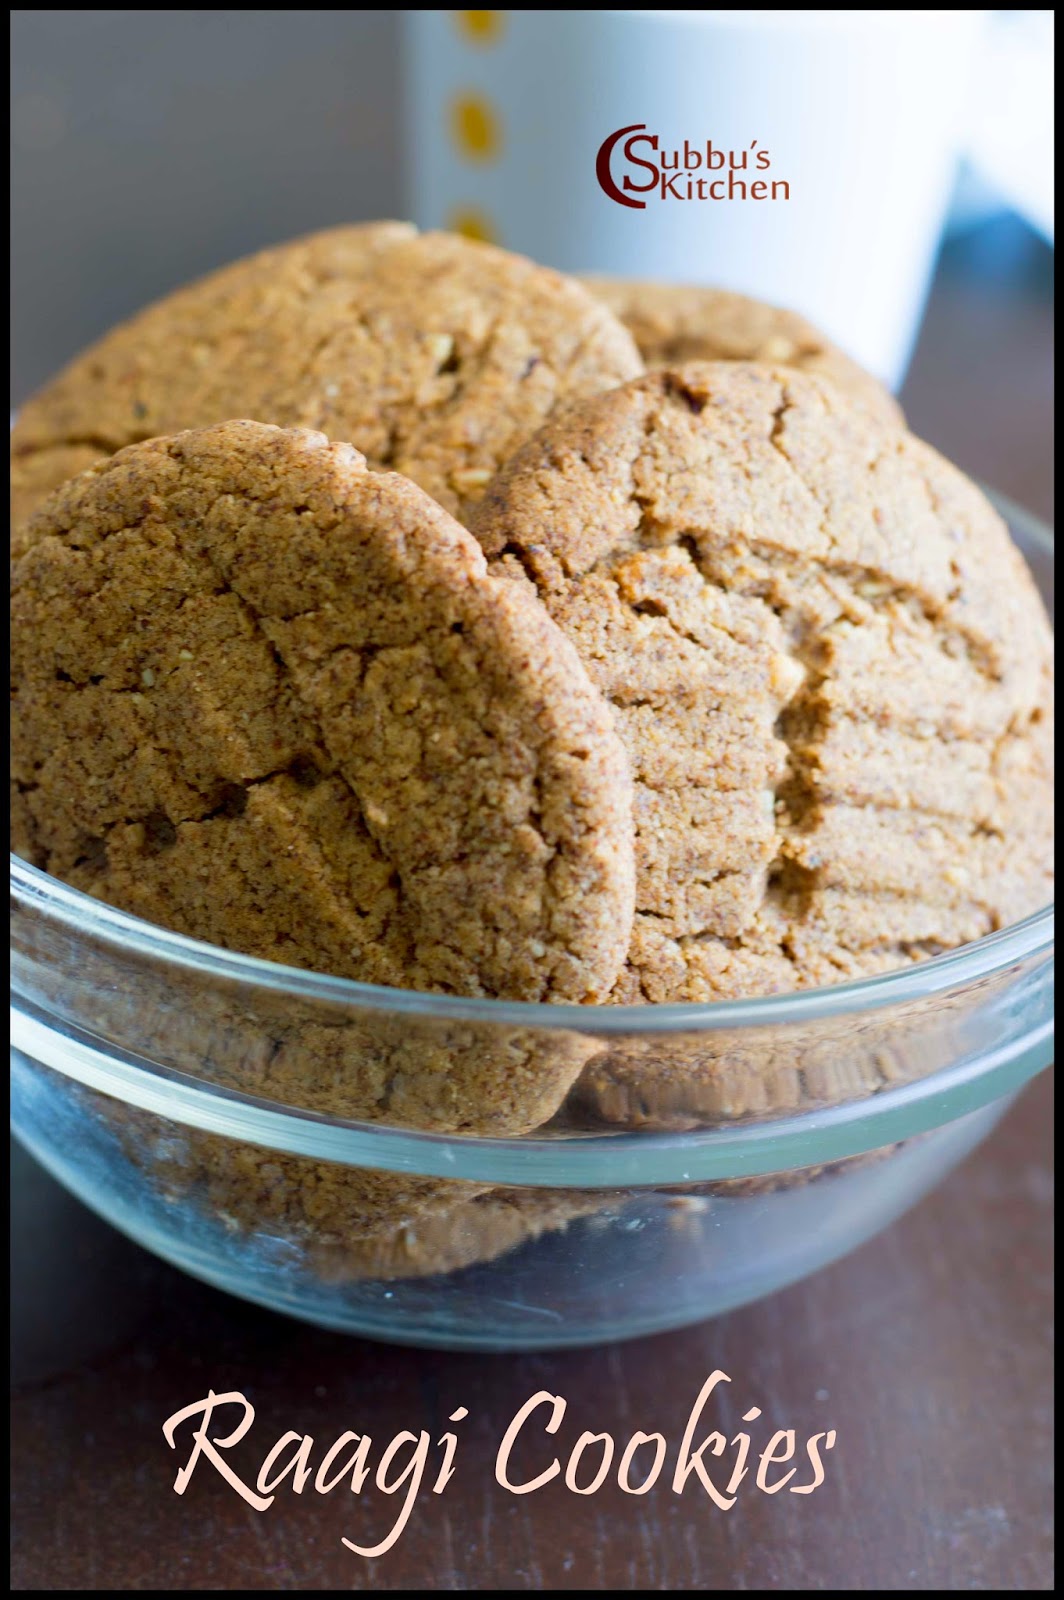
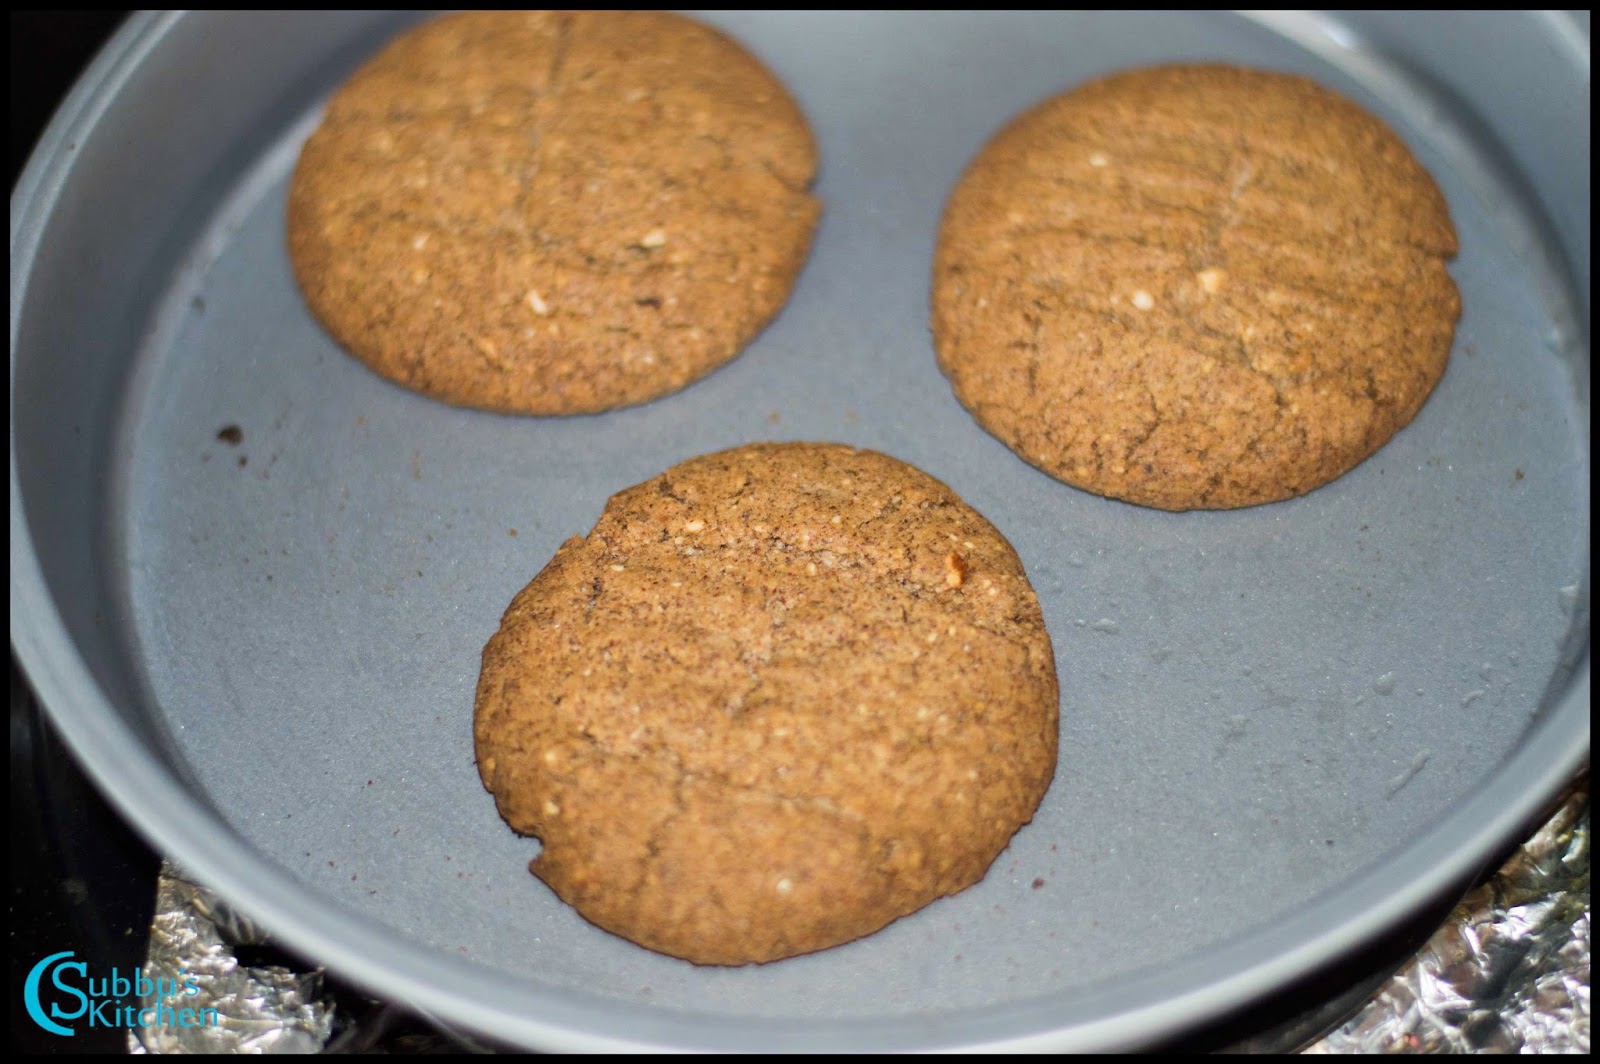
Millets are always rich in nutrition. With millets we can make many variety of dishes. This time, I have made Curnchy Raagi Cookies (Finger Millet Cookies).  If you are looking for healthy and crunchy biscuits to relish with tea / coffee then you should try these raagi cookies. 

Raagi Cookies Recipe | Finger Millet Cookies Recipes

The procedure is much similar for other millet varieties also. I have enriched this dish by adding some coarsely ground almond powder. We can do many variations. We can make cardamom flavoured cookies, cinnamon flavoured, choco chips and nuts rich cookies and even we can add cocoa powder and make it more like a chocolate cookies. I have made simple cardamom flavoured Finger Millet Cookies and now let us see how to make Homemade Raagi Cookies (Finger Millet Cookies)

Raagi Cookies Recipe | Finger Millet Cookies Recipes


Preparation and Yield:
Preparation time15 mins
Cooking Time20 mins
Yield15

Raagi Cookies Recipe | Finger Millet Cookies Recipes

Ingredients:
Raagi Flour / Finger Millet Flour1/2 Cup*
Wheat Flour1/2 Cup
Baking Powder1/2 teaspoon
Baking Salt 1/4 teaspoon
Powedered Sugar / Jaggery1/2 Cup
Almonds**1/4 Cup
Butter100gms / 1 Stick
Cardamom Powder1/4 teaspoon
Milk2 tablespoon

* 1 Cup = 250ml
** Almonds are optional. 
Raagi Cookies Recipe | Finger Millet Cookies Recipes

Method:

  1. Grease the cookie tray with butter and set it aside. Pre-heat the oven to 350 F or 170 C.
  2. Heat a pan and add the raagi flour to it. Saute the raagi flour in medium flame for 5-6 minutes to get rid off the raw smell. Take a mixing bowl and add raagi flour and wheat flour. 

  3. Add baking salt and baking powder and sieve them nicely. Then add powdered sugar/ jaggery and butter and mix everything well. Adding butter and mixing it makes the mixture look like crumble. 

  4. I ground the almonds in the mixer to a coarse powder and added that to the cookie mixture. Also add the cardamom powder and mix everything well. 

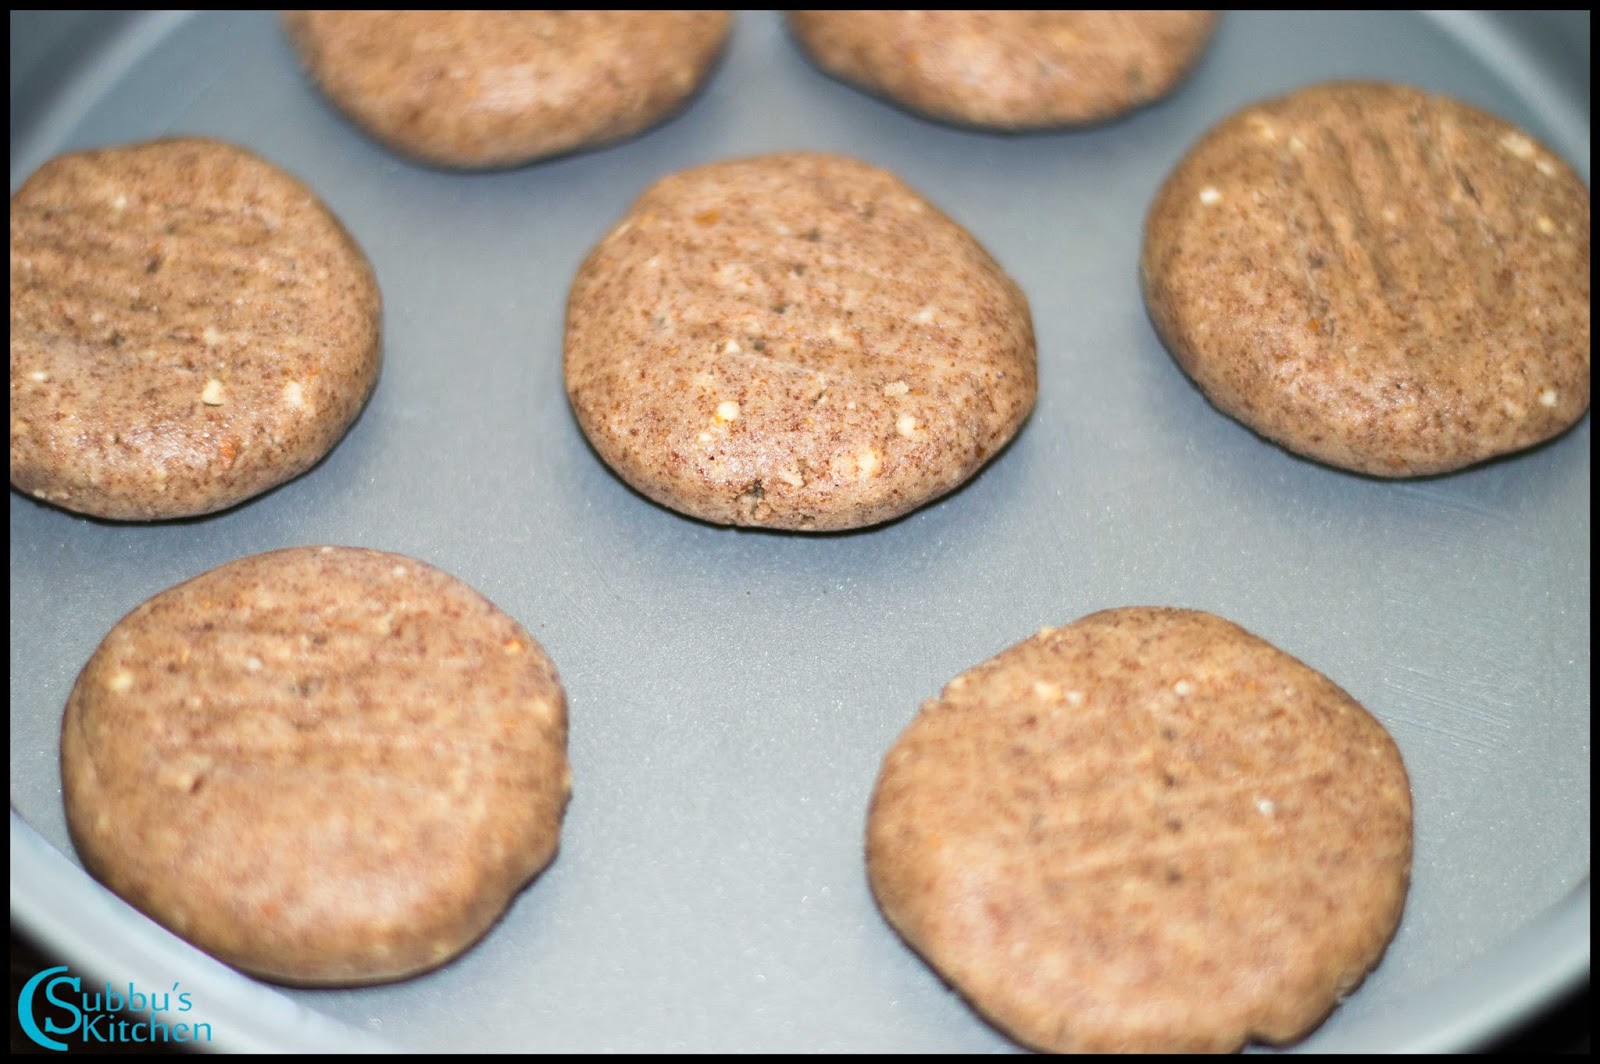
  5. Add milk little by little and knead it to a smooth dough. Make small lemon sized balls out of the cookie dough and flatten it little and place it in the cookie tray. Make sure there is enough spacing between each cookie as they will get expanded during baking. Using a fork, make lines. This is just optional. Instead of plain circle, we can make some design. Also prick the flattened cookies using the fork to make sure they are not getting bulged in the middle during baking. 

  6. Place the cookie tray in the middle rack of the oven and bake it for 15-20 minutes. If you take it out quickly, then the cookies would be chewy. So make sure you bake it till they are crisp and not burnt. After baking is over, carefully take out the cookie tray and place it in the cooling rack to cool down. Allow the cookies to come to room temperature. Cooling process will make the cookies much more crispier.

  7. Yummy and crunchy Raagi cookies are now ready to serve! Relish with Coffee/ tea and enjoy your day!
  8. Raagi Cookies Recipe | Finger Millet Cookies Recipes
    Raagi Cookies Recipe | Finger Millet Cookies Recipes

Shri Rama Navami

$
0
0
Ram Navami is a Hindu festival, celebrating the birth of Lord Rama, son of King Dasharatha of Ayodhya, and 7th avtar of Lord Vishnu. The day is called Rama Navami as it falls on Navami. The birth of Rama on earth is to vanquish the roots of Adharma. Lord rama was born on earth to destroy the demon Ravana.


Story behind: Generally hindus will consider Ashtami and Navami day of each month as unaspicious and will not perform any good events on those days. So Ashtami and Navami went to Lord Vishnu and expressed their unhappiness. To make them happy and to make Dharma rule over Adharma Lord Vishu born as Rama on a Navami Day. The same way Lord vishnu born as Krishna on an Ashtami day which is what we celebrate as Krishashtami(Krishna Jayanthi).

Shri Rama Navami


Ram Navami in 2015 is on 28th March 2015. It is considered auspicious to perform elaborate pujas and chant the name of Rama. It is good for the devotees if they hear Ramayana story on that day and also if they chant Ramar Patabishegam episode of Ramayana on that day. Also devotees should prepare the following recipes as neivedhyam and get the blessings of Lord Rama.


Recipes:
    Viewing all 1833 articles
    Browse latest View live